
Homestead v1.8 - WBM Tips
Tips for Homestead prosperity, farming, and diagram sharing in v1.8+.

Credit to Parzival for the cover image
This guide/tips gathering is community-contributed and continuously updated. Join us on Discord to discuss, share your tips and suggest improvements.
The Homestead update is dense and can be unintuitive. Here are our tips to help you navigate it.
GDoc version: https://docs.google.com/document/d/1vVLV8gQ6dfuptU1yFQstEfxcGiCYK5kZJjxiH5q6KyM/edit?usp=sharing
Things to know before you start
Read Cylos beginner guide
If you are beginning in Homestead, you should definitely read Cylos guide
Blissful Retreat & Beyond Mundane (Cloudrest Passage)
The game offers two locations where the Homestead system works:
- Blissful Retreat (Home Anew), which is the place where you grew up
- Beyond Mundane - Cloudrest Passage, which is an island
Both locations allow you to place facilities and hire Retainers (workers).
For simplicity, at the beginning, you can focus solely on building in Blissful Retreat first.
Warehouse
The warehouse is a special place related to the Homestead system. This is where your retainers (workers) deposit the material and products.
Deposit
Deposit allows you to transfer materials from your personal bag to your warehouse.
Beware: when depositing resources into your Homestead warehouse, the weekly cap is 1,200 in total, not per type. Choose carefully what you deposit depending on your priorities for the week. We would recommend to deposit ores in priority as it is one of the lacking resources once you launch production.
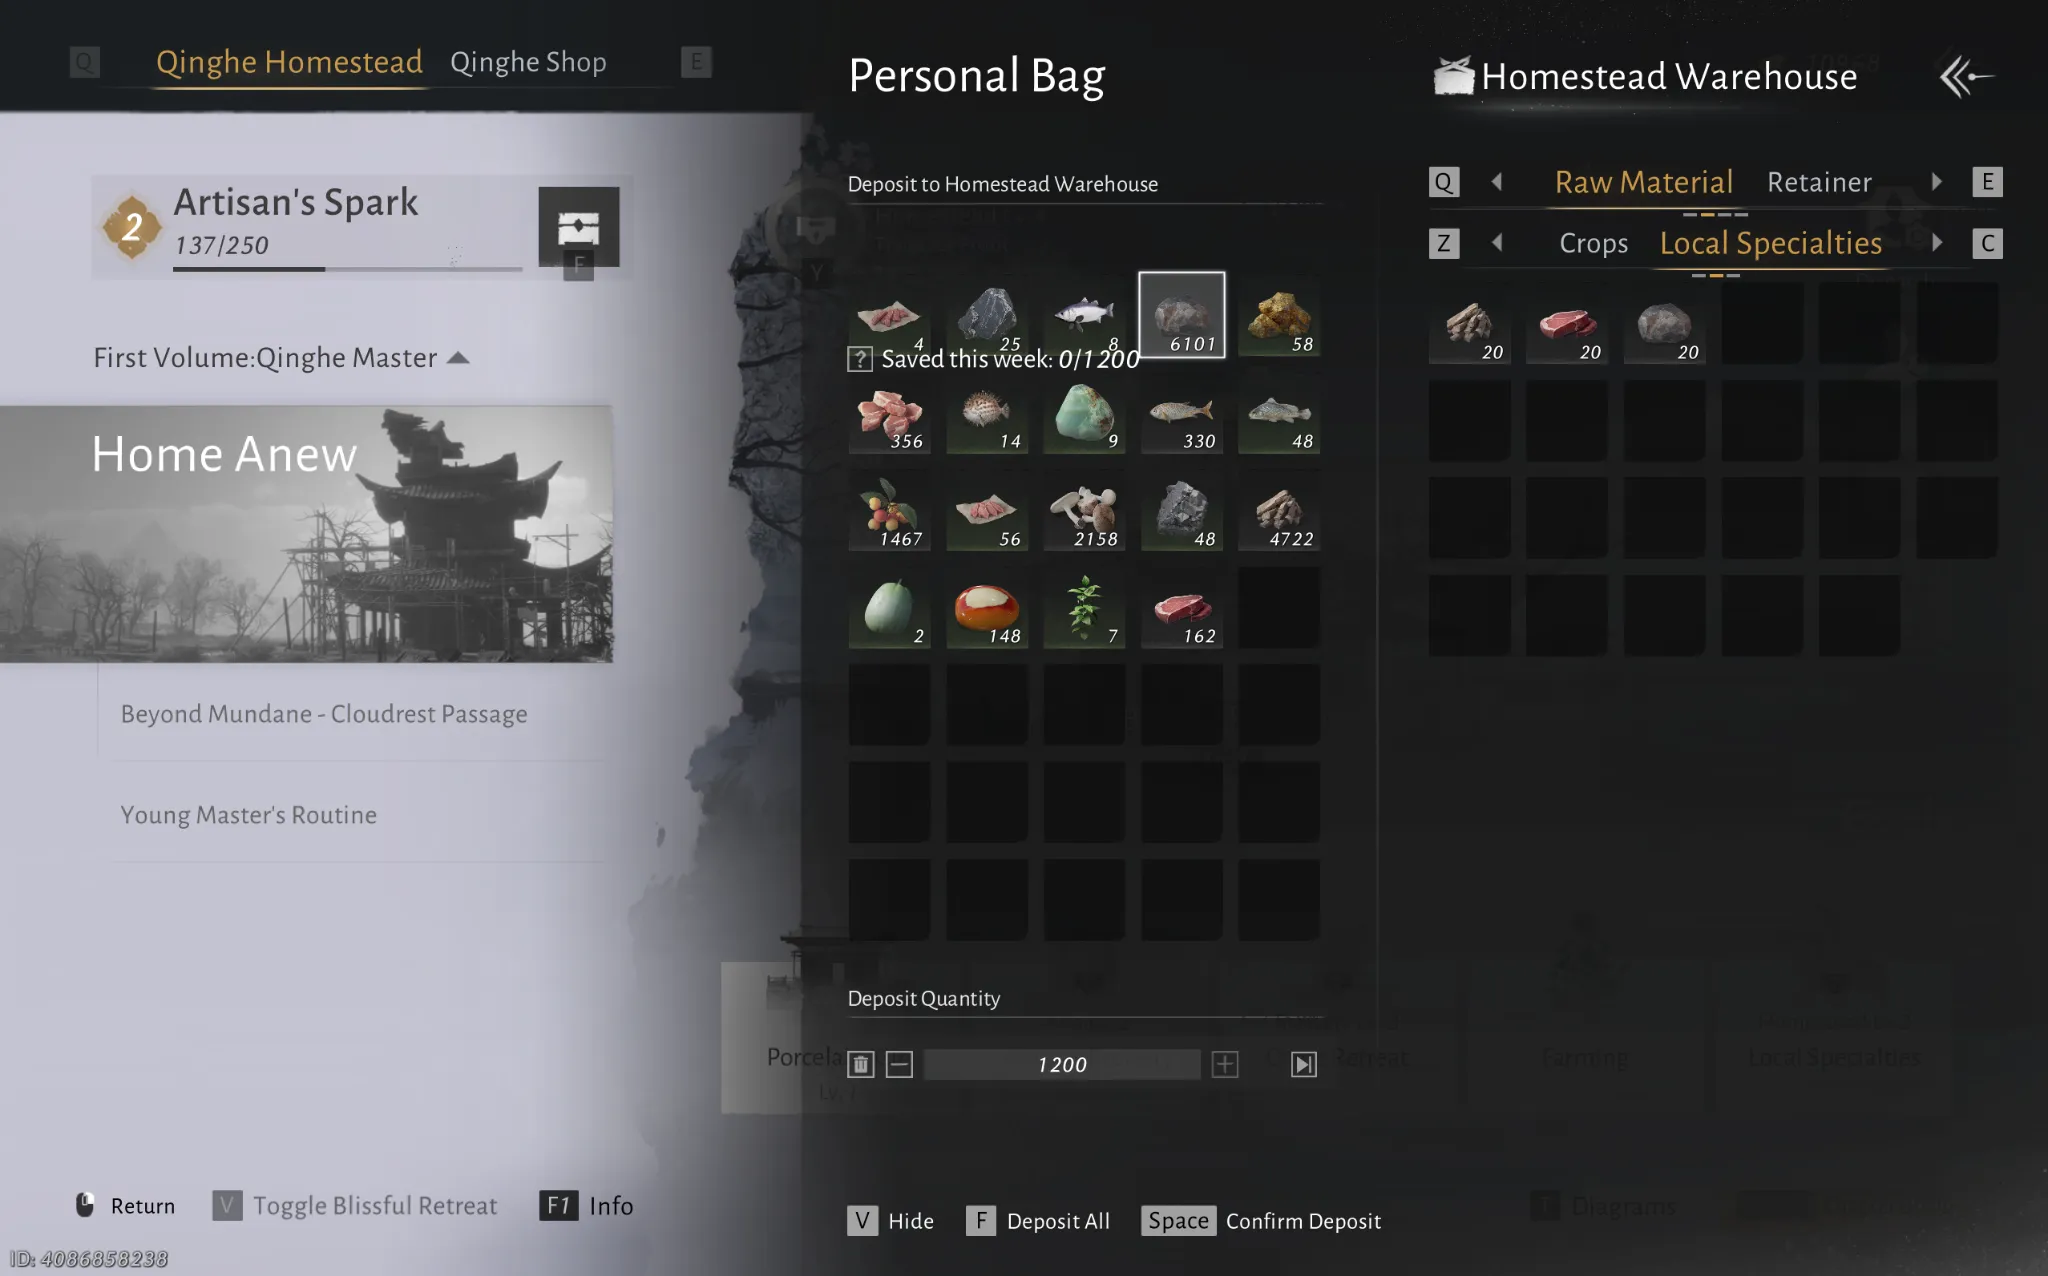
Beginning Stages
Bounty gourd is the nerd of war
Be careful when buying from the shop! Seeds, Fertilizers and other non Building items can not be refunded. Buying too many of them near the start will make progression significantly slower.
Focus on increasing your Homestead level. This is done by spending bounty gourds and prosperity.
Your goal is to gather as many bounty gourds (and prosperity) as possible.
Don’t try to over-optimize on what type to gather or build at first. Follow the recommendations.
Focus on fulfilling quests and Weekly Orders instead; they give you supplementary gourds.
You’ll be able to sell surplus goods later, but we don’t recommend it at the beginning.
Young Master’s Routine
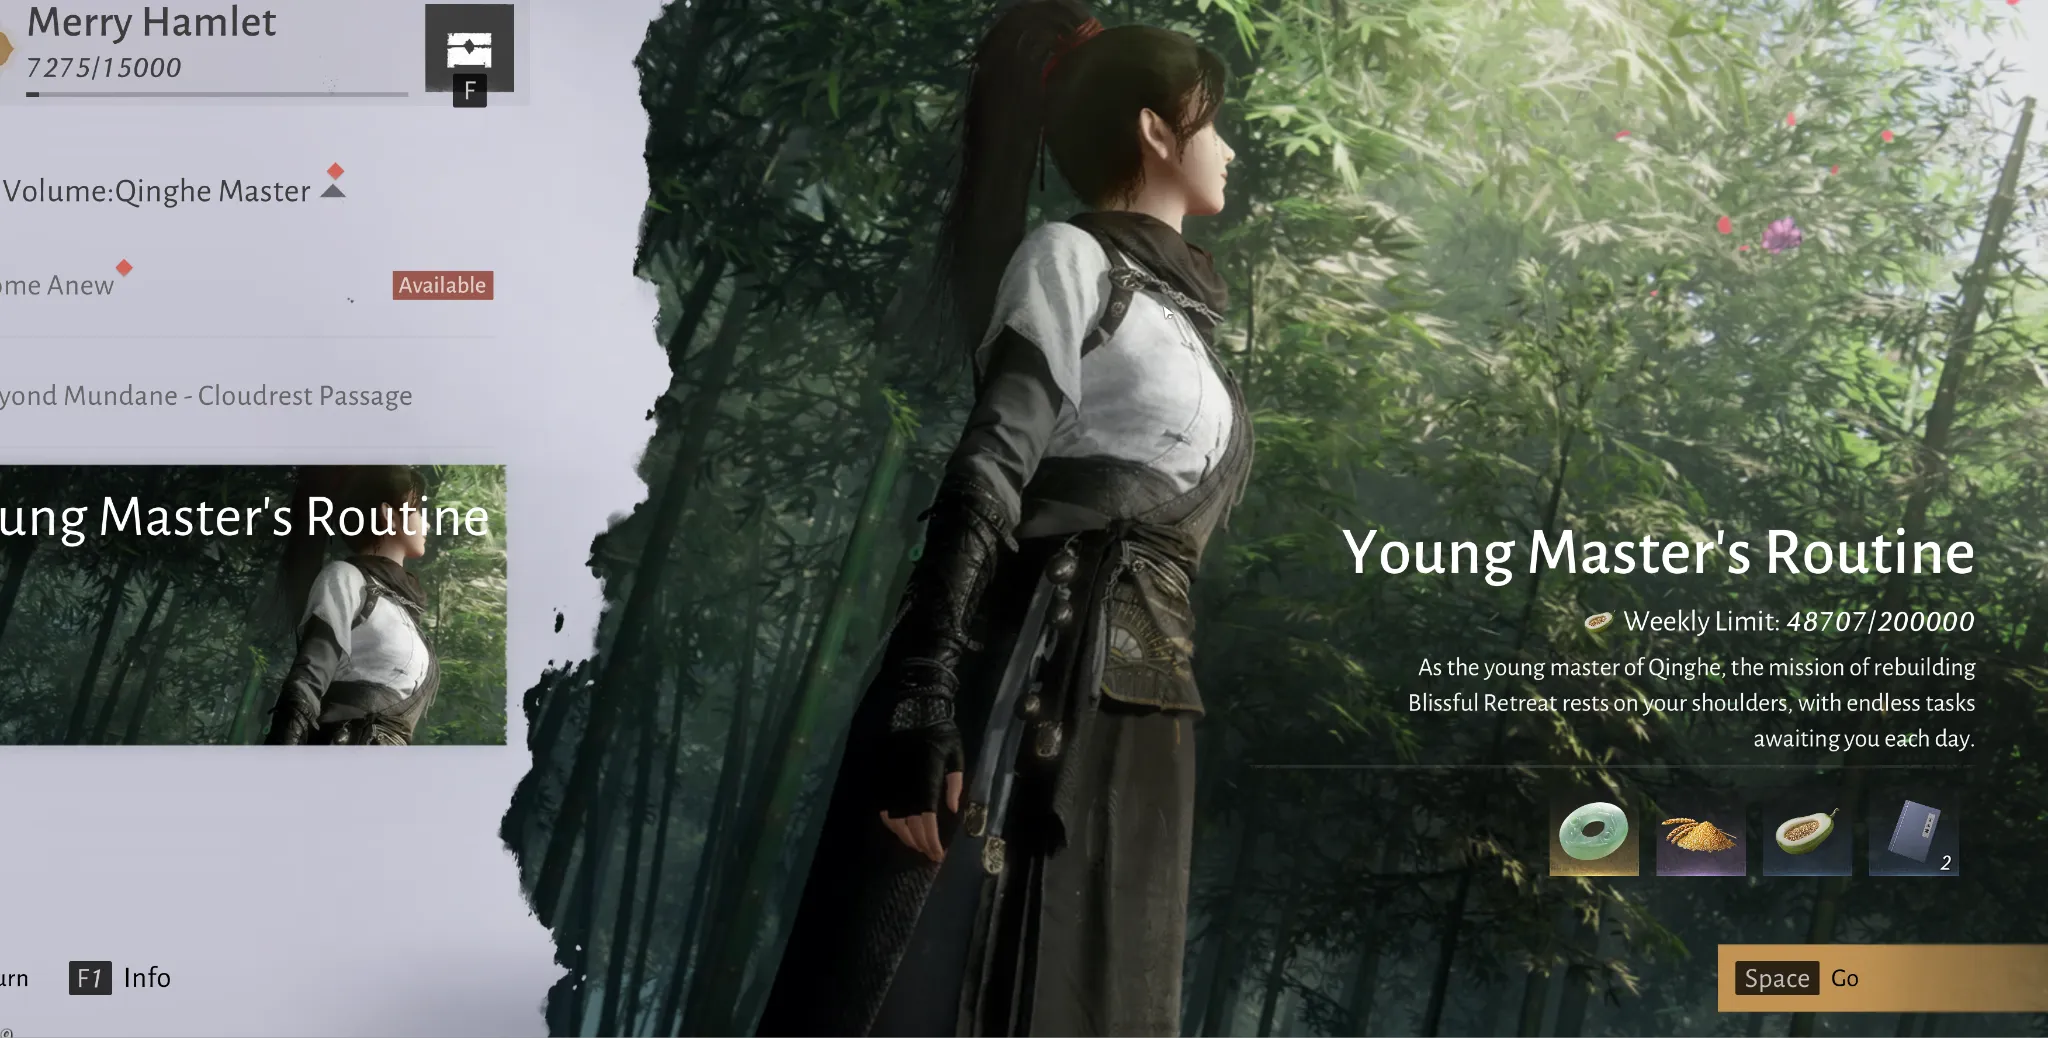
Don’t forget to fulfill the Young Master’s Routine. It gives you gourds, rewards, and one Confidant Retainer (gold worker) every week.
Read each mission’s rewards carefully before picking: you can have Retainers learn new skills, speed up your production line, or refill their Vigor to max.
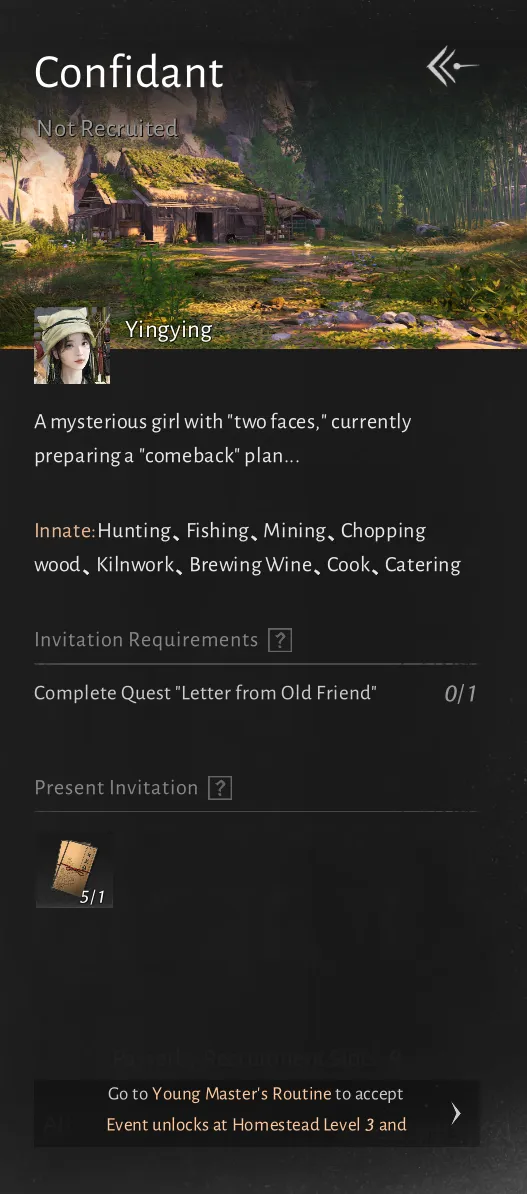
Important: this is currently the only known way to hire Confidant Retainers (gold workers), so don’t miss it! Once you’ve used your 3 days, you’ll have to wait until next week.
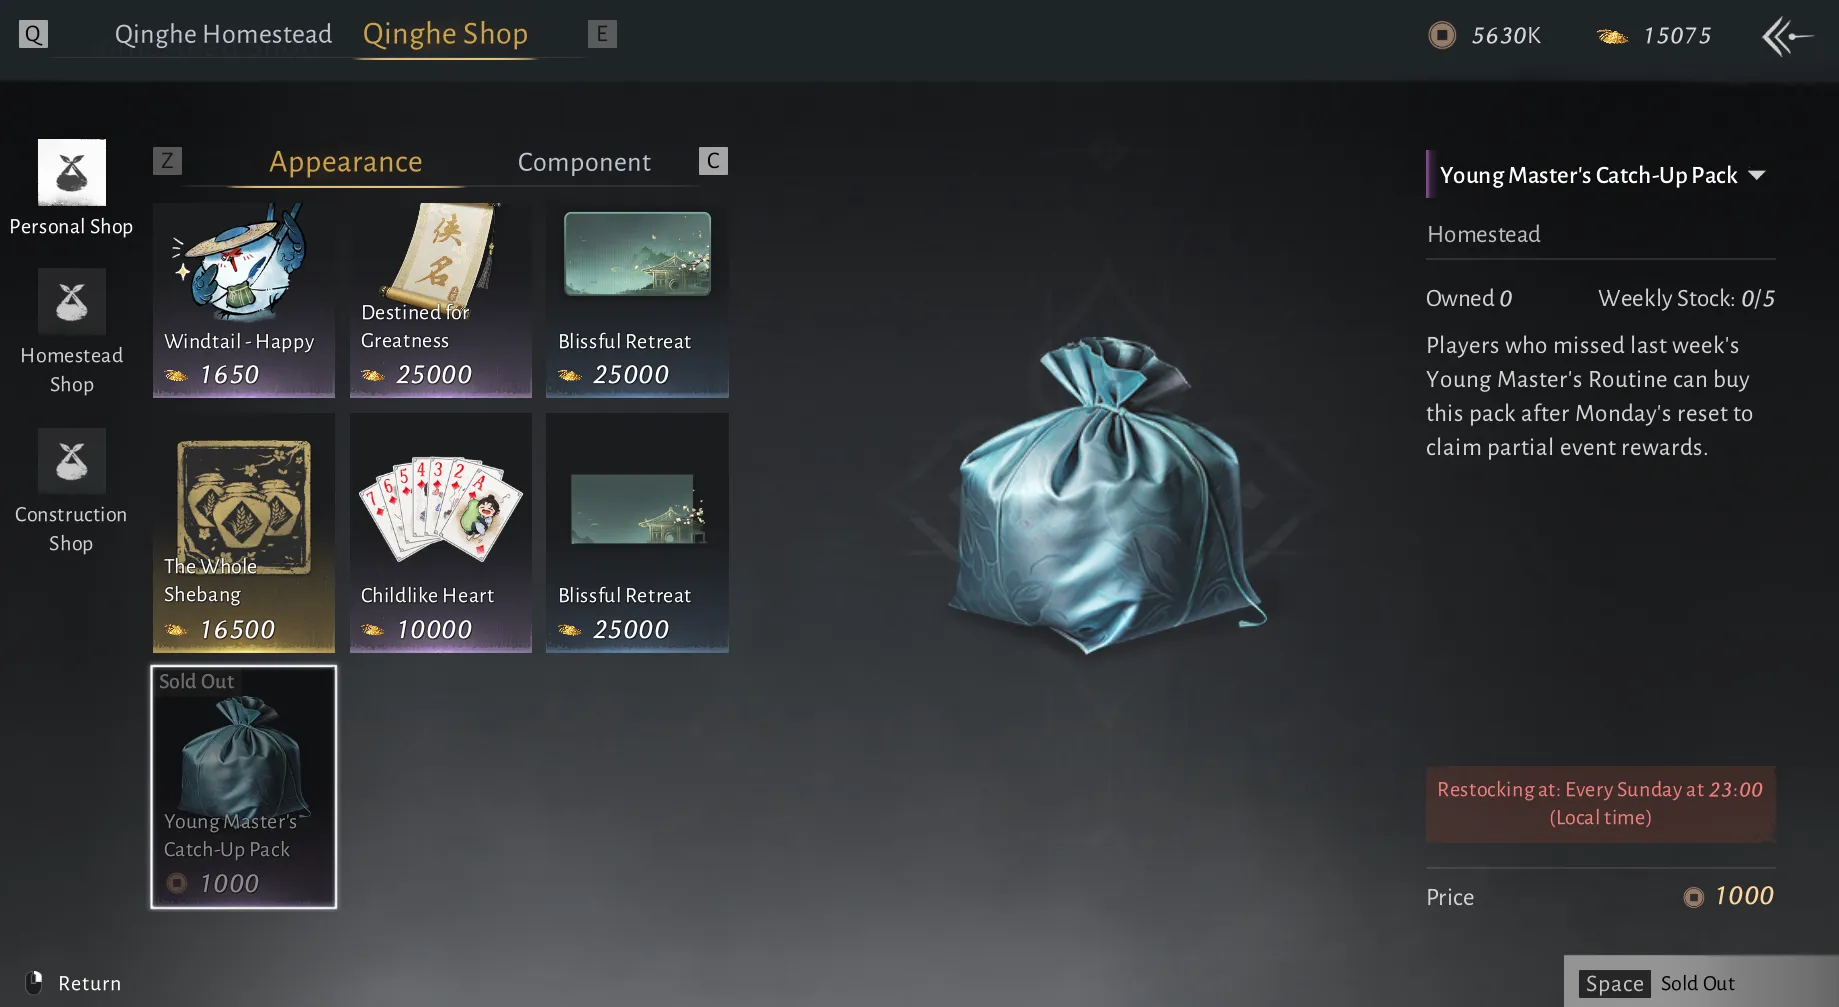
Note: Players who missed last’s Young Master’s Routine can buy the “Catch Up Pack” pack in the Personal Qinghe Shop to claim partial event rewards.
Weekly Touchstone Orders
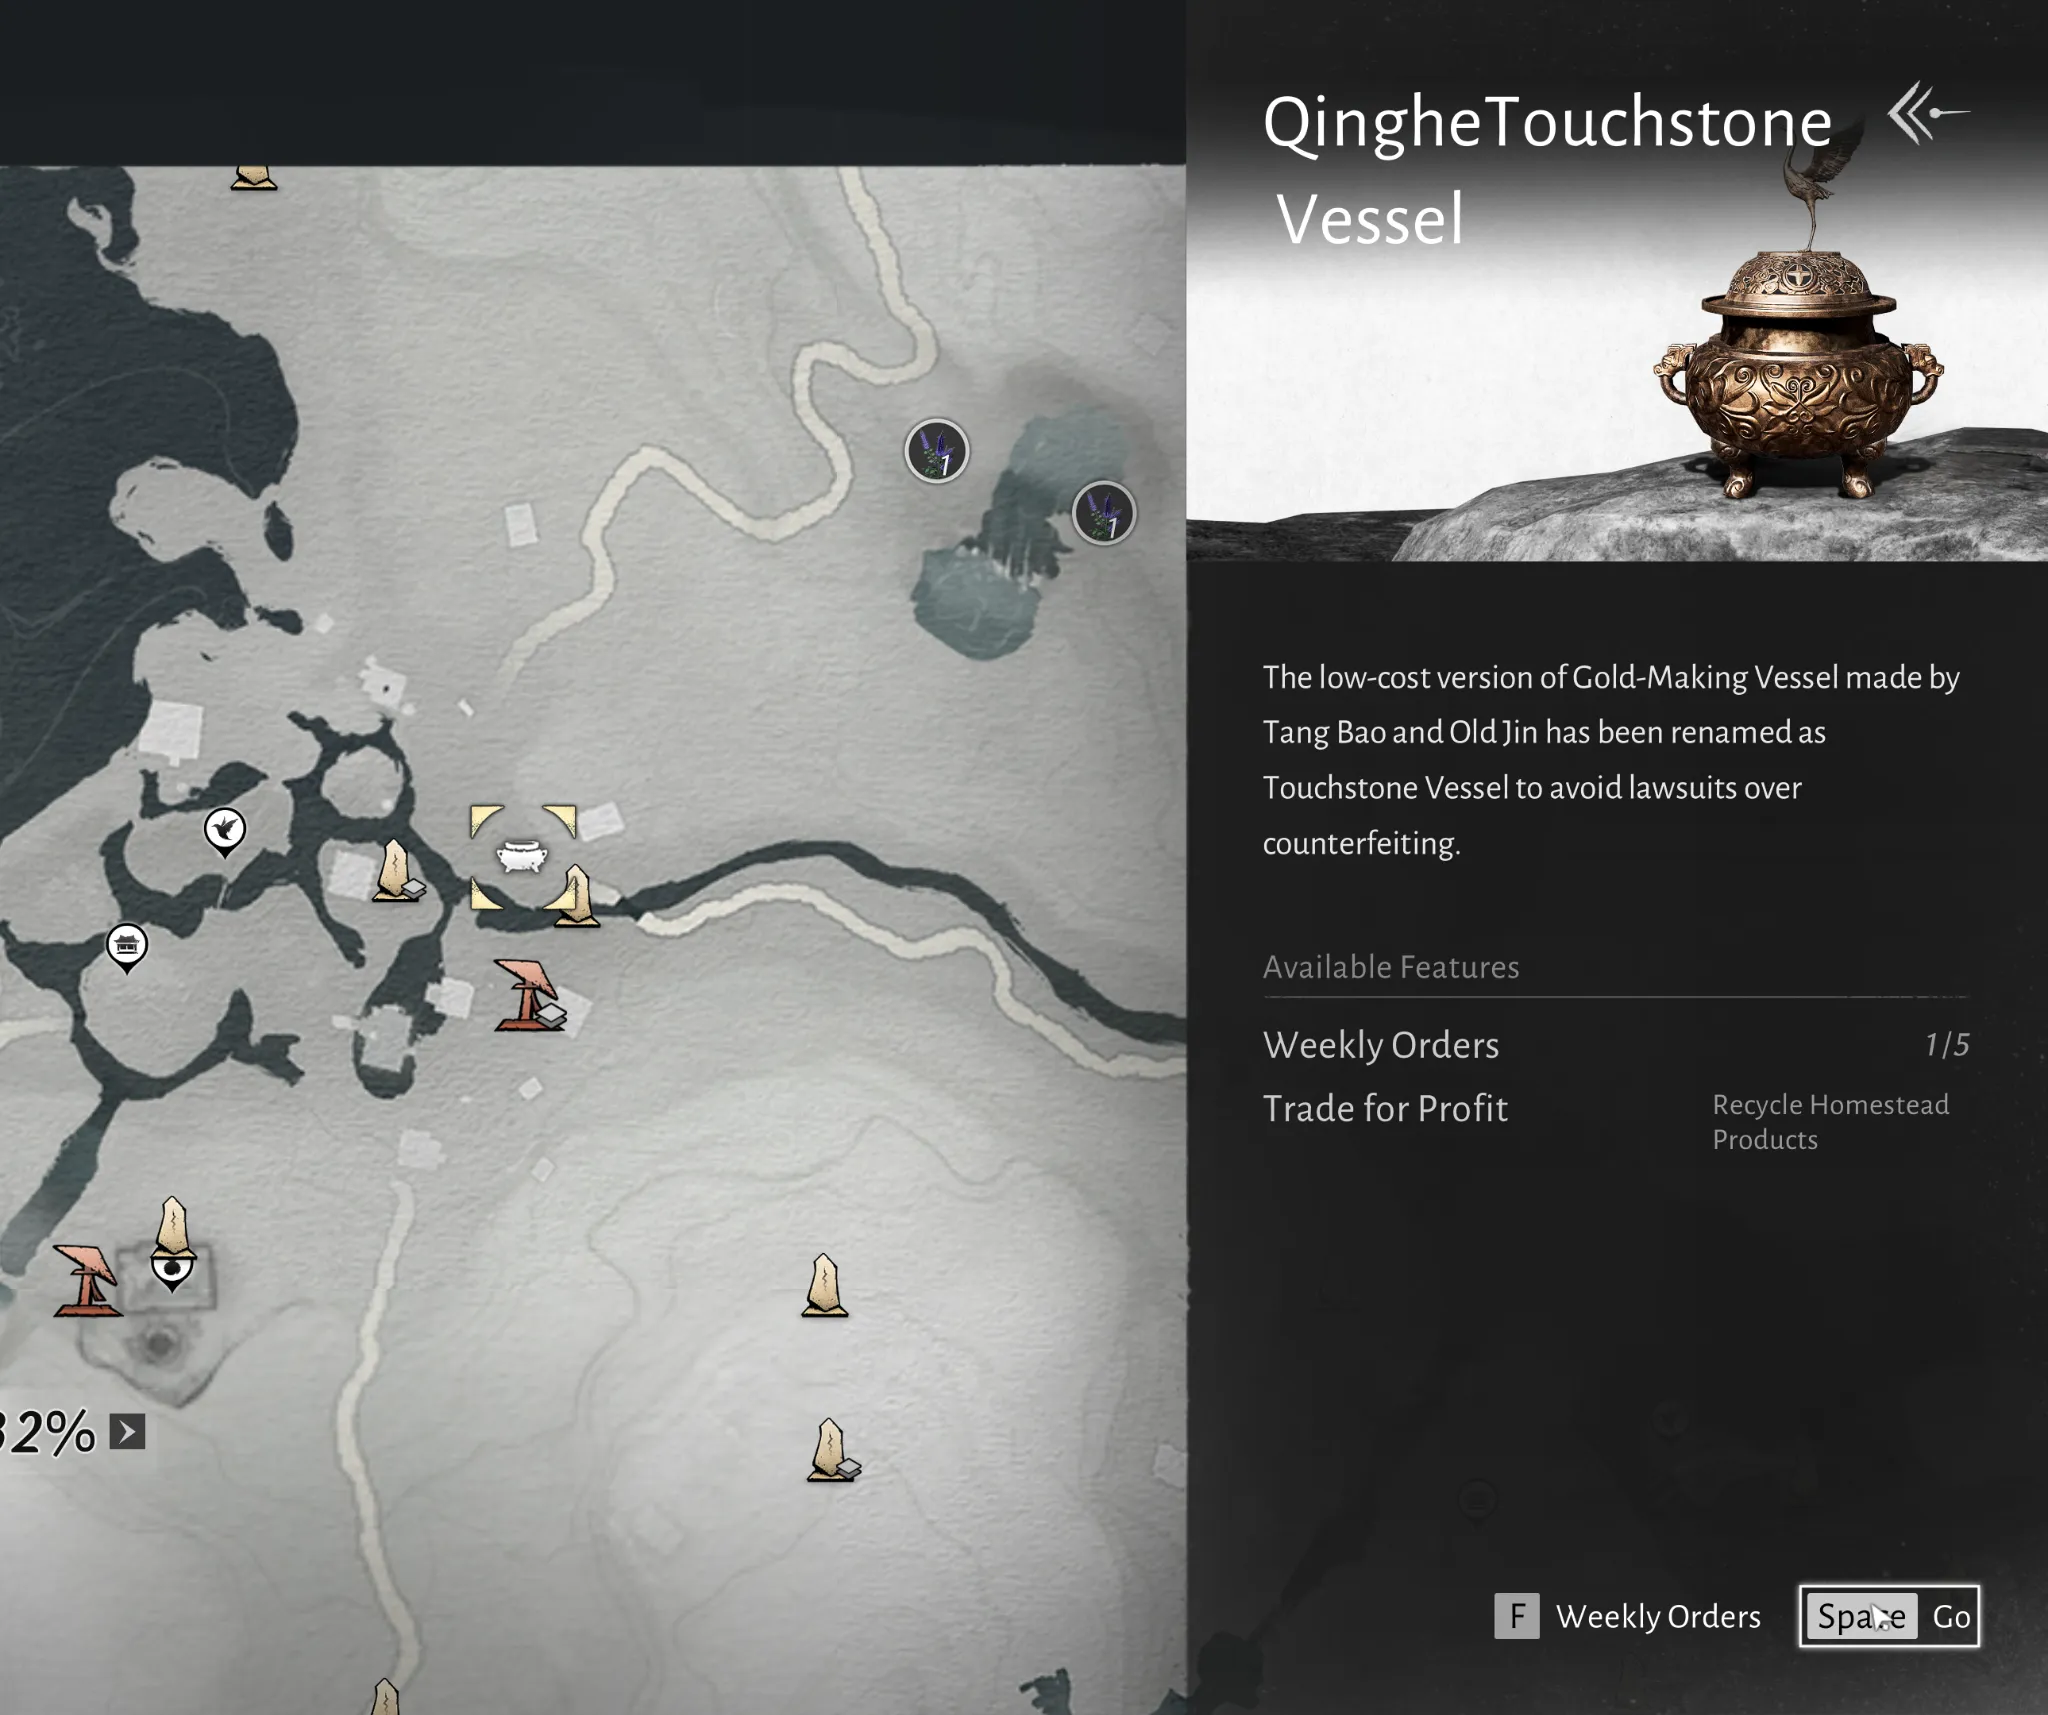
Do the Weekly delivery accessible via the button “Trade for Profit”
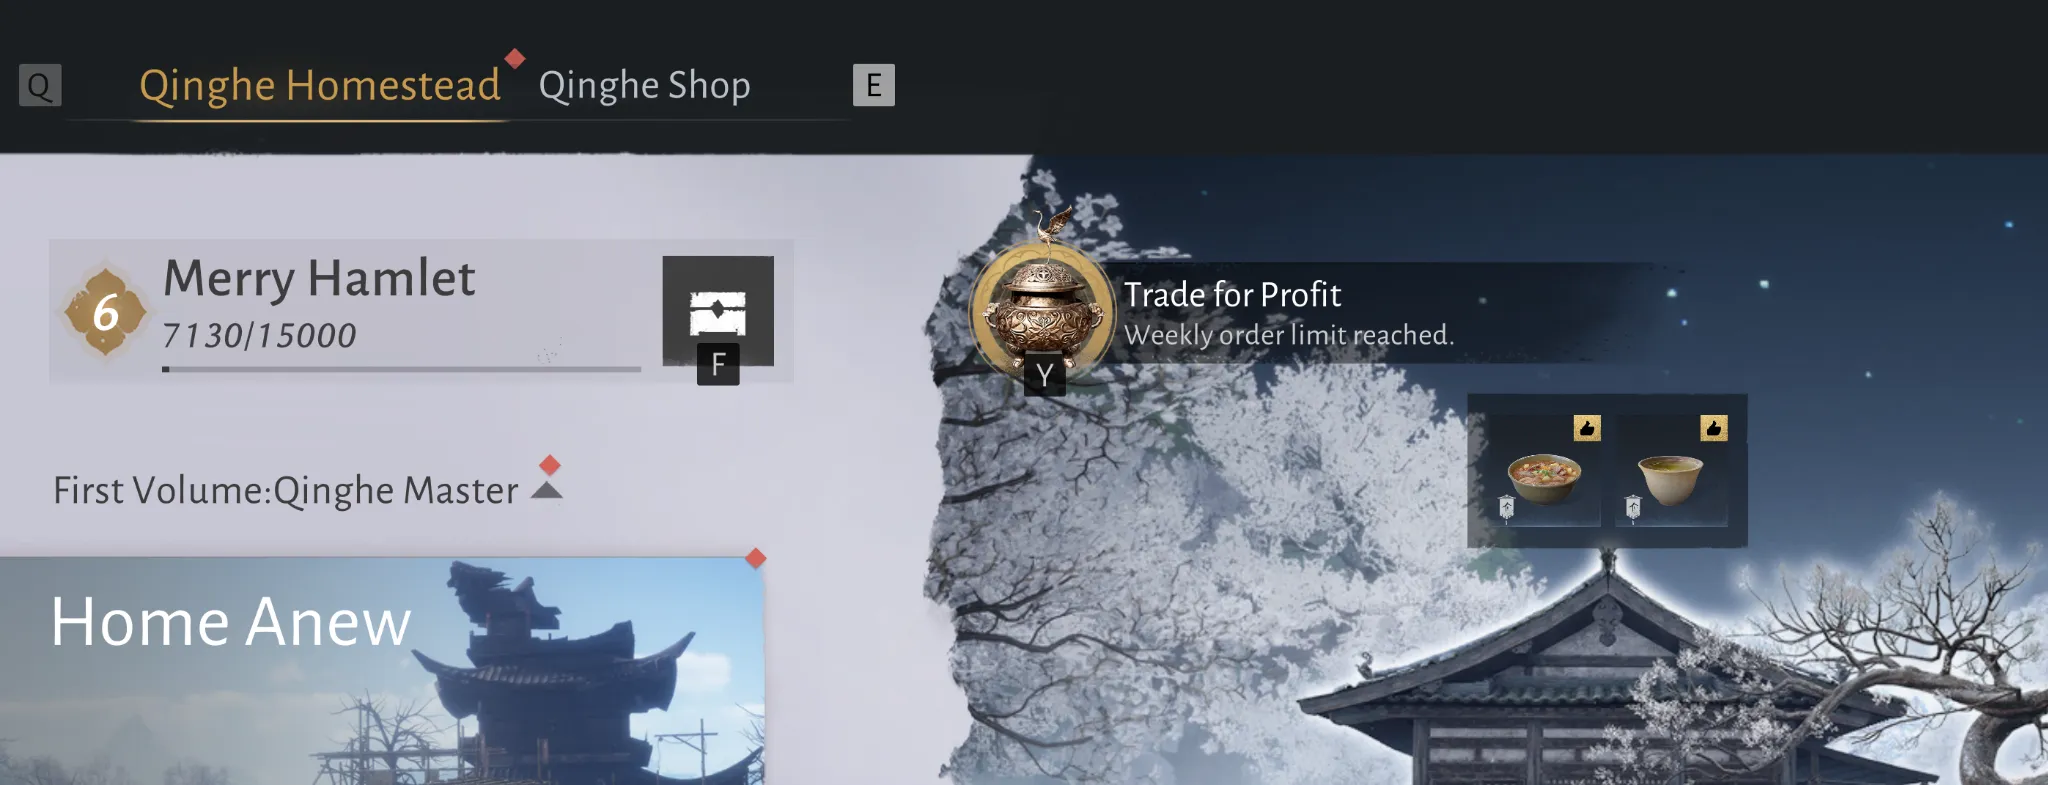
You will get gourds and rewards.
Farming
Use fertilizer on any crop
Trade profit is equal across all crops regardless of cost, growth time, or level. The only real variable is growth time combined with fertilizer (manure), and the impact is negligible. If you’re not actively managing crops around the clock, prefer any high growth-time crops (14.4 Hours).
Use fertilizer: it nets you roughly 8 extra gourds per crop per day.

Note: using “Remove” on a crop does not return the seed. Your seed is lost.
Harvest efficiently with jump
The default mystic skill for harvesting isn’t practical. Instead:
- Use “mighty drop” (jump + q) to harvest.
- Use the mystic skill for fertilizer spreading instead.
Upgrade your facilities
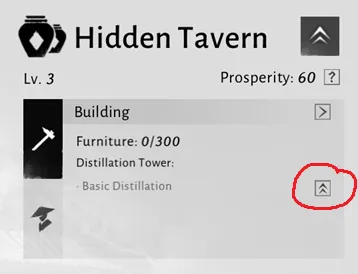
Easy to miss: upgrade your facilities by tapping the double up-arrow button.
Retainers
Retainers sheet guide
You can take a look at detailed LittleMissAngel Retainer guide
Enhance retainers
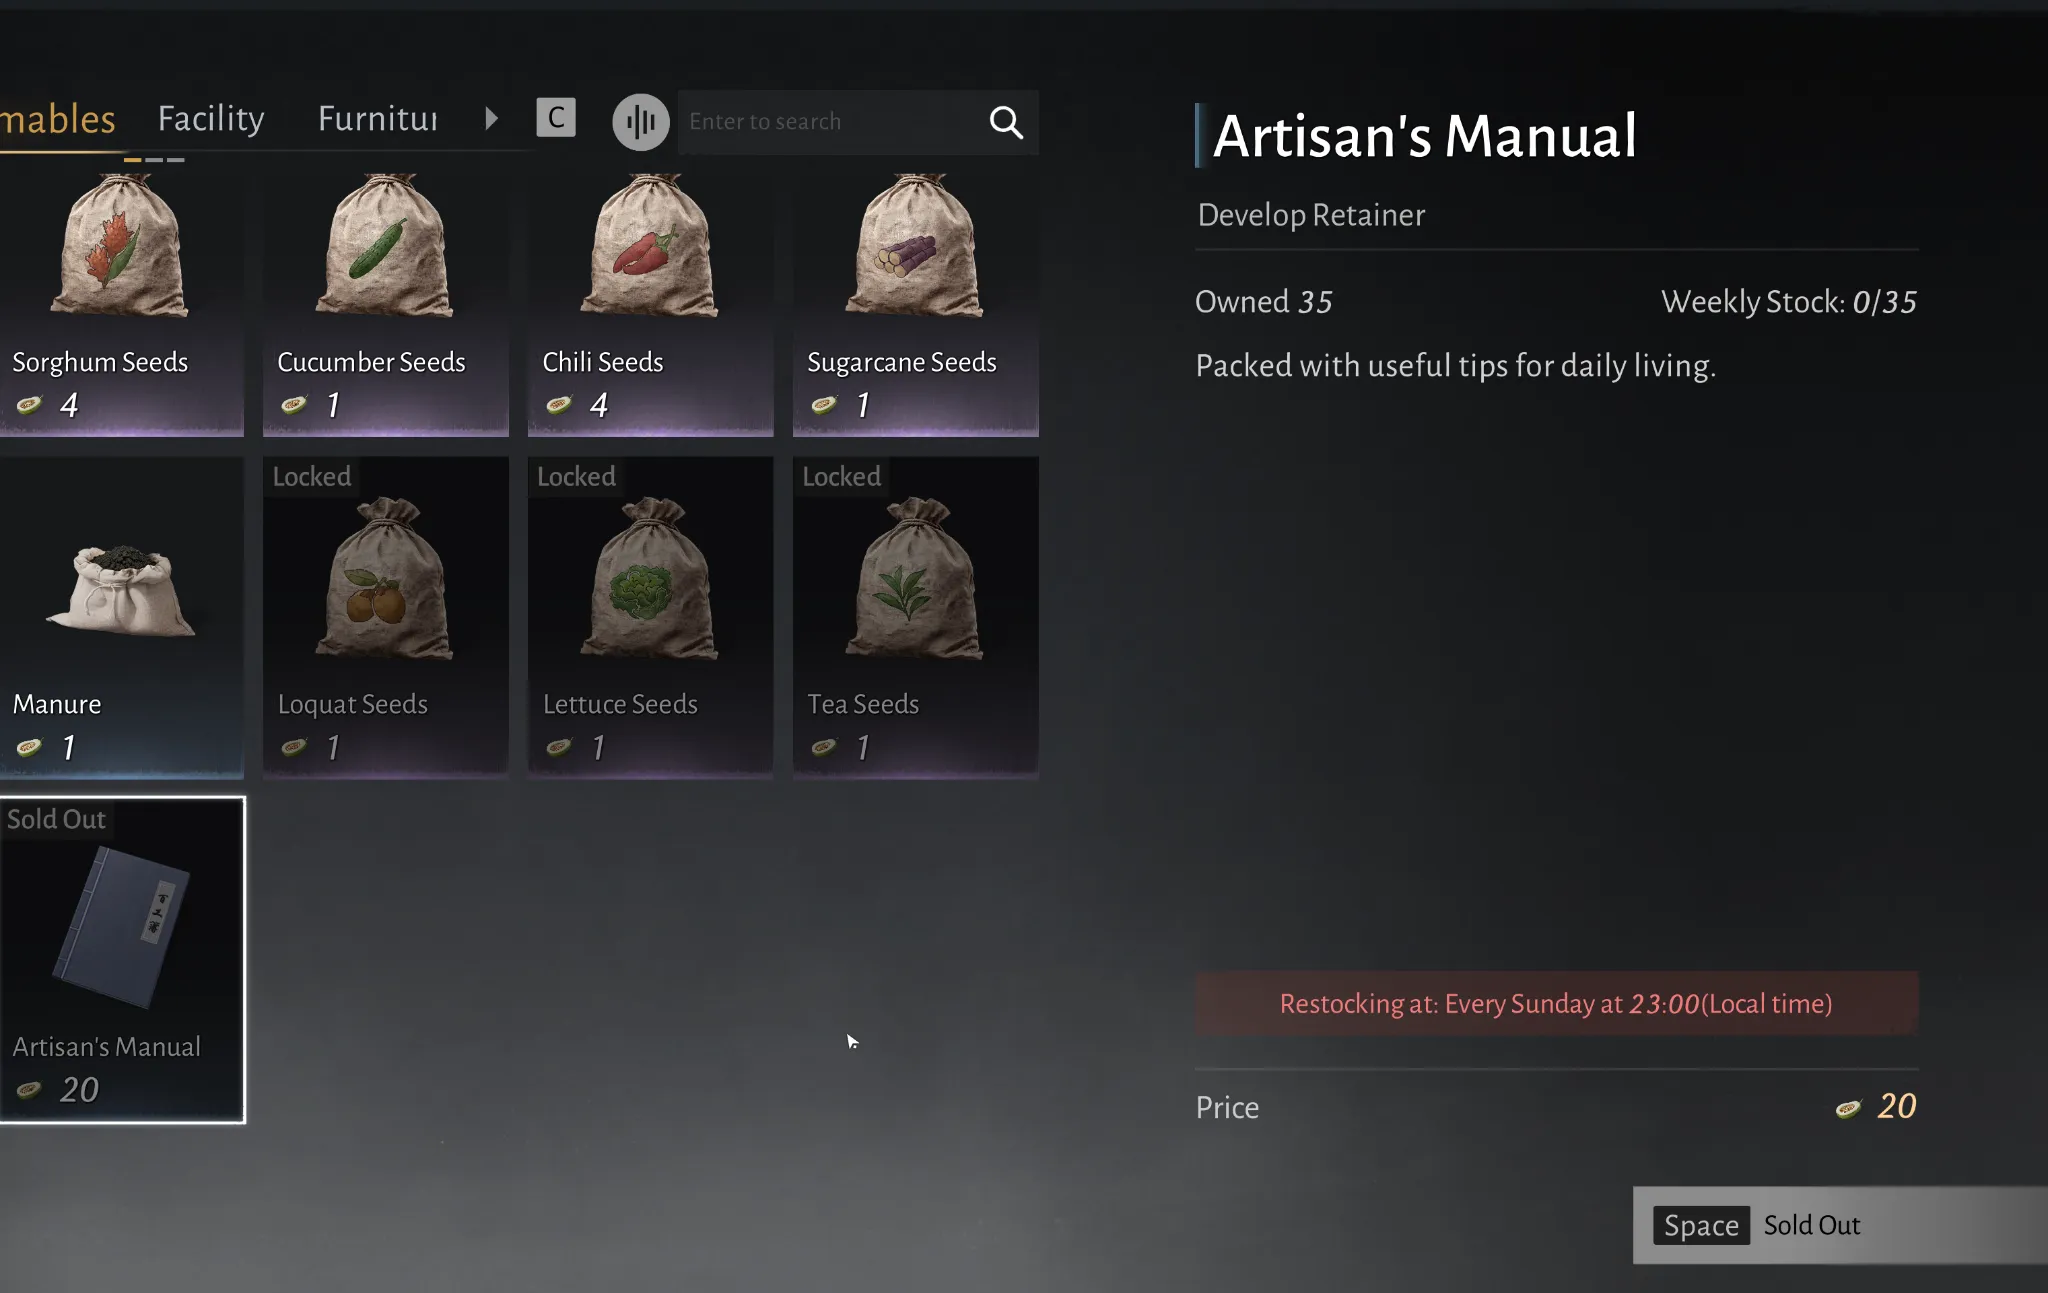
Buy artisan’s Manual every week. You need to level up your characters and you are limited per week.
Here an example how retainers efficiency work:
Assume Worker A has 107% efficiency (+7%)
Assume Worker B has 105% efficiency (+5%)
The new production time for having worker A and B is:
45 min ÷ (1 + 7% + 5%) = 45 min ÷ 1.12 = 40 min 11 sec
Confidant Retainers (Gold workers)
- You can only choose one Confidant Retainer per week.
- Choosing Shen Yu as your Confidant Retainer also gives you Xiao Shi: two workers for the price of one.
- Choosing the 3 Zhang Brothers also is recommended: you have 3 workers for the price of one.

Advanced Stages
Optimise prosperity
Use items which cost 100 gourds and give 10 prosperity in priority (such as single bamboo).
Find below the prosperity/gourd ratio (higher is better). The cheaper the item, the better the ratio.
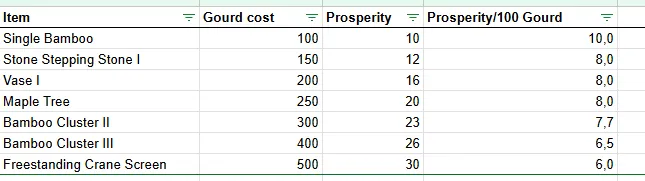
If you are overwhelmed with wood, you could also use some Kaifeng structures, which gives 12 prosperity. Careful, this method is costly in terms of wood.
Recycle your prosperity items
If you’ve already spent gourds on costly items, you can recover them. Recycle your components first, then use the Dismantle option at the bottom of the build page.
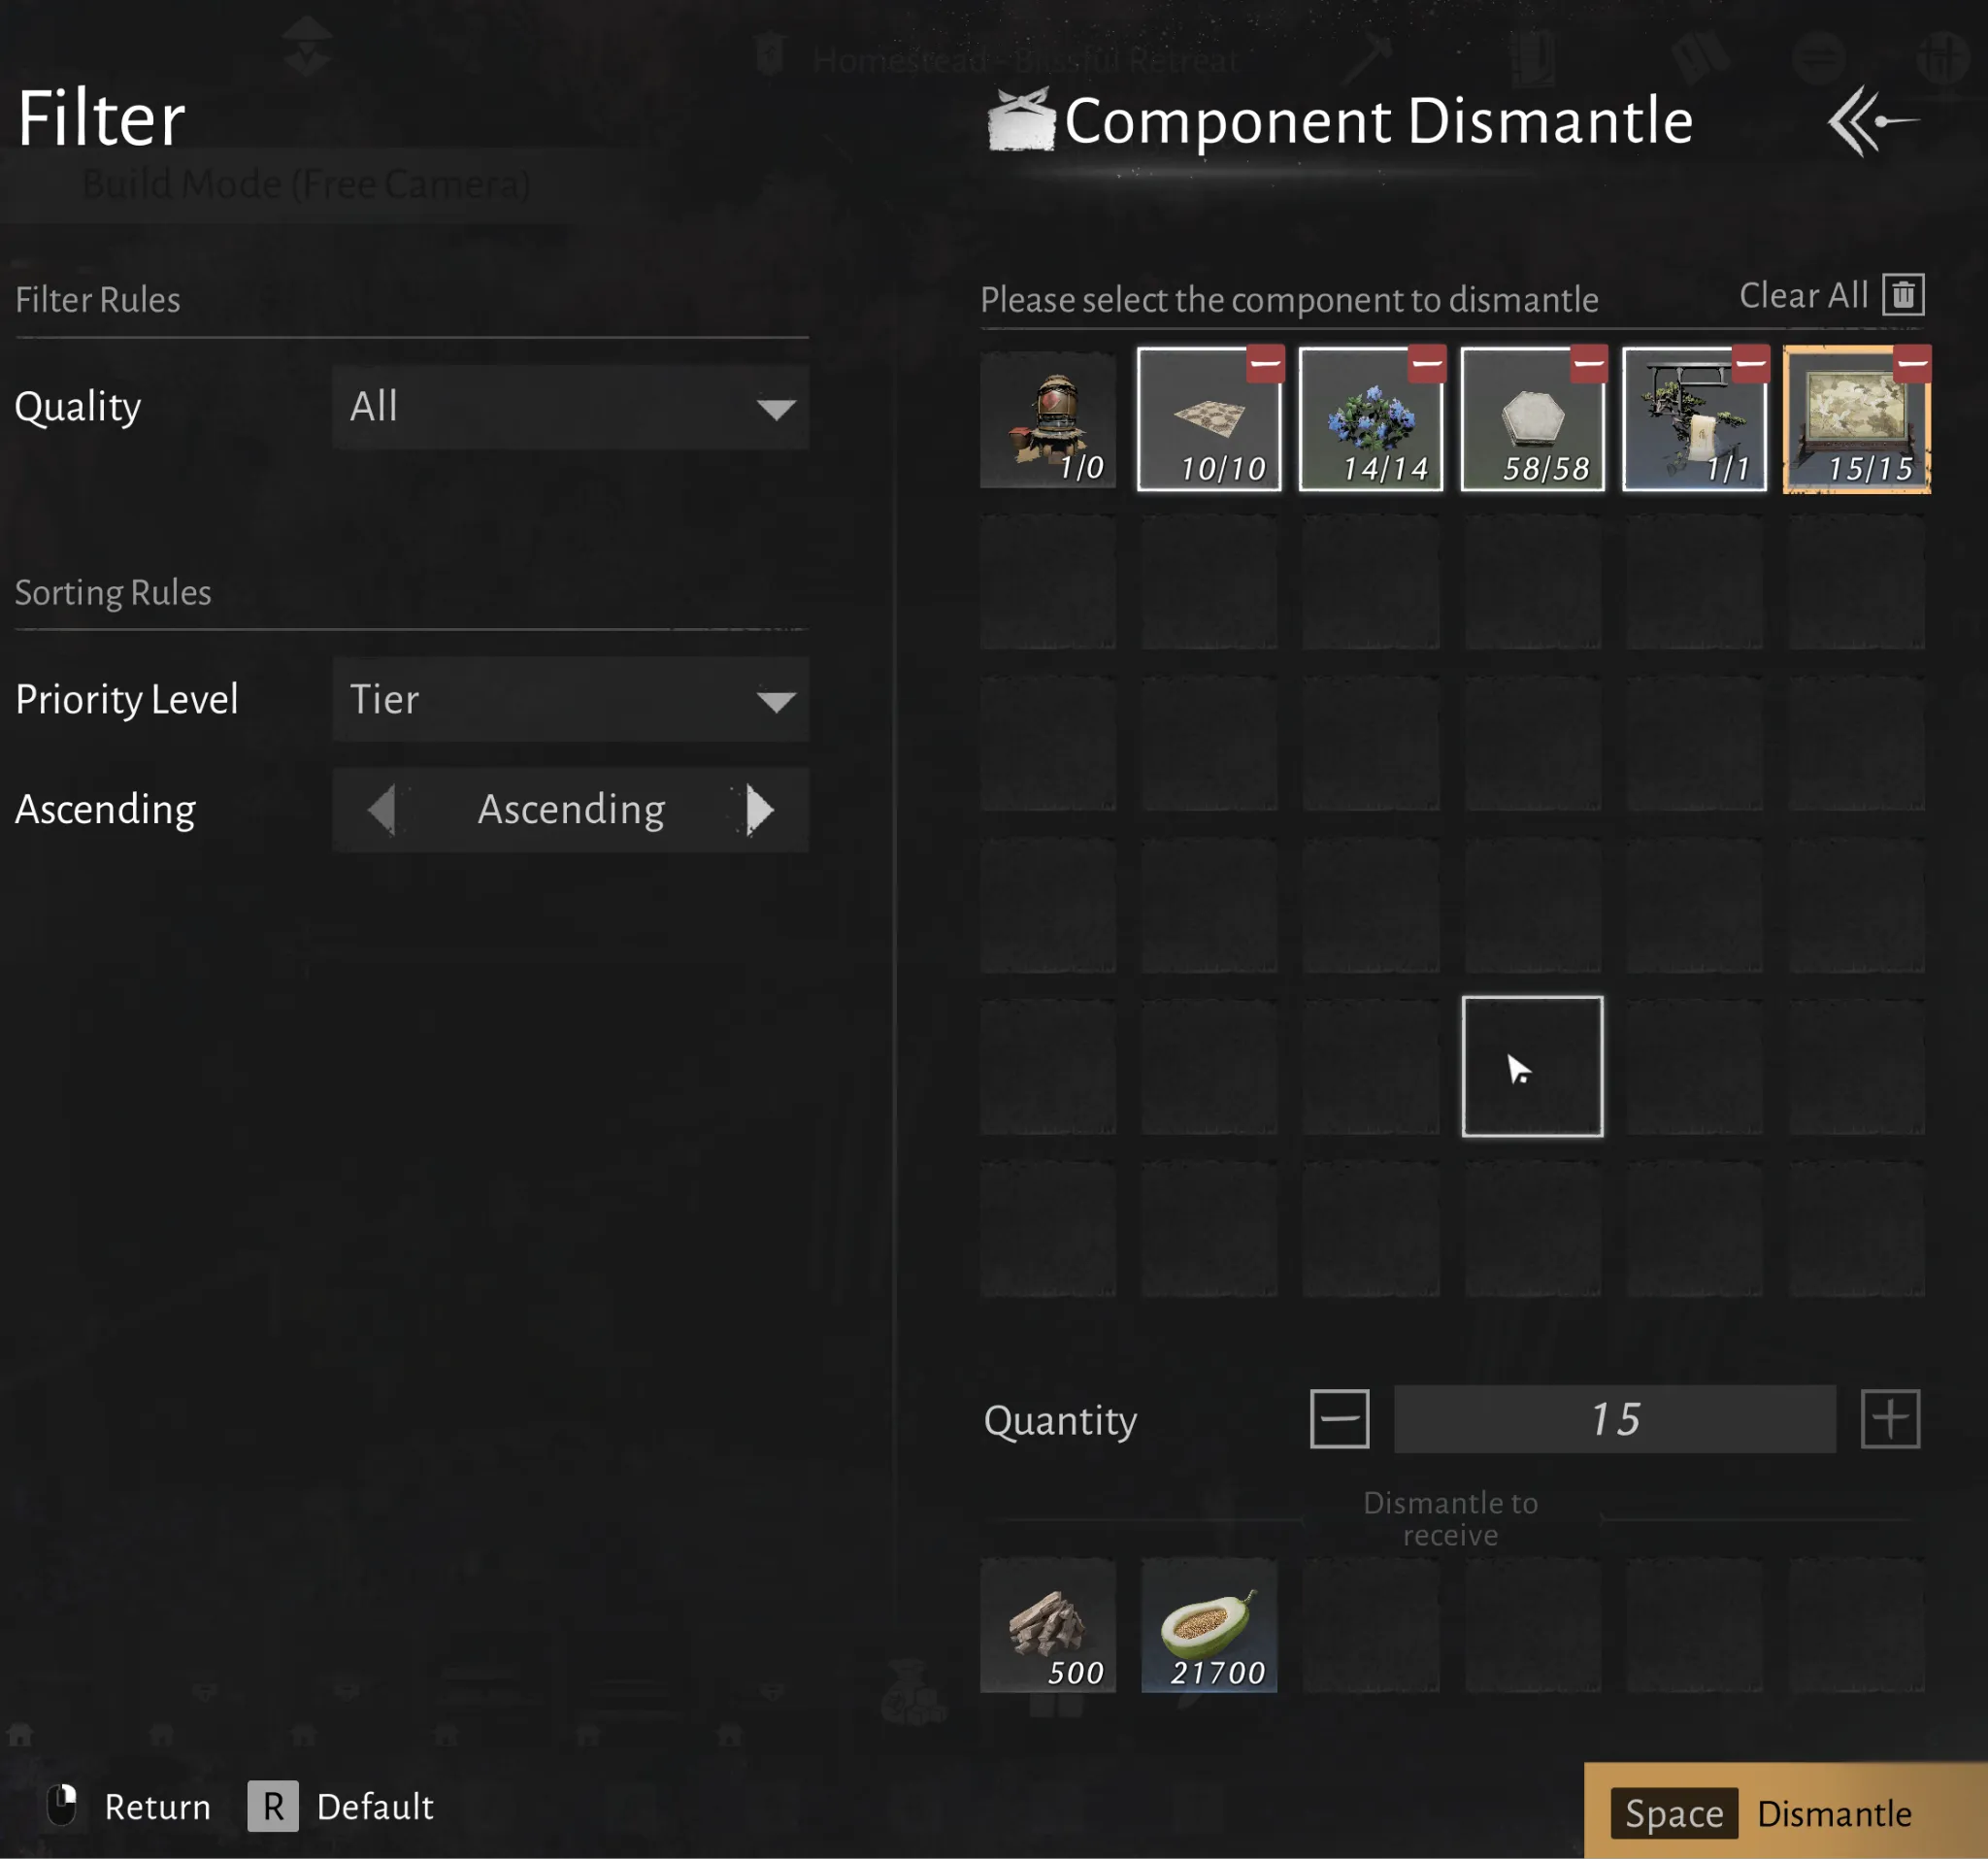
Note: normal buildings do not contribute to prosperity. Only items in the Homestead section count toward prosperity. (With the exception of the 3 Golden Grain components)
Golden Grain
When optimising for Prosperity, make sure not to forget turning your Golden Grain into prosperity.
This process is reversible! You do not lose golden grain by doing this and can always reclaim it.
All 3 of the 3.5k Golden Grain Building Components provide 150 prosperity each. The same amount as 15 ‘Medical Kit’ items.
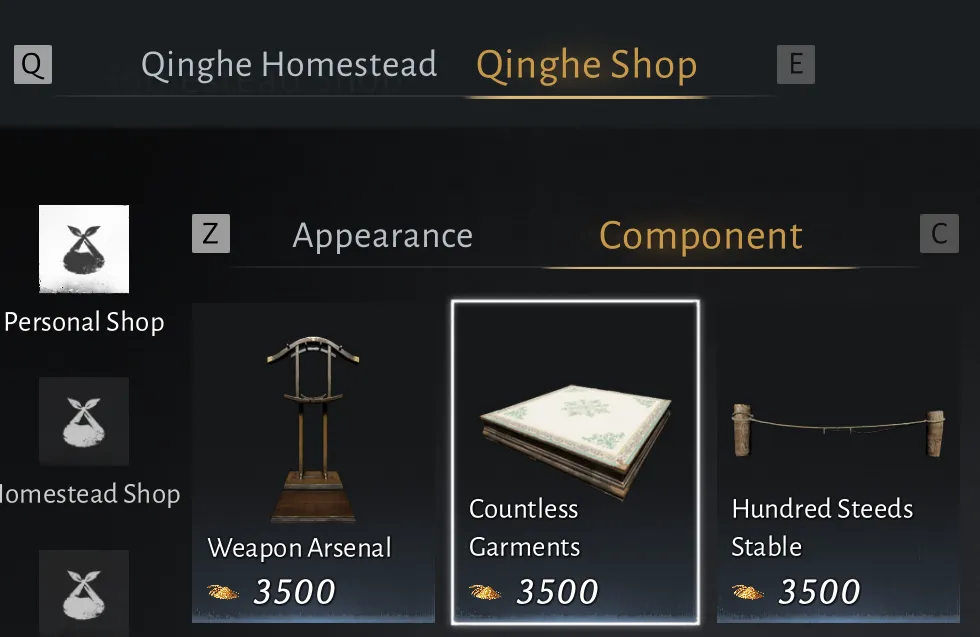
While this will not provide a large amount, in the race to the top every drop of Prosperity is important!
You can find these items in the Personal Building Components.
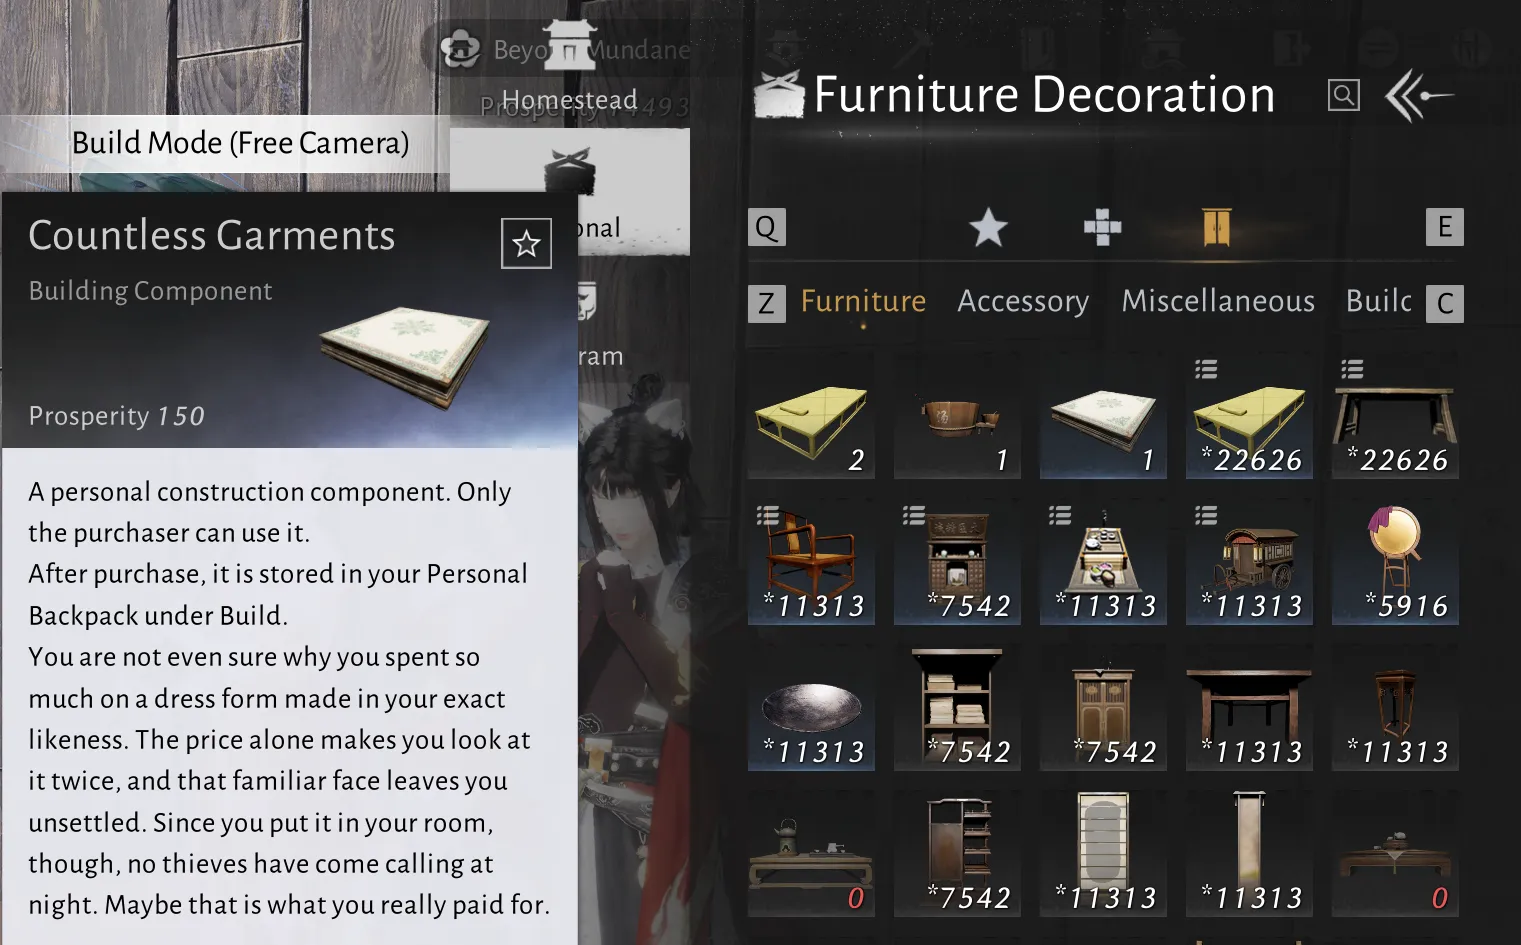
Reclaim your Golden Grain by dismantling the component.
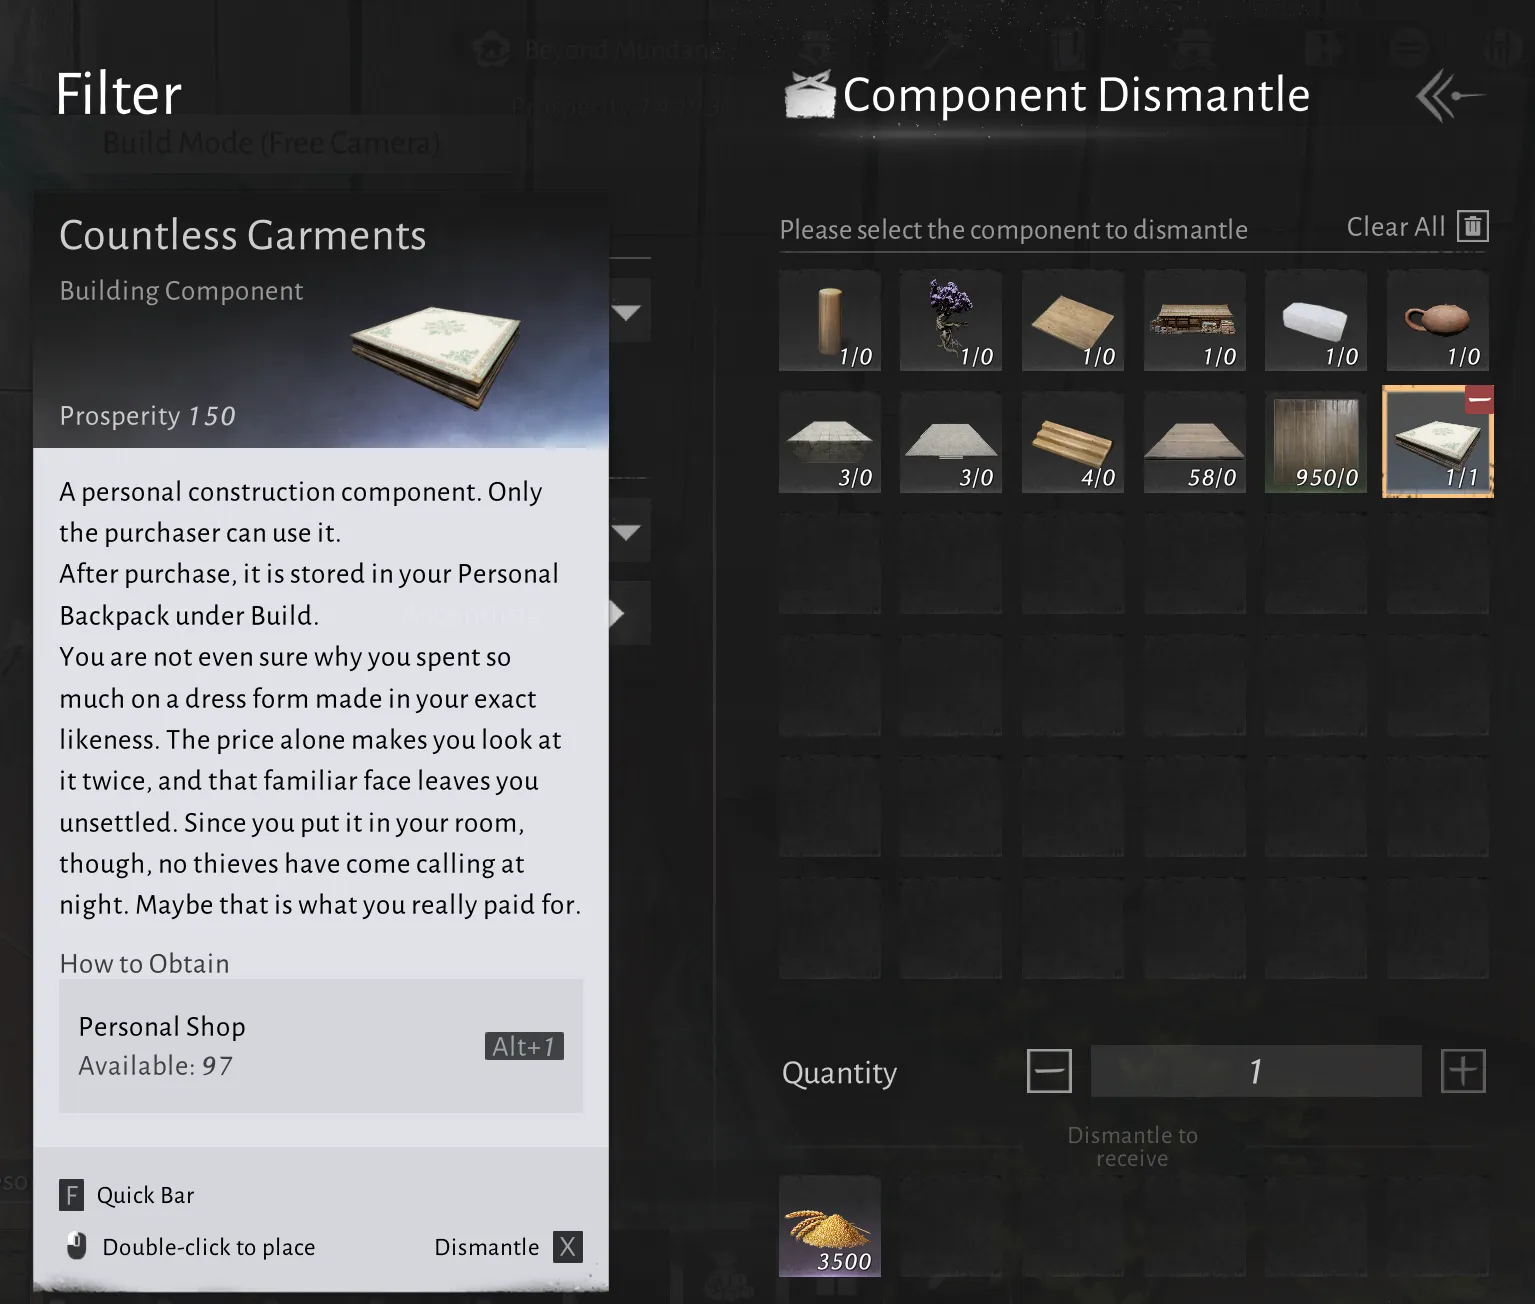
About vigor aka feed your workers
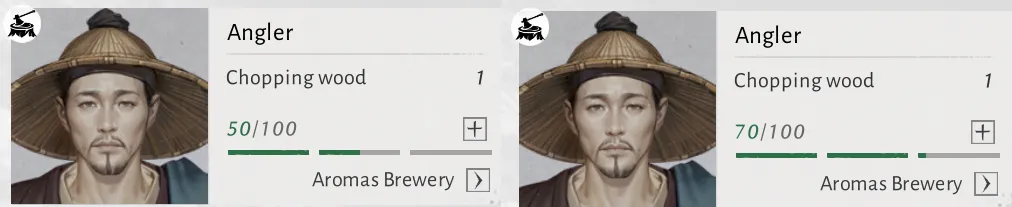
Food gives 20 energy per food level. For example, level 1 food restores a worker from 50/100 to 70/100 energy.
Souvenir gift for your NPC
Ever wondered what the “Souvenir Selection Box” is for?
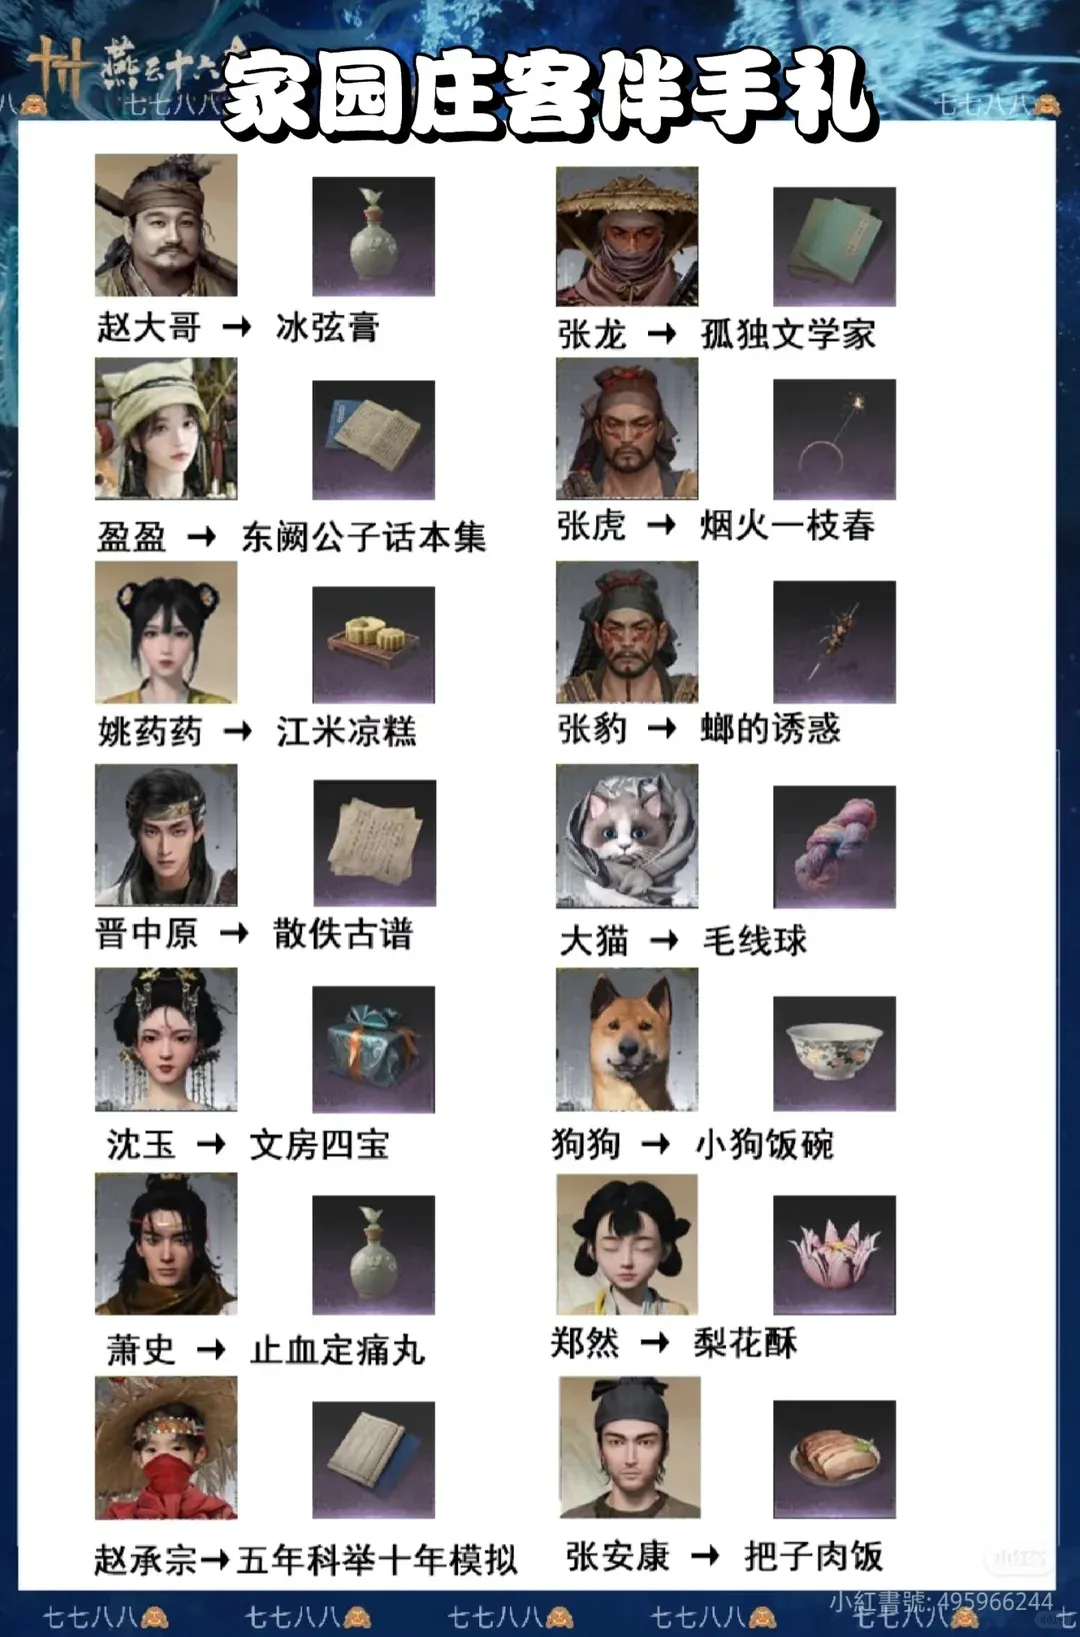
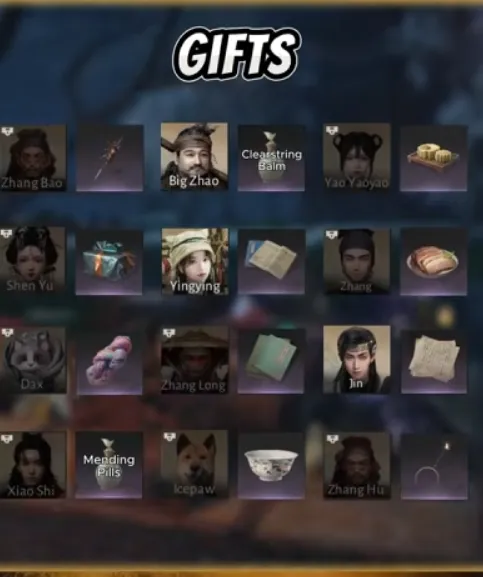
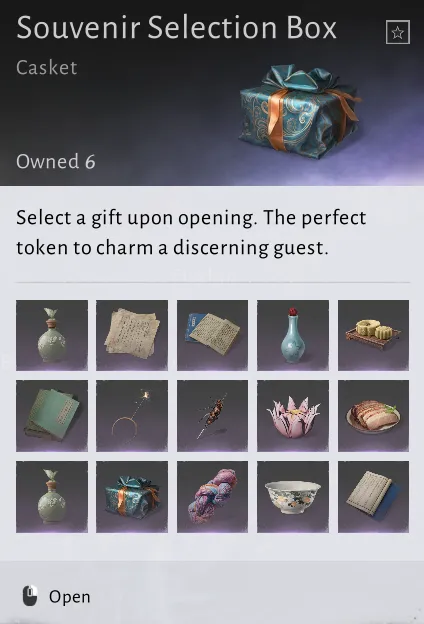 Occasionally, an NPC hosts a dinner party event where you can bring them a gift. See the NPC/gift mapping below.
Sell your goods
You can decide to sell your Homestead Warehouse items with “Trade for Profit”.
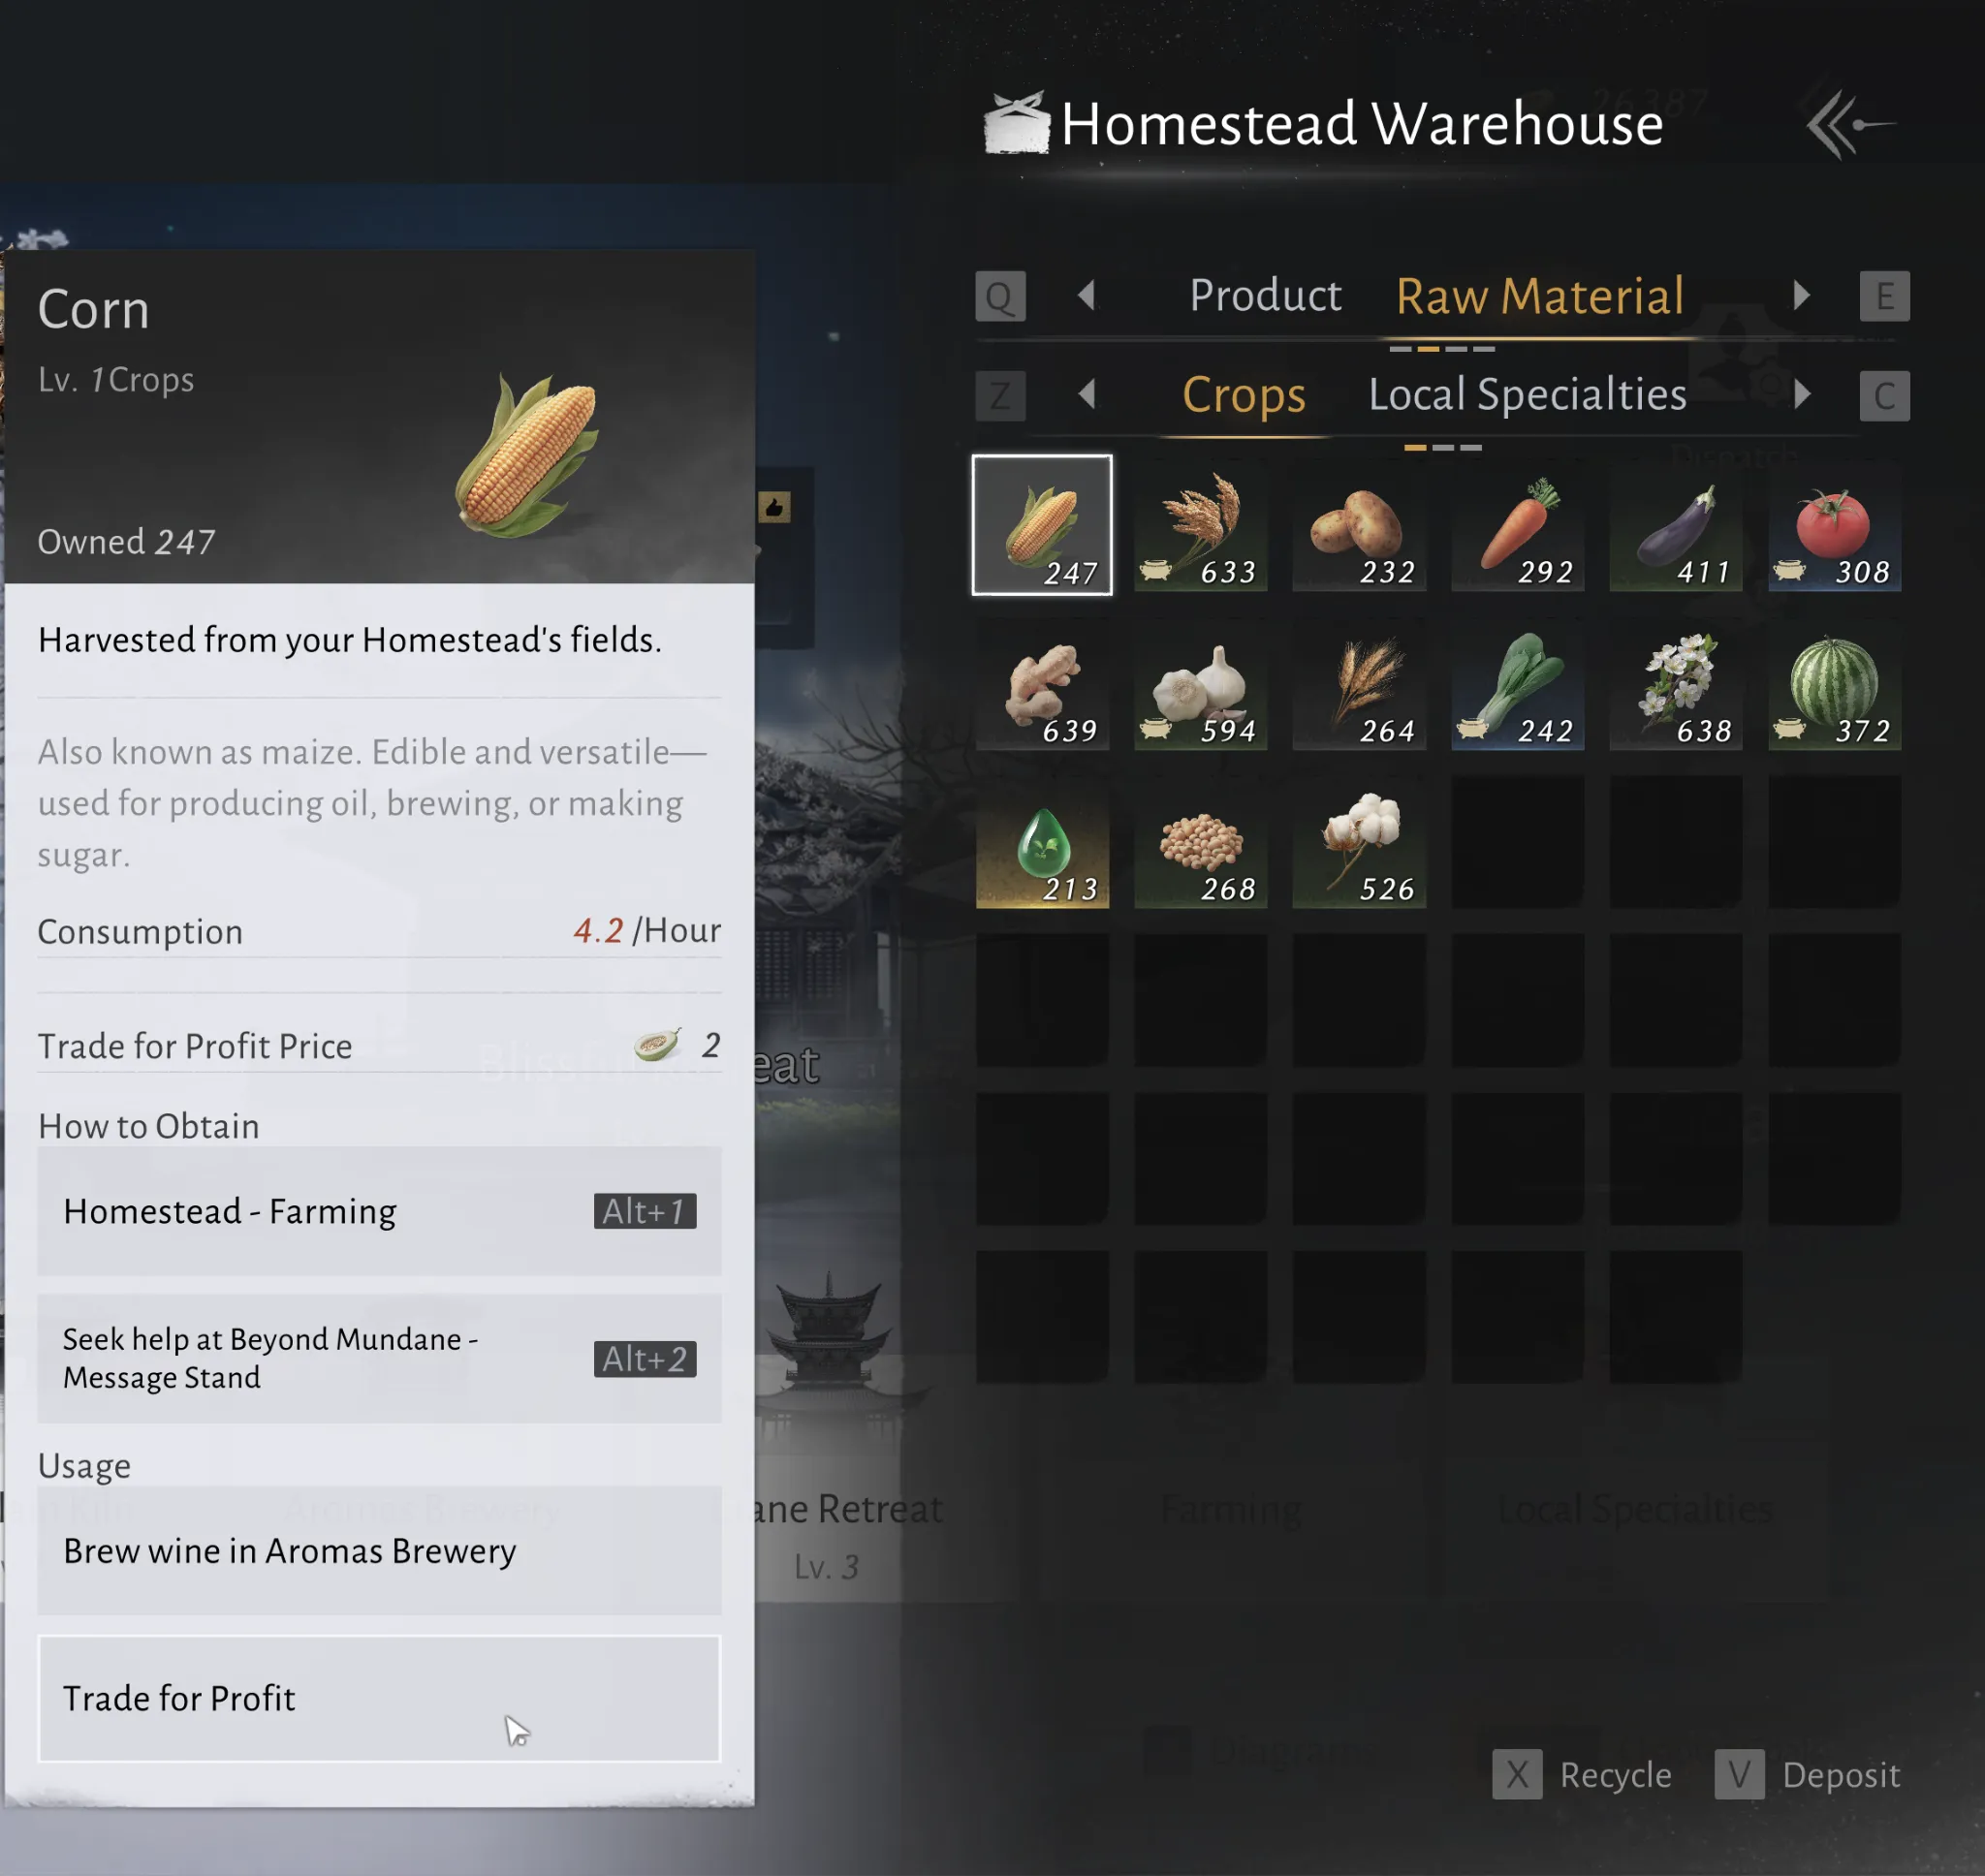
Buy raw goods with normal/commerce coins
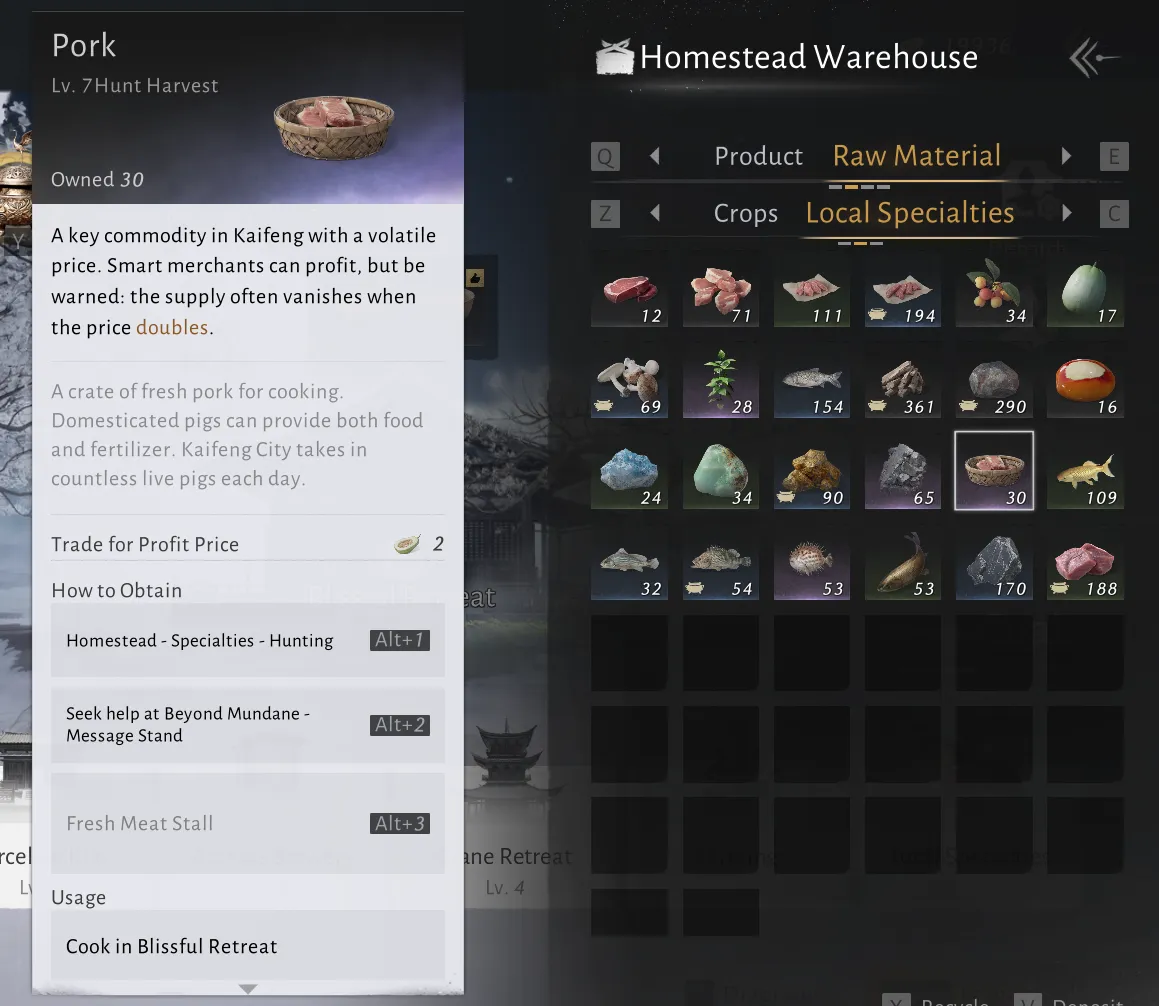
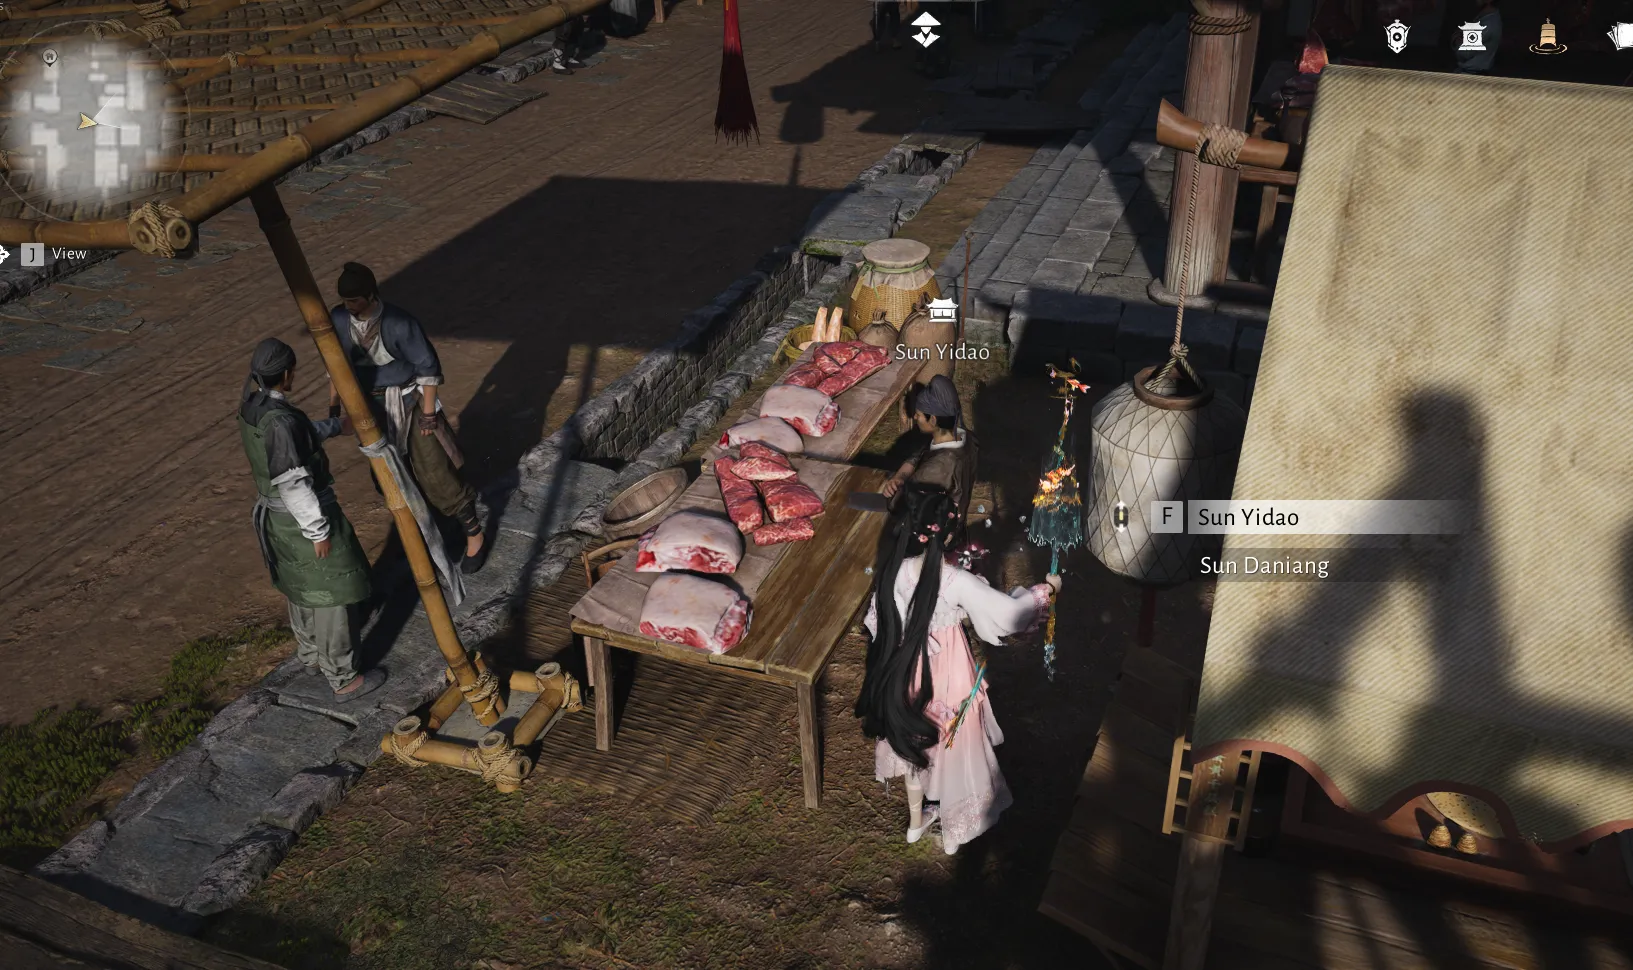
You can buy raw materials directly from merchants in the solo world using normal coins. Plan ahead and also buy items you’ll need for future levels.
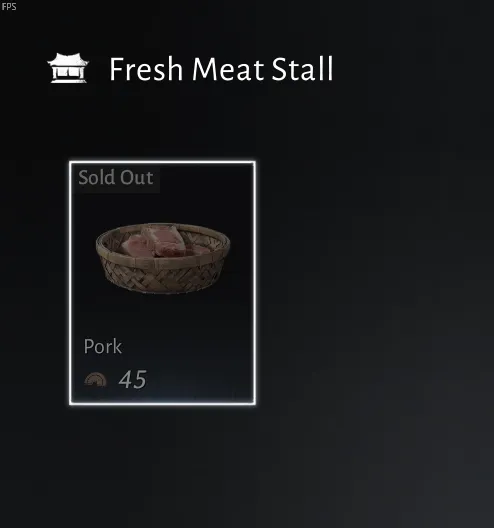
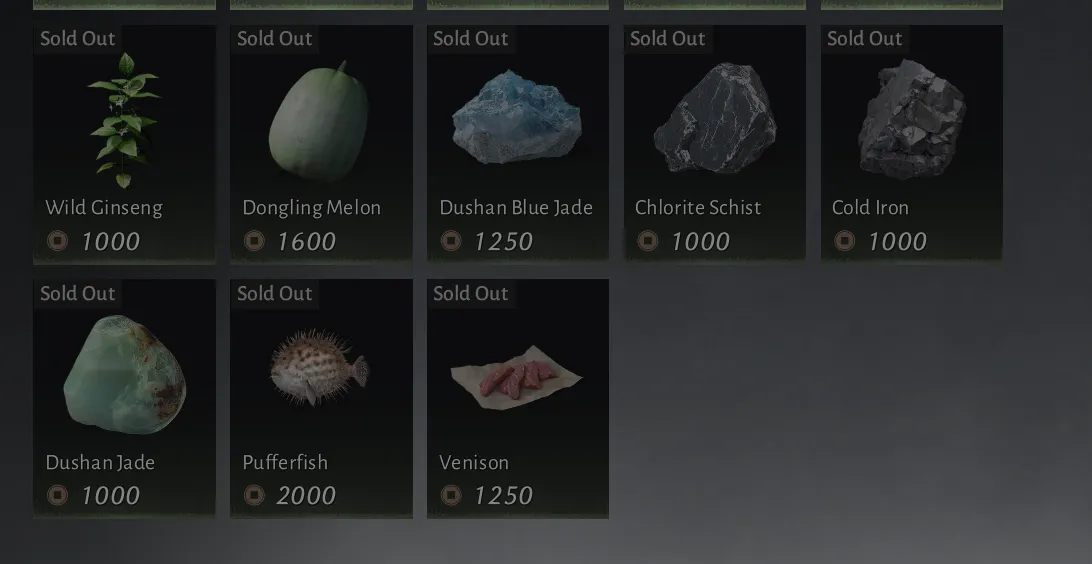
Industry Zones And You!
Homestead components can only be placed in ‘claimed’ areas of the map. These areas are what we call Industry Zones.
If you ever had the courage to click the prosperity list button in the homestead upgrade screen, then this list will be familiar to you.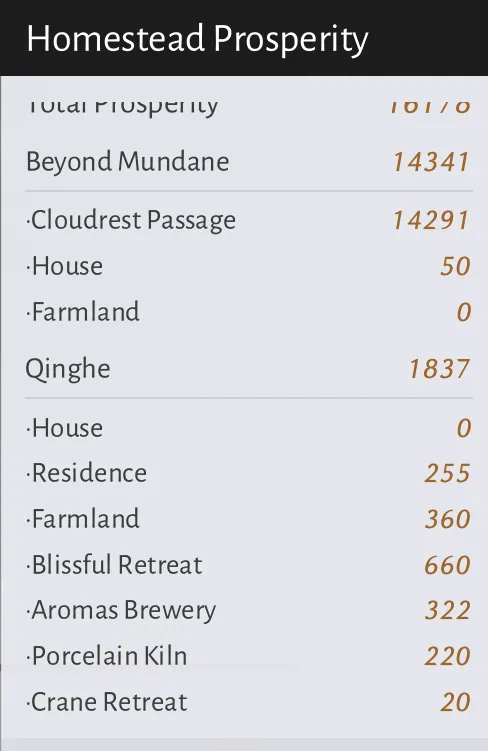
The list differentiates between 2 areas:
- Beyond Mundane
- Qinghe
Beyond Mundane is the private island unlocked during the homestead tutorial (more on that later) while Qinghe is the normal map we all know and love.
Beyond each of the 2 headings the game lists a bunch of names.
- Cloudrest Passage
- House (player home)
- Farmland
Are listed for Beyond Mundane.
- House (player home)
- Residence (npc home)
- Farmland
- Blissful Retreat
- Aromas Brewery
- Porcelain Kiln
- Crane Retreat
These are the Industry Zones!
And even better, this list also tells us where each industry zone is allowed to exist.
This means that apart from the Farmland and House industry, all other Industry Zones can only exist within Qinghe.
(Note: This is in part because the ‘Cloudrest Passage’ Industry Zone combines all the other zones into one)
The number to the right of each Industry Zone Name is how much prosperity is held up in the Industry Zones of that type.
Every Industry Zone Type comes with its own map marker and the ability to teleport there.
For players that do not care about building pretty homesteads, Industry zones can function as player specified teleport points. You can place your own Waystones!
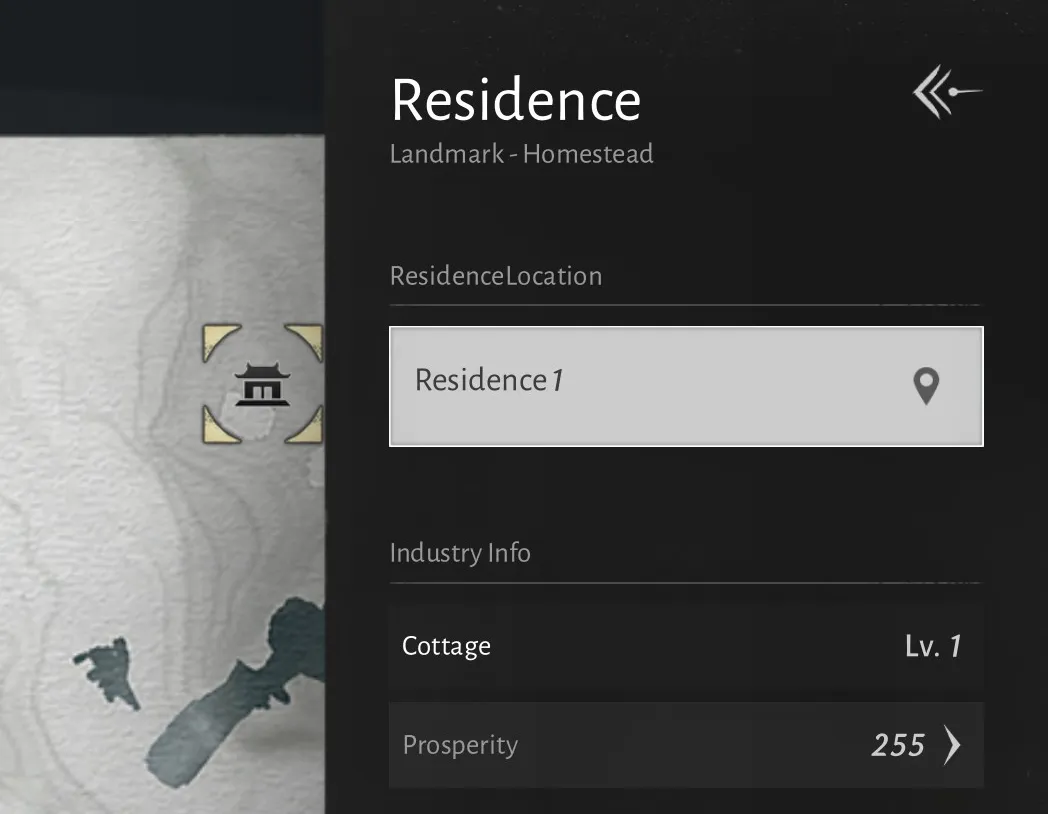
Clicking on the mapmarker gives us all basic information on that Industry Zone type.
What we can see here depends on the industry, but the two lines under ‘Industry Info’ will always be a constant across them.
The first line ‘Cottage Lvl. 1’ just shows us the level of the Industry Zone.
Prosperity too is rather self-explanatory; This just shows us how much prosperity the Furniture placed within the selected Industry Zone gives.
Now we click on ‘Prosperity’:
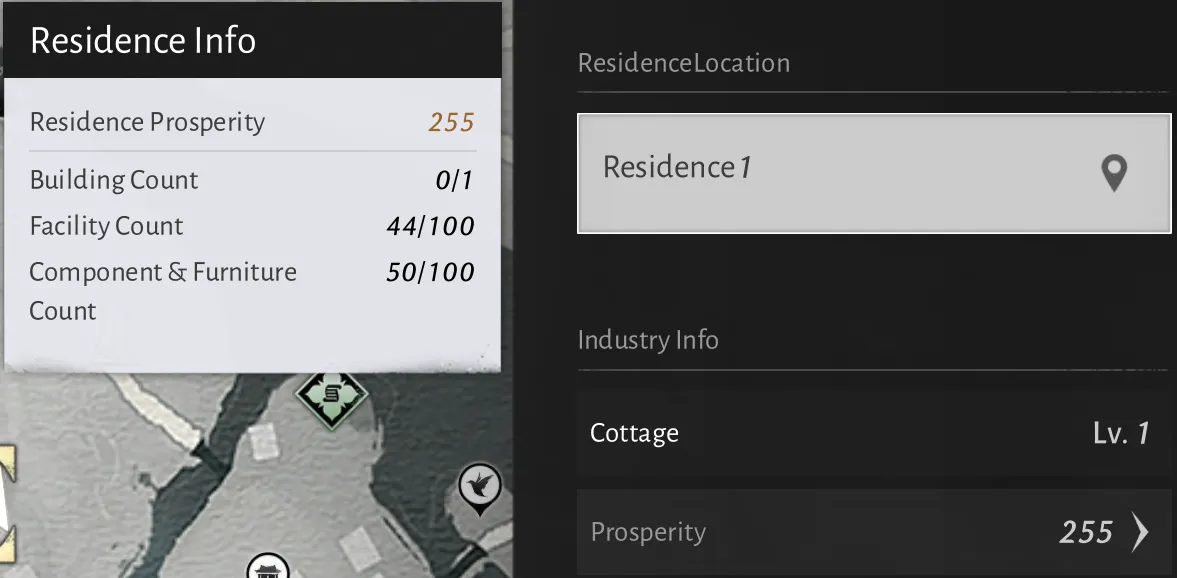
Here we can see how much we can place inside our Residence.
As we can see…. We are not allowed to place a whole lot.
We are allowed to place 1 prefab building, 100 Beds (the only facility for this type of industry) and 100 building components. This limit counts both Homestead Components (like rocks) and Personal Building Components.
A List Of Industry Zones And Their Properties.
Icon
Name
Function
Movable?
Beyond Mundane?
Placement Limit
Max Furniture

Blissful Retreat
Cooking and Catering
NO
NO
1
2000(lvl 10)
200 at lvl 1
+ 200 per lvl

Crane Retreat
Retainer Recovery
YES
NO
1
1000(lvl 10)
100 at lvl1
+ 100 per lvl

Porcelain Kiln
Pottery Production
NO
NO
1
1000(lvl 10)
100 at lvl1
+ 100 per lvl

Aromas Brewery
Wine Production
NO
NO
1
1000(lvl 10)
100 at lvl1
+ 100 per lvl

Farm
Grow Crops
YES
Yes
4 (lvl 7)
3 (lvl 5)
2 (lvl 4)
1 (lvl 1-3)
0

Residence
(House)
Cosmetic
YES
Yes
2 in Cloudrest,
2 in Qinghe.
Total: 4
2000

Residence
(Npc)
Npc Beds
(Maximum working retainers)
YES
NO
20
100
Making Industry Zones:
First, note that it is only possible to create Industry Zones of movable industries.
Creating an Industry Zone is easy. Just place one of the associated buildings where you want the zone to be!
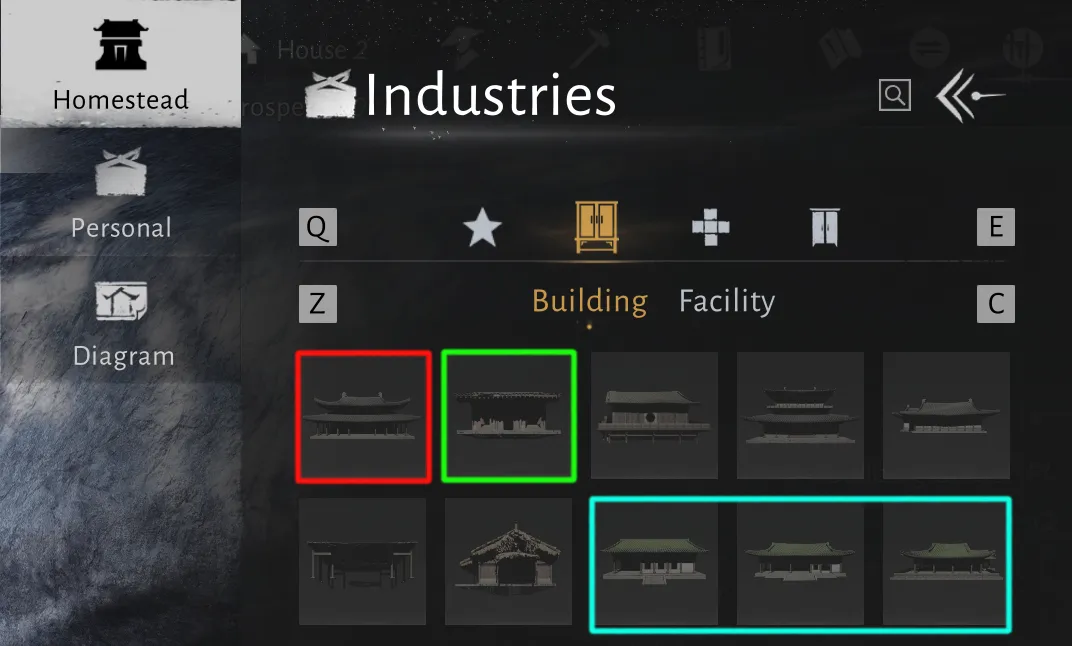
In order these buildings link to:
- [Red] Residence (Player)
- [Green] Residence (NPC)
- [Blue] Crane Retreat
The Farm industry is, to no surprise, created together with the Farmland.
Using Industry Zones: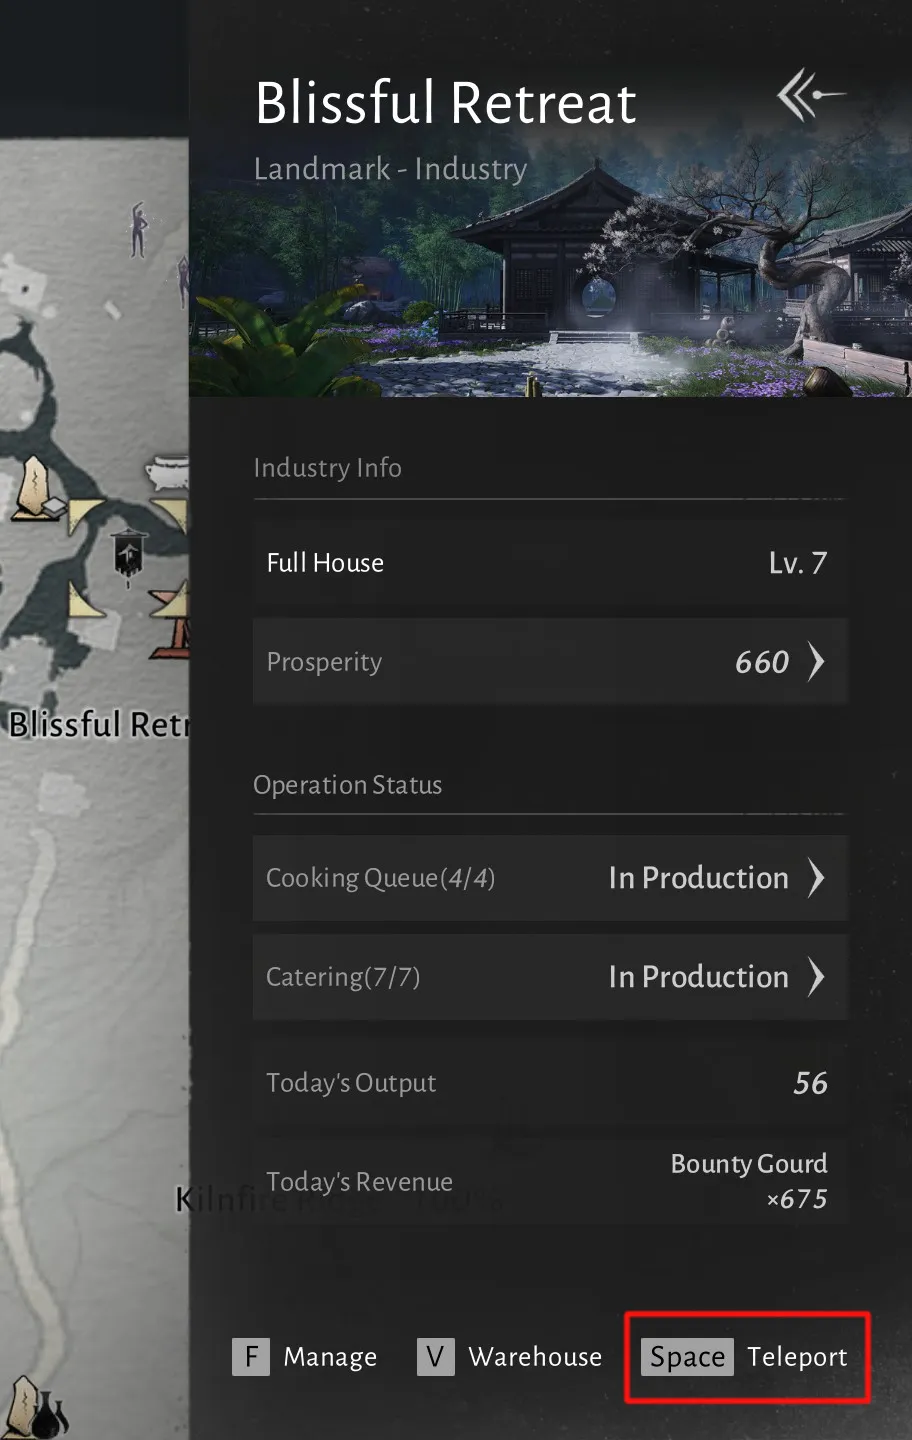
Teleporting To Industry Zones:
This is quite simple. Find where the Industry Zone you want to teleport to is on the map -> click it -> hit ‘Teleport’ in the bottom right.
Finding Industry Zones:
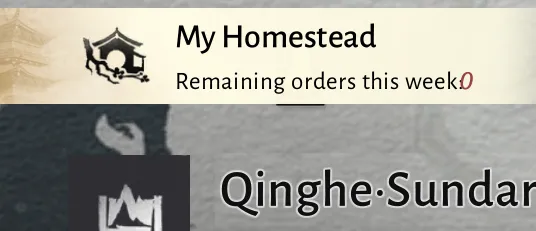
All Industry Zones are listed under ‘My Homestead’
To the bottom left of the Map.
Avoiding Placement Limits In Industry Zones:
A quick glance at the component limits for most industry zones is enough to realise that building in industry zones is heavily limited by component count.
While circumventing those limitations is not possible for Homestead Building Components,
Personal Building Components that exist before the industry zone is placed will not count towards the Industry Zone’s component cap.
If at all possible, it is recommended to place as many Personal Building Components as possible before placing the industry zone. That way more component count is left for the homestead components.
Especially Npc Residences (Component Cap of 100) can prove to be difficult to detail otherwise.
Beyond Mundane - Cloudrest Passage
Beyond Mundane is a separate map where you can freely build homestead components without the placement limitations of having them in Qinghe.
For example, it is not possible to have the Brewery be next to the kitchen area in Qinghe, as the Brewery and Inn Industry zones are not movable. (The same applies to the Kiln Industry)
The Cloudrest Passage Industry Zone, which covers the entirety of the buildable area in Beyond Mundane, Has 3 fundamental building limits:
- Building Count: The absolute number of prefab buildings you can place in the zone. (Due to the individual buildings also having placement limits you will not actually be able to reach this limit)
- Facility Count: The maximum number of Industry Facilities you can place. Think Stoves, Kilns etc.
- Component&Furniture Count: The absolute number of building components, both Homestead and Personal, that can be placed in this Industry Zone.
Just like all other Industry Zones, the Cloudrest Passage has its own Prosperity counter that contributes to overall homestead prosperity, just like the other Zones do.
Apart from the ability to place all Facility components inside it, the Cloudrest Passage has one large difference to the other Industry Zones.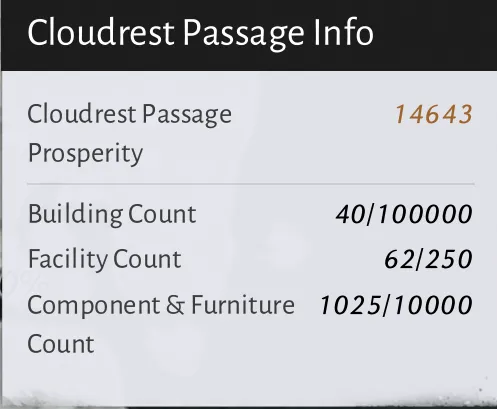
Neighbourhood Mechanics
You might notice this button while inside Beyond Mundane. Click it!
You should see something like this!
These are your Neighbours
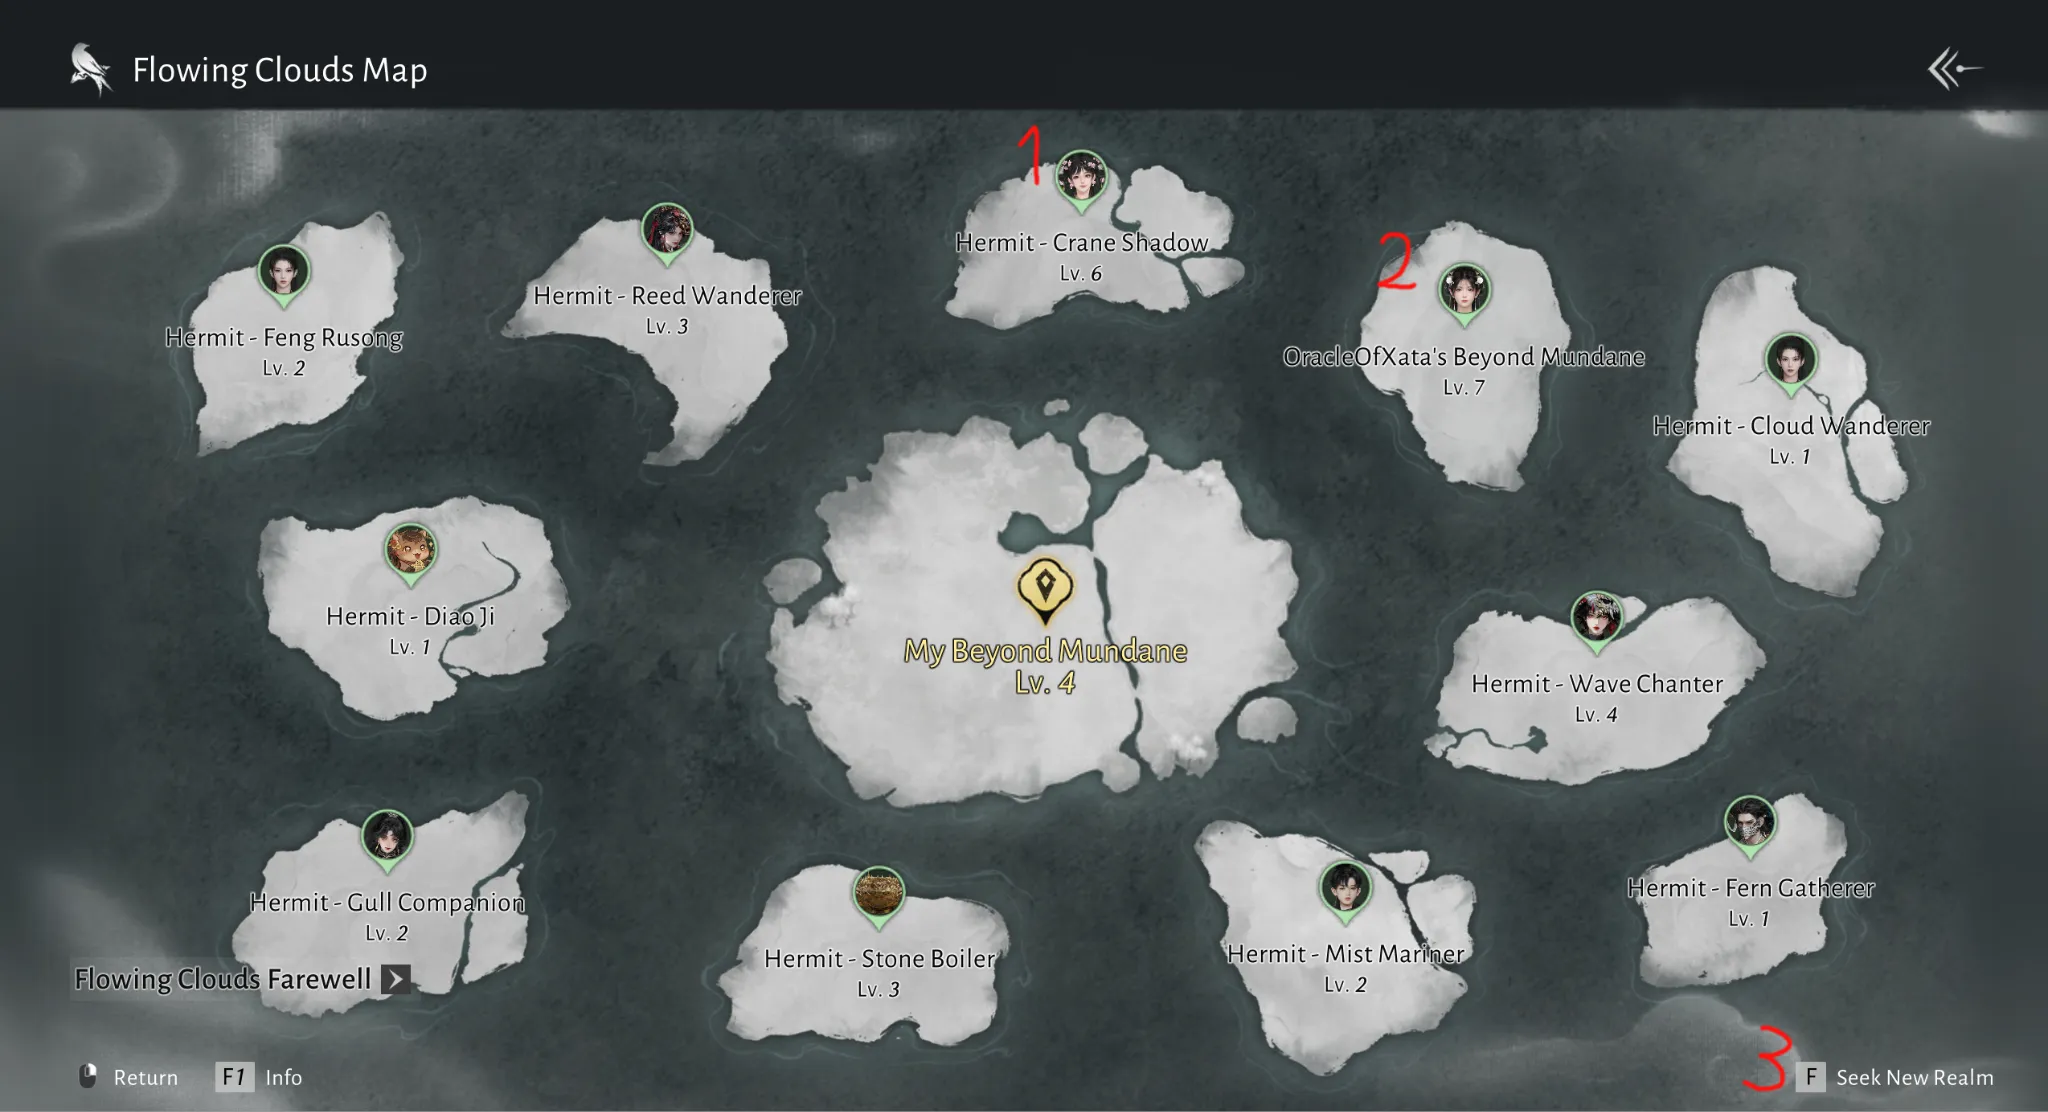
- This is another player’s Homestead. At the start you will not be able to see who this is, but by interacting with them via the special Message Board you will learn their name in time!
- This is a revealed player’s Homestead! By interacting with them we were able to learn their name. In this case the image was produced via an alt account.
- If you don’t like your neighbours, consider clicking this button! It will transport you to a different realm with different neighbours.
(If you end up in an empty realm, do not worry. More people will join in time)
The Message Board:
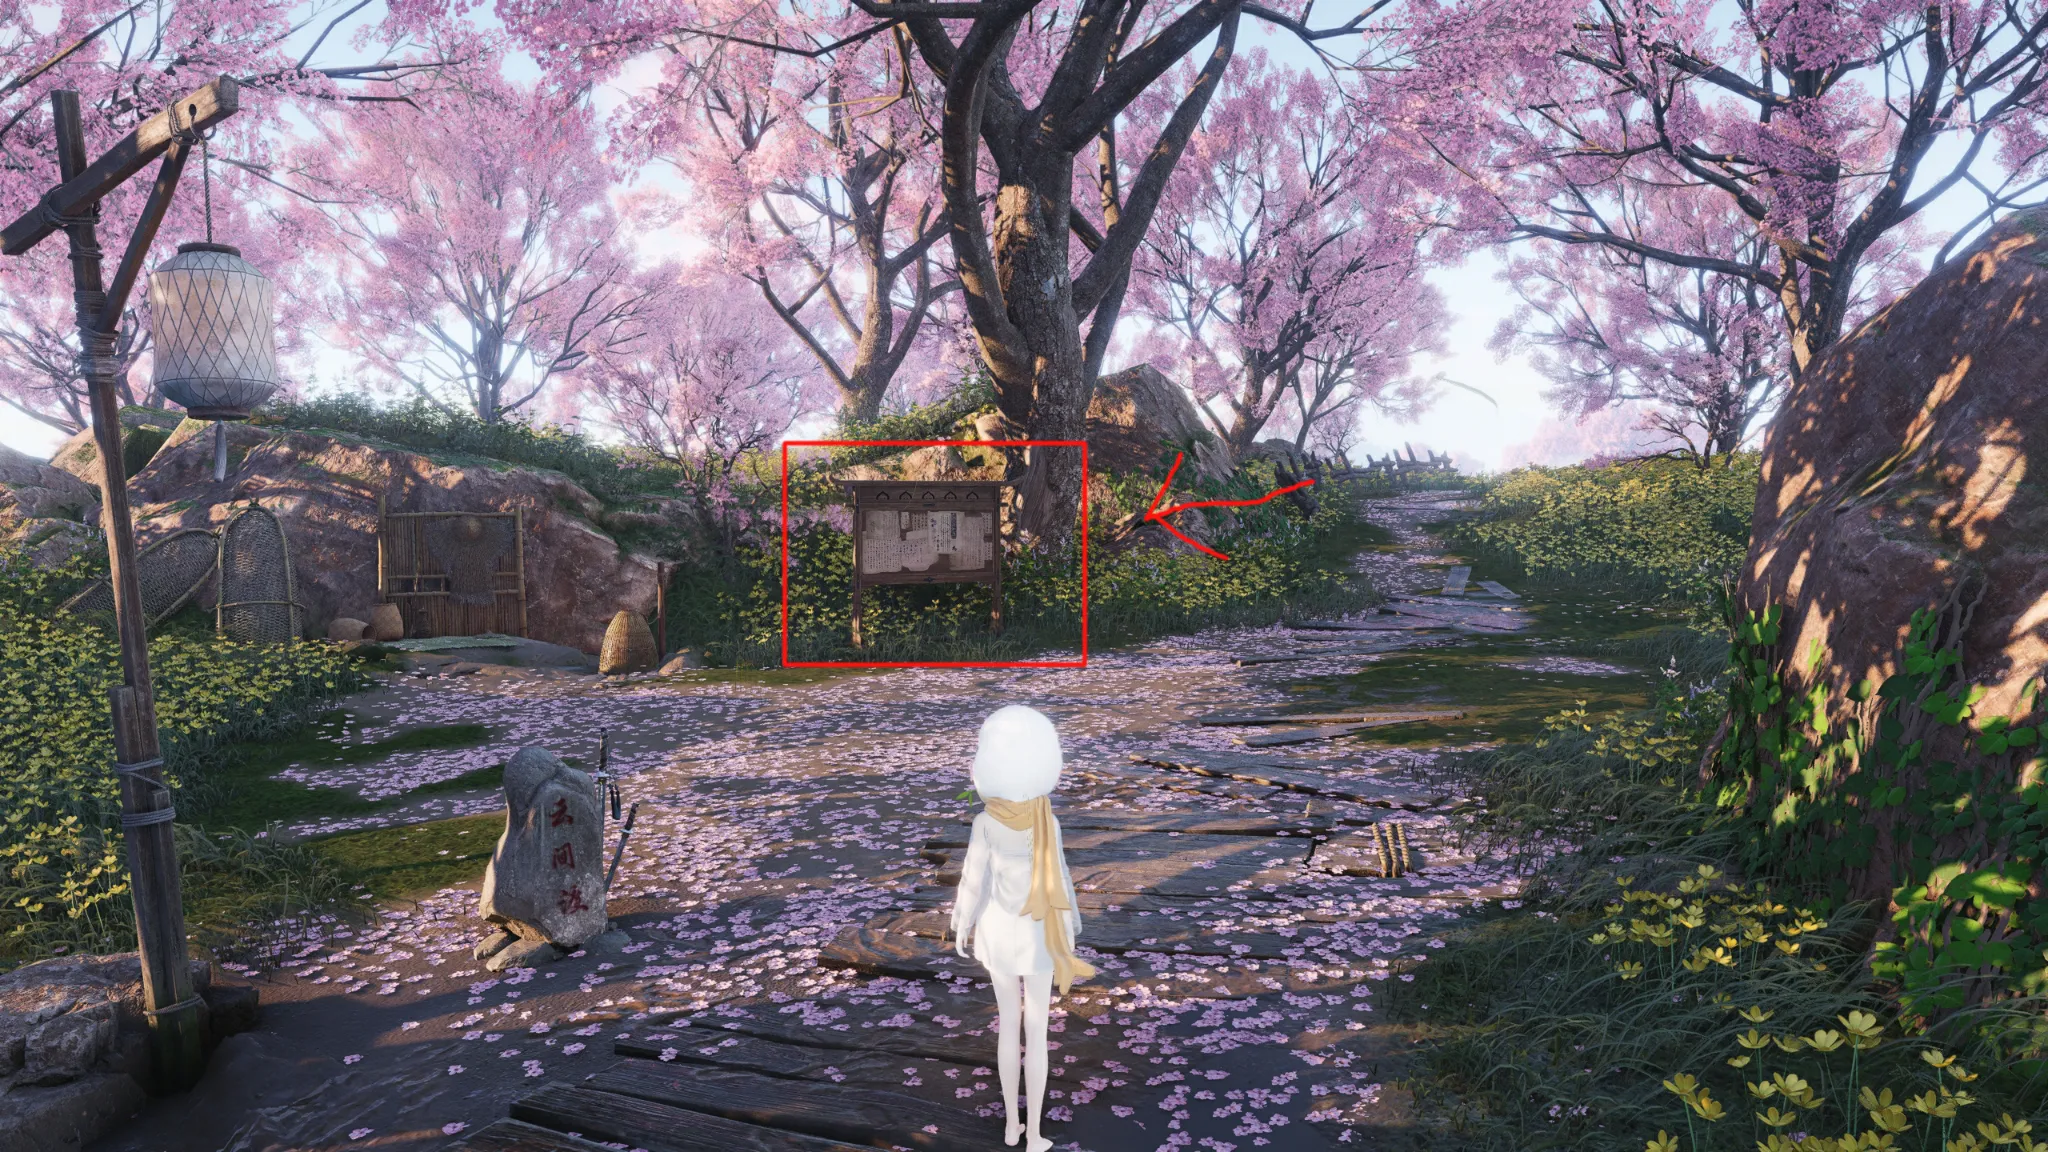
Upon teleporting to the Cloudrest Passage Waystone, you might notice a rather large board placed to the side of the path. Interact with it.
Here you can send messages which all your Neighbours will be able to see, assuming they interact with the message board.
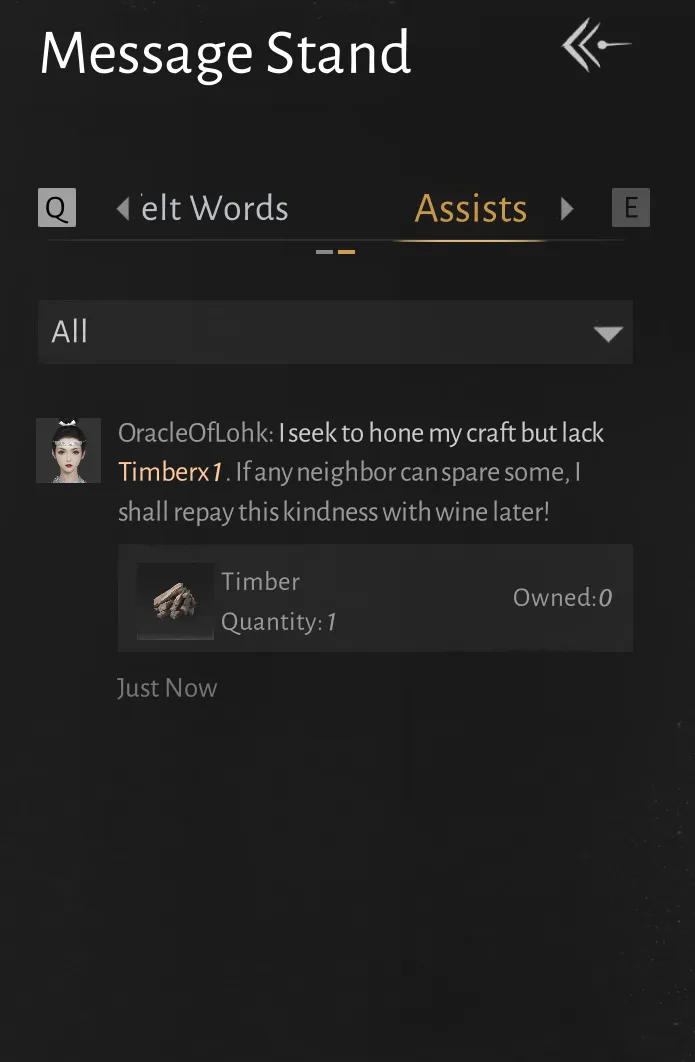
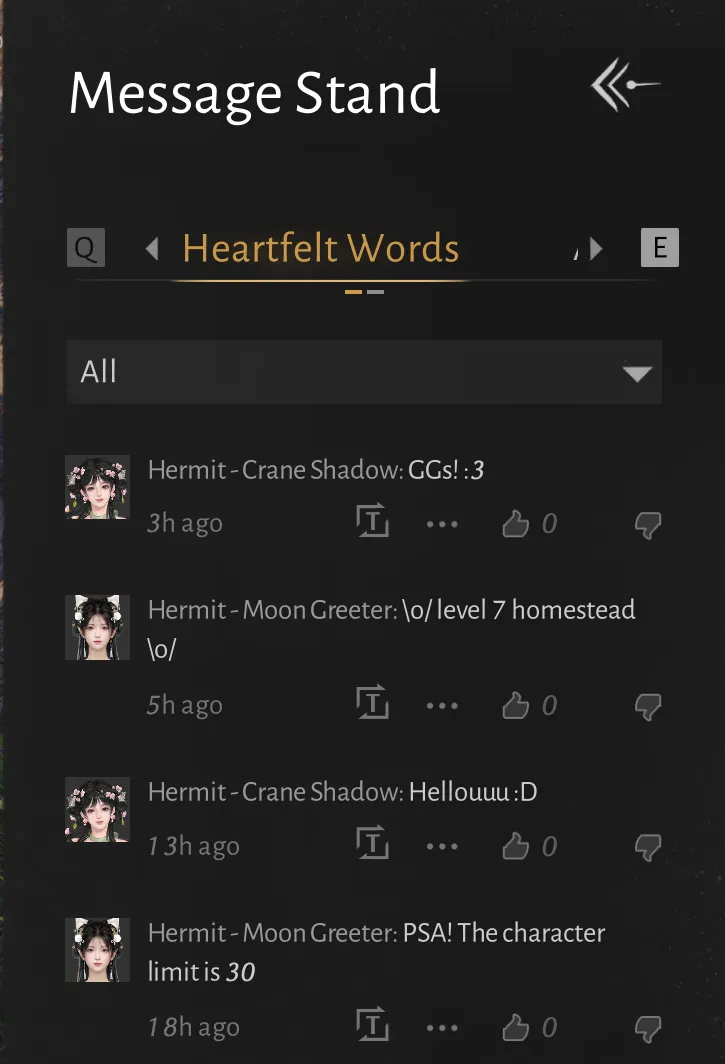
The real advantage however is the Assists Tab! Here you can request resources from your neighbours once per day. If you exchange resources with the same neighbour three times you will learn their name and be able to form a companion bond with them.
If you find a nice player willing to interact with you in your neighbourhood, consider inviting them to a Companion Bond. Why? Because the realm shifts periodically, separating you from your past neighbours.
Members of a Companion Bond stay together when the realm shifts and do not get separated. (NOTE: At this point we can not confirm if realm shifts are currently in the game)
If your neighbours do not interact with you, that’s normal. You can try finding a more active realm by manually triggering shifts, but it is unlikely that you will be put in a realm with active players.
As a measure of thumb: Homestead level 3 means barely finishing most of the tutorial. Level 4 is pretty much finishing the tutorial.
Level 5 and above players are most likely to be active, so be on the lookout for those.
Other tips
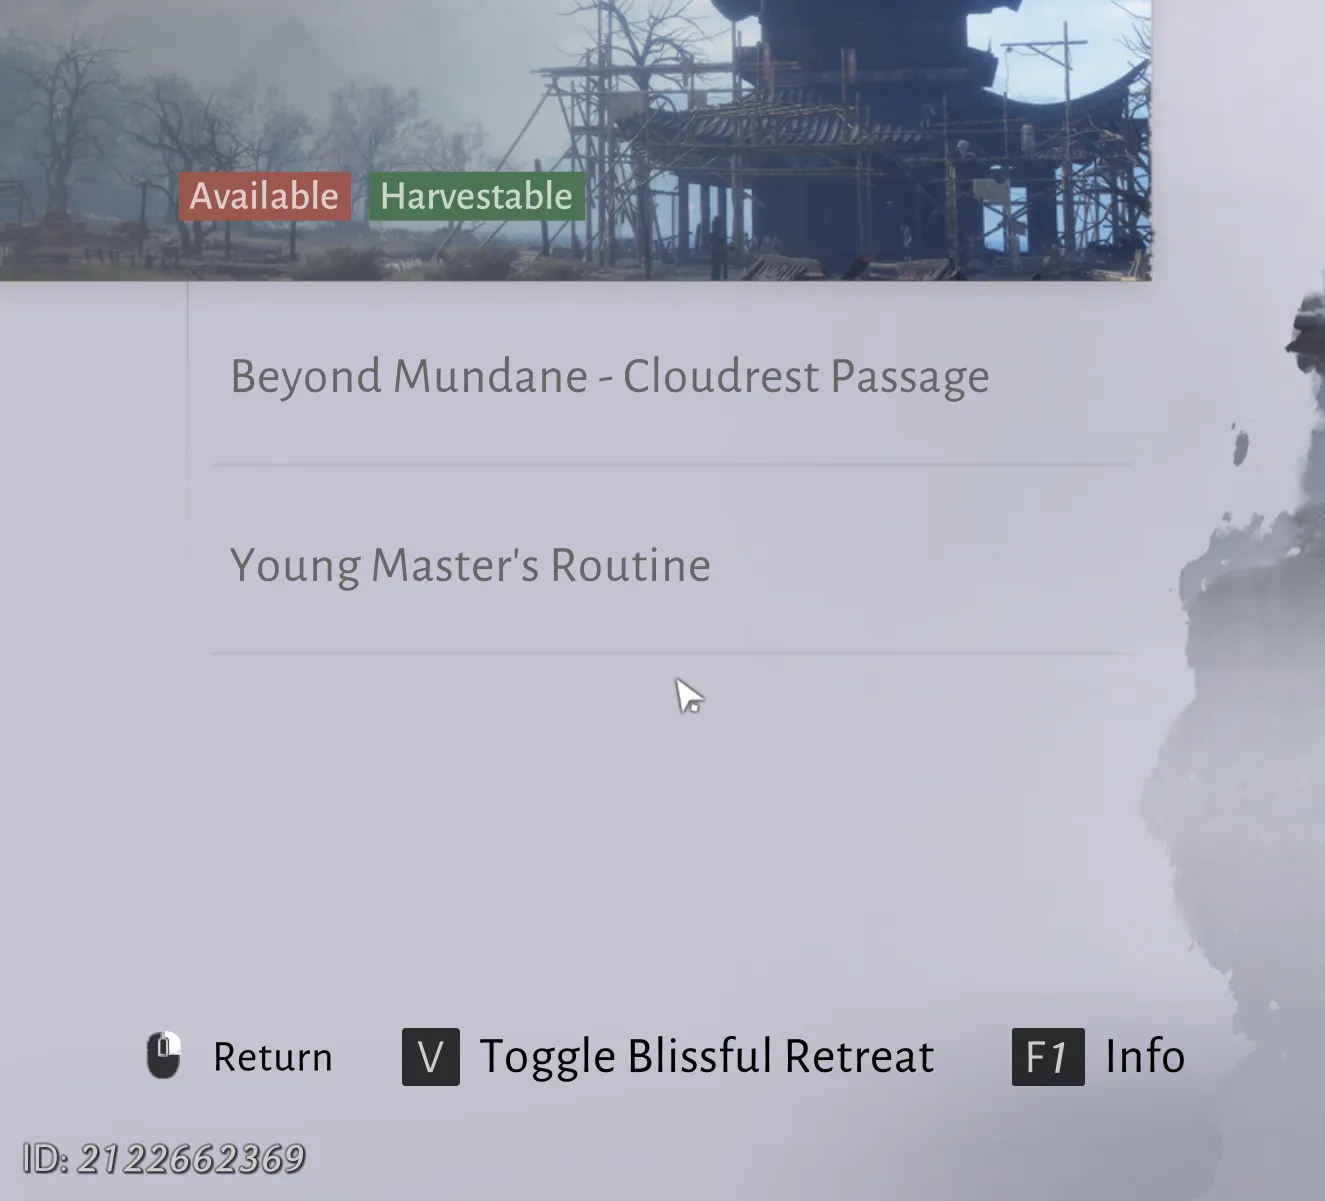
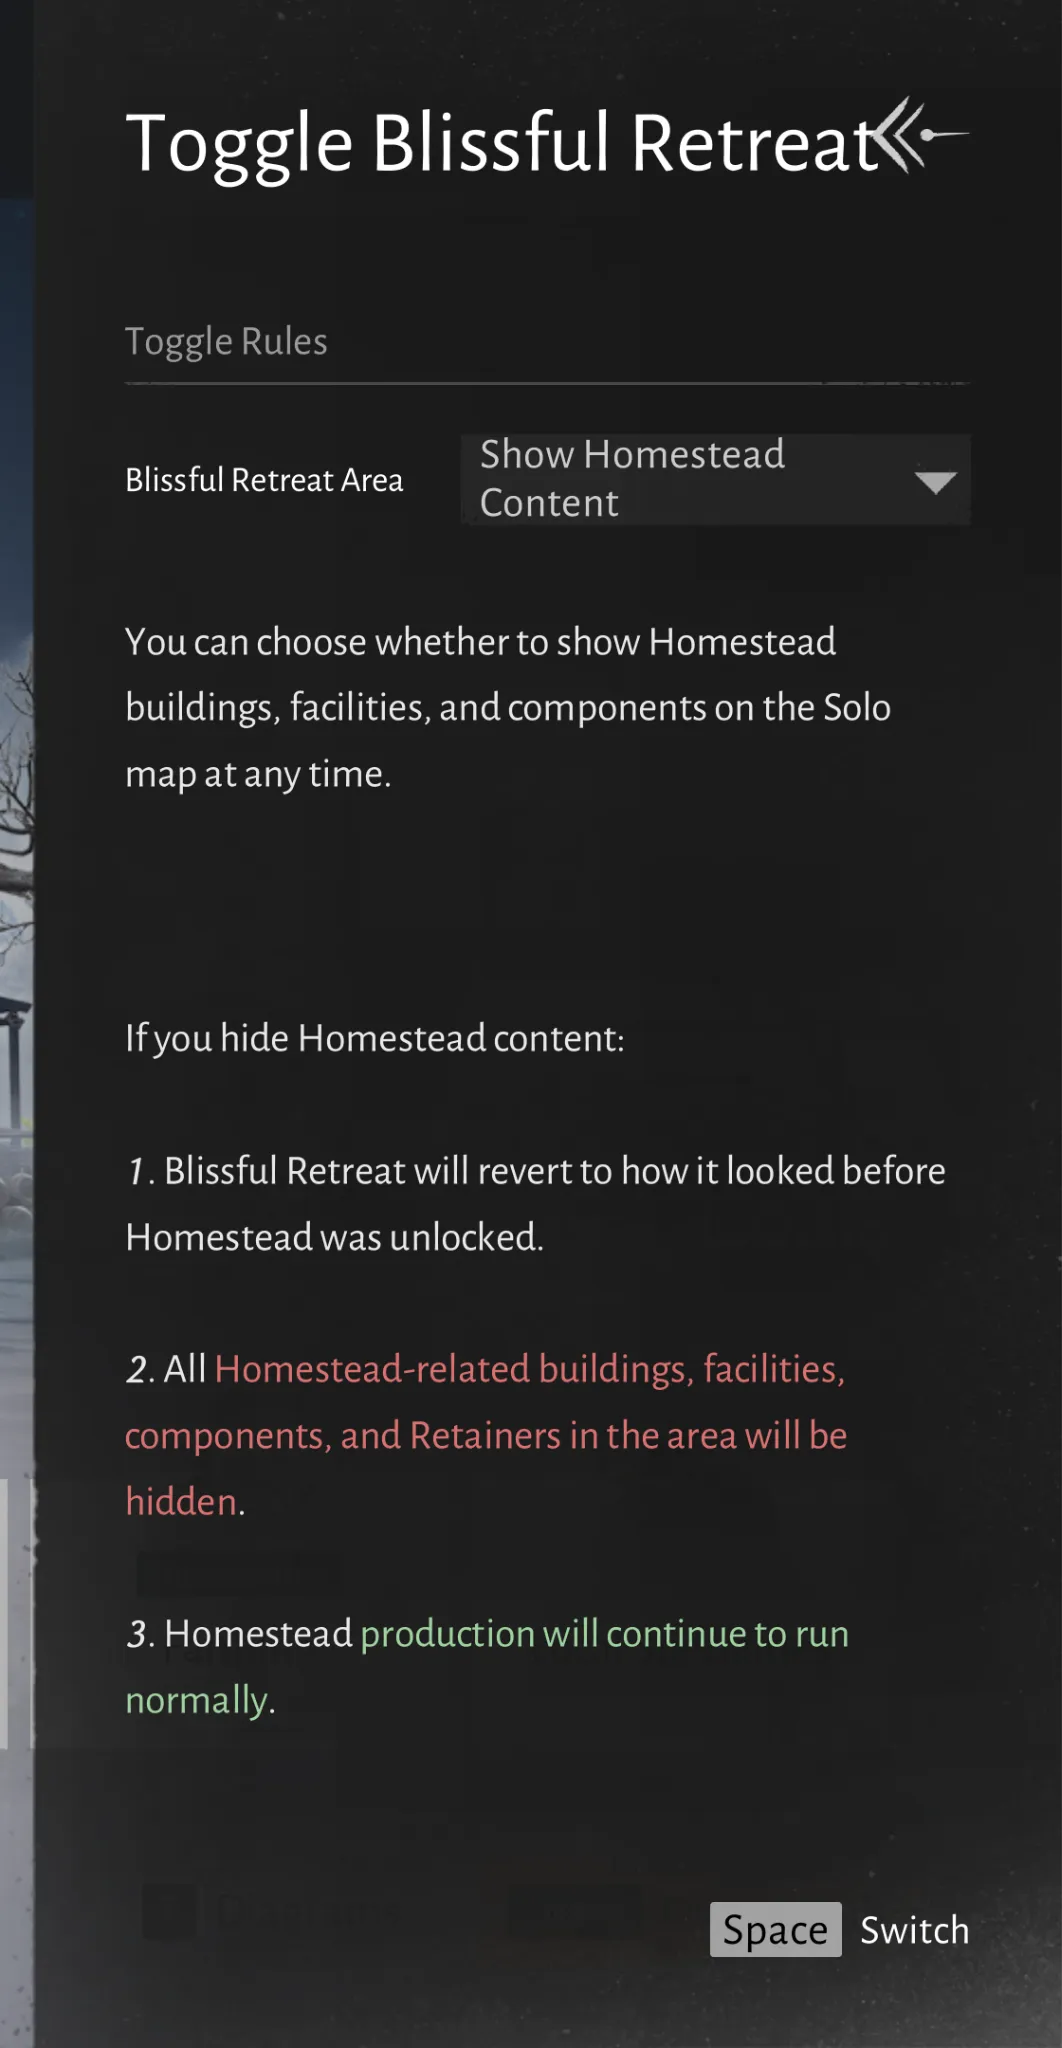
- You can hide your Homestead buildings (production still runs normally).
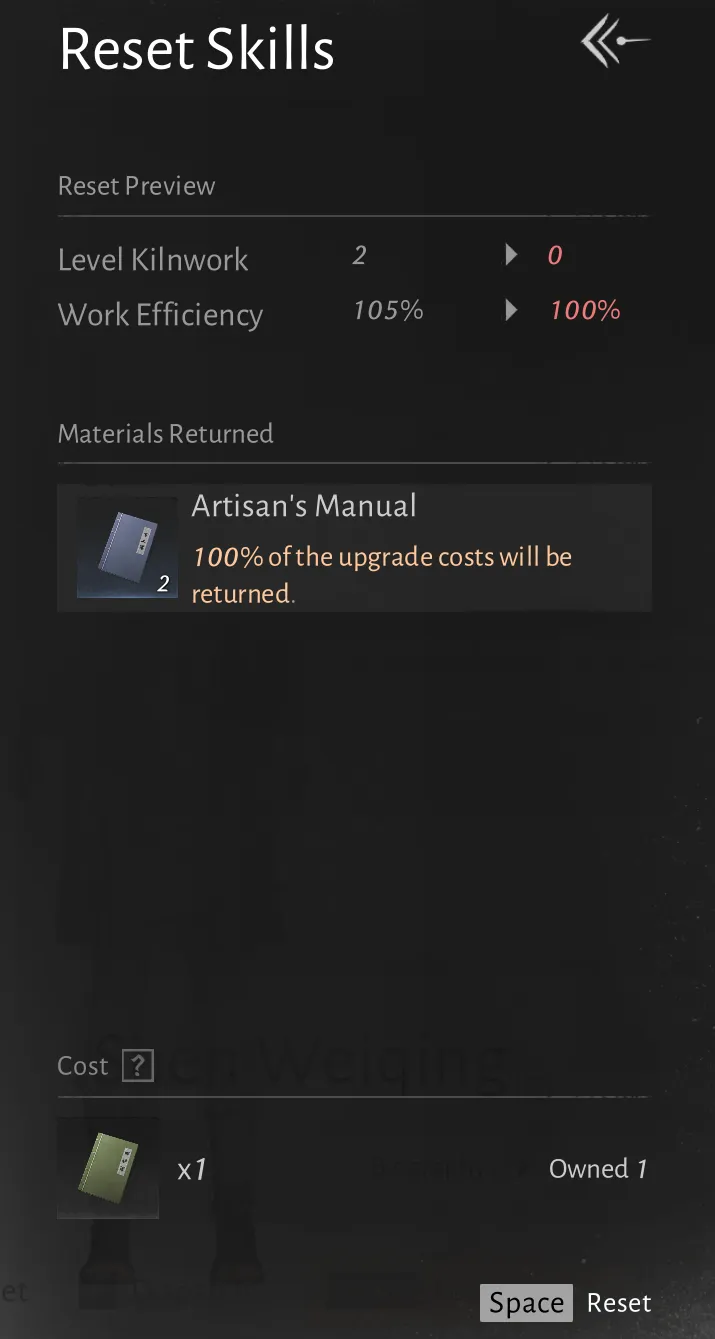
- Resetting a Retainer’s skills converts every 500 experience over the initial skill level into one skill book. Leftover exp is not discarded, but retained. So resetting a retainer with 1700 total earned exp would grant 3 books and leave the retainer at 200 exp.
- Industry zones appear to have a height limit of around 250m
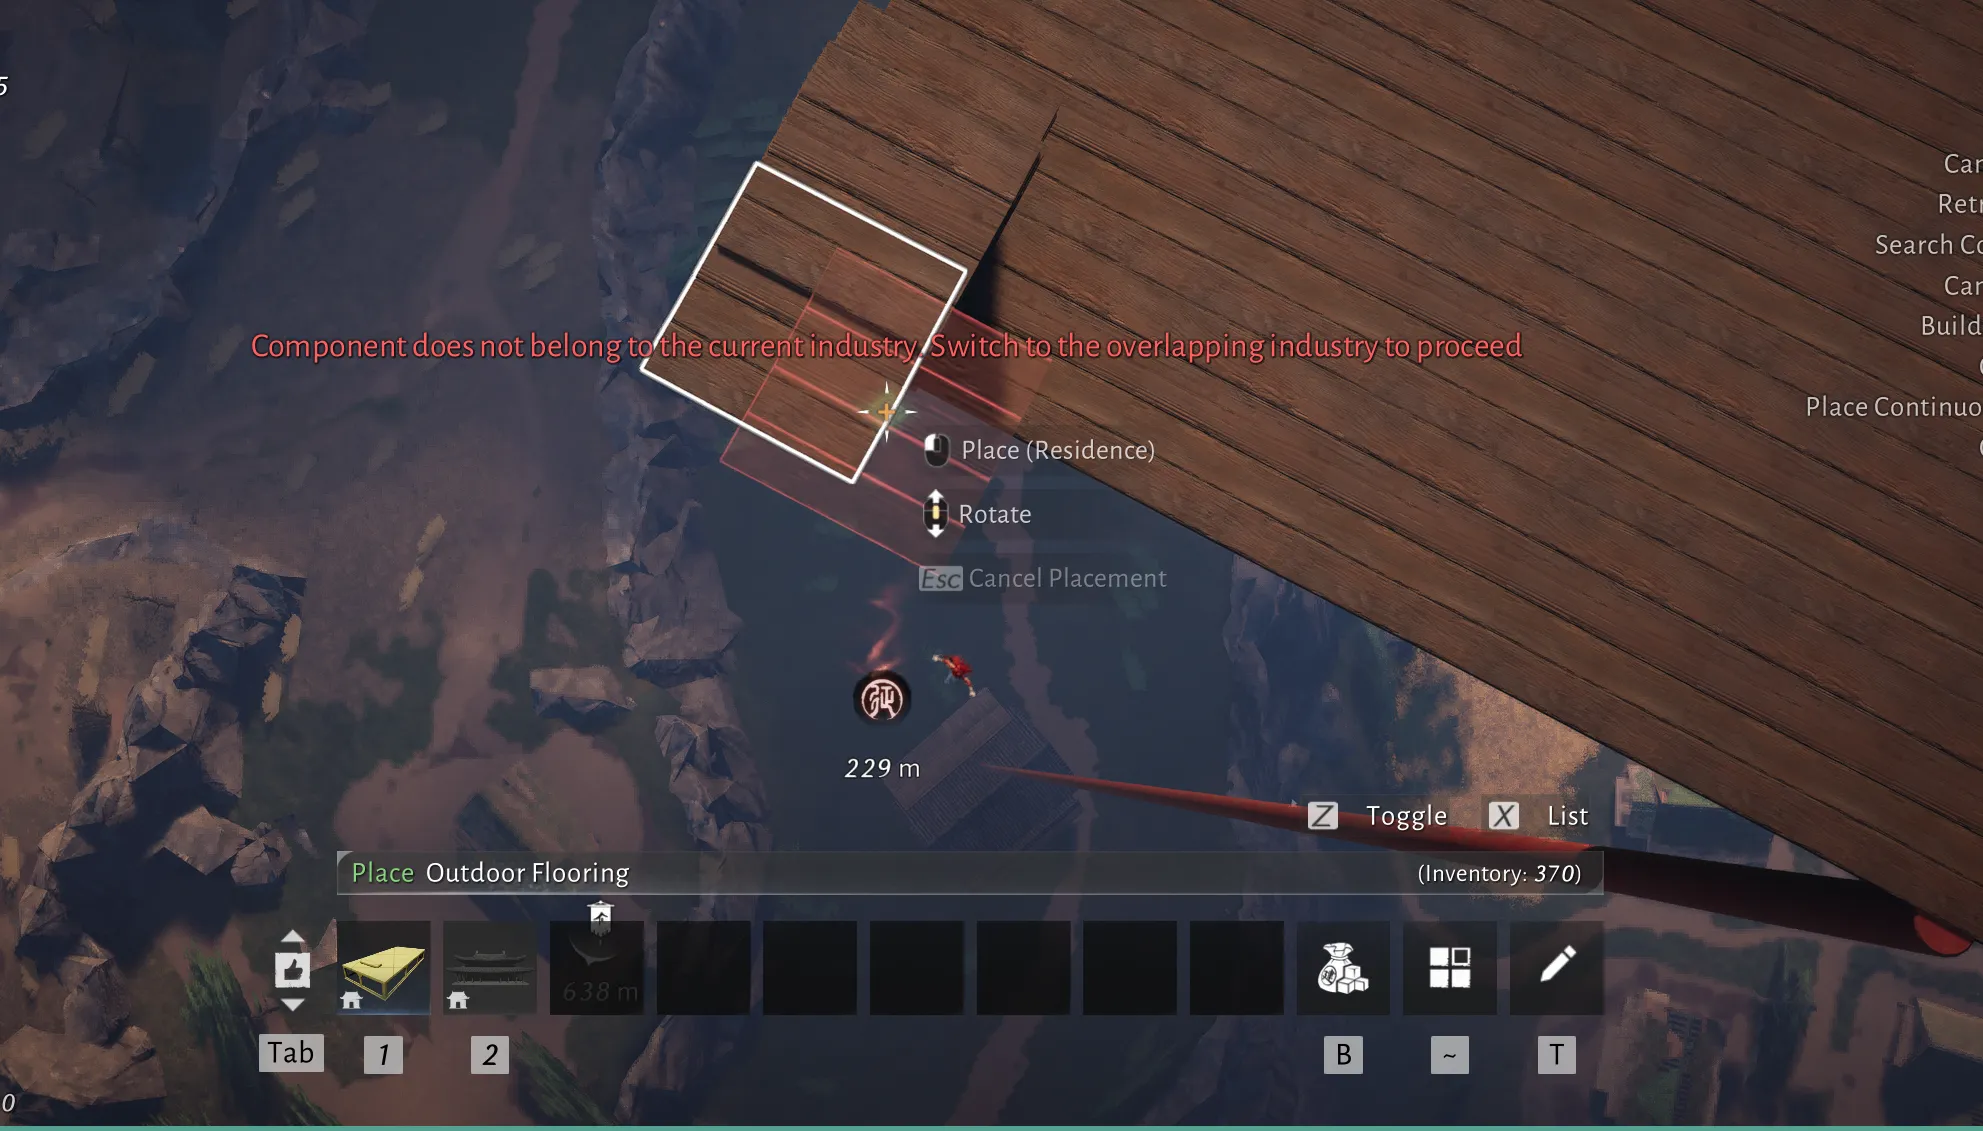
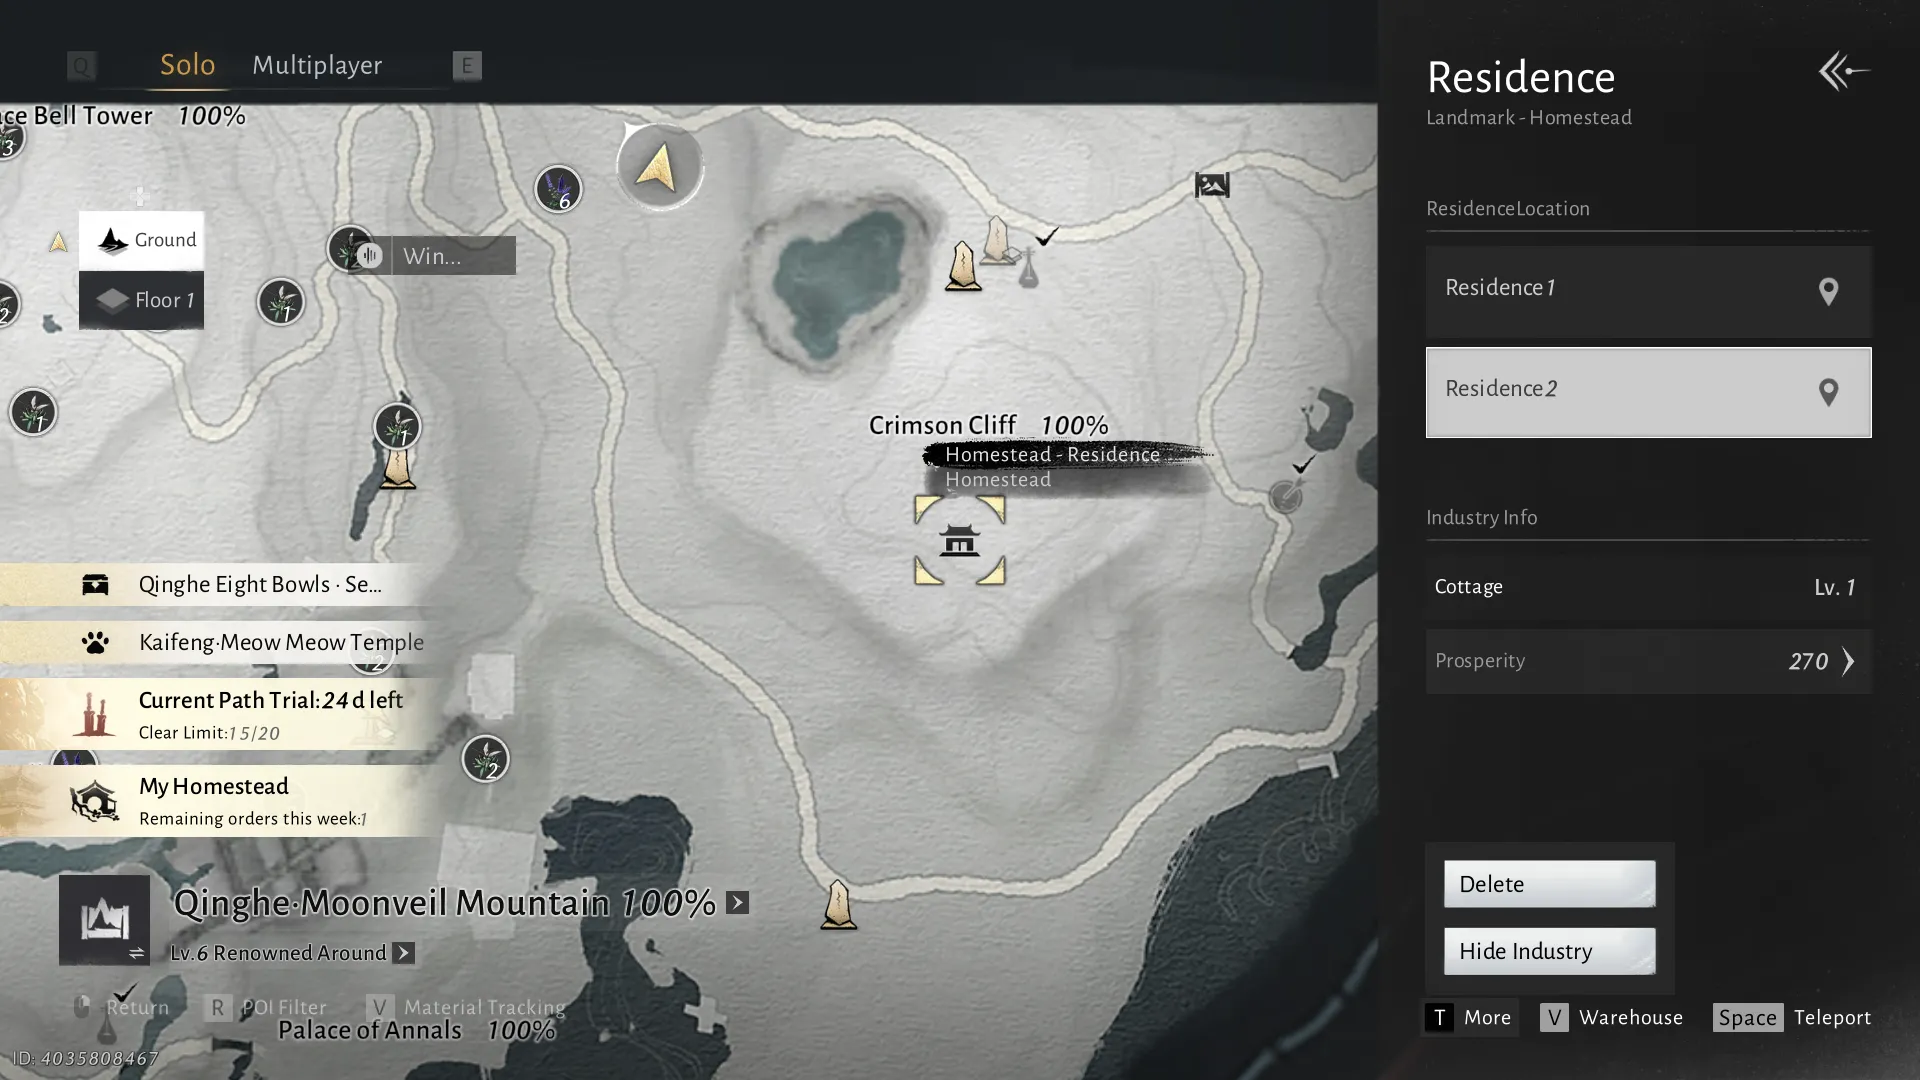
- To change a landmark location in your Homestead: select the landmark you want to remove, go to “More,” and delete it.
- Make sure to visit the requests on the Beyond Mundane board every day. You can help your neighbors and you can ask them for help. At one point you should be able to reveal your neighbor’s name and chat.
Construction & Diagrams
Component Limit Beyond Mundane (Island)
10K components + 4K components from residence area
How to completely reset Homestead and restart from scratch
You have to manually find every industry zone you placed and delete it / reclaim all components in it. For the 3 main industries you need to do this. (this will delete everything in the industry zone):
Build > Build Management > Retrieve Industry Components
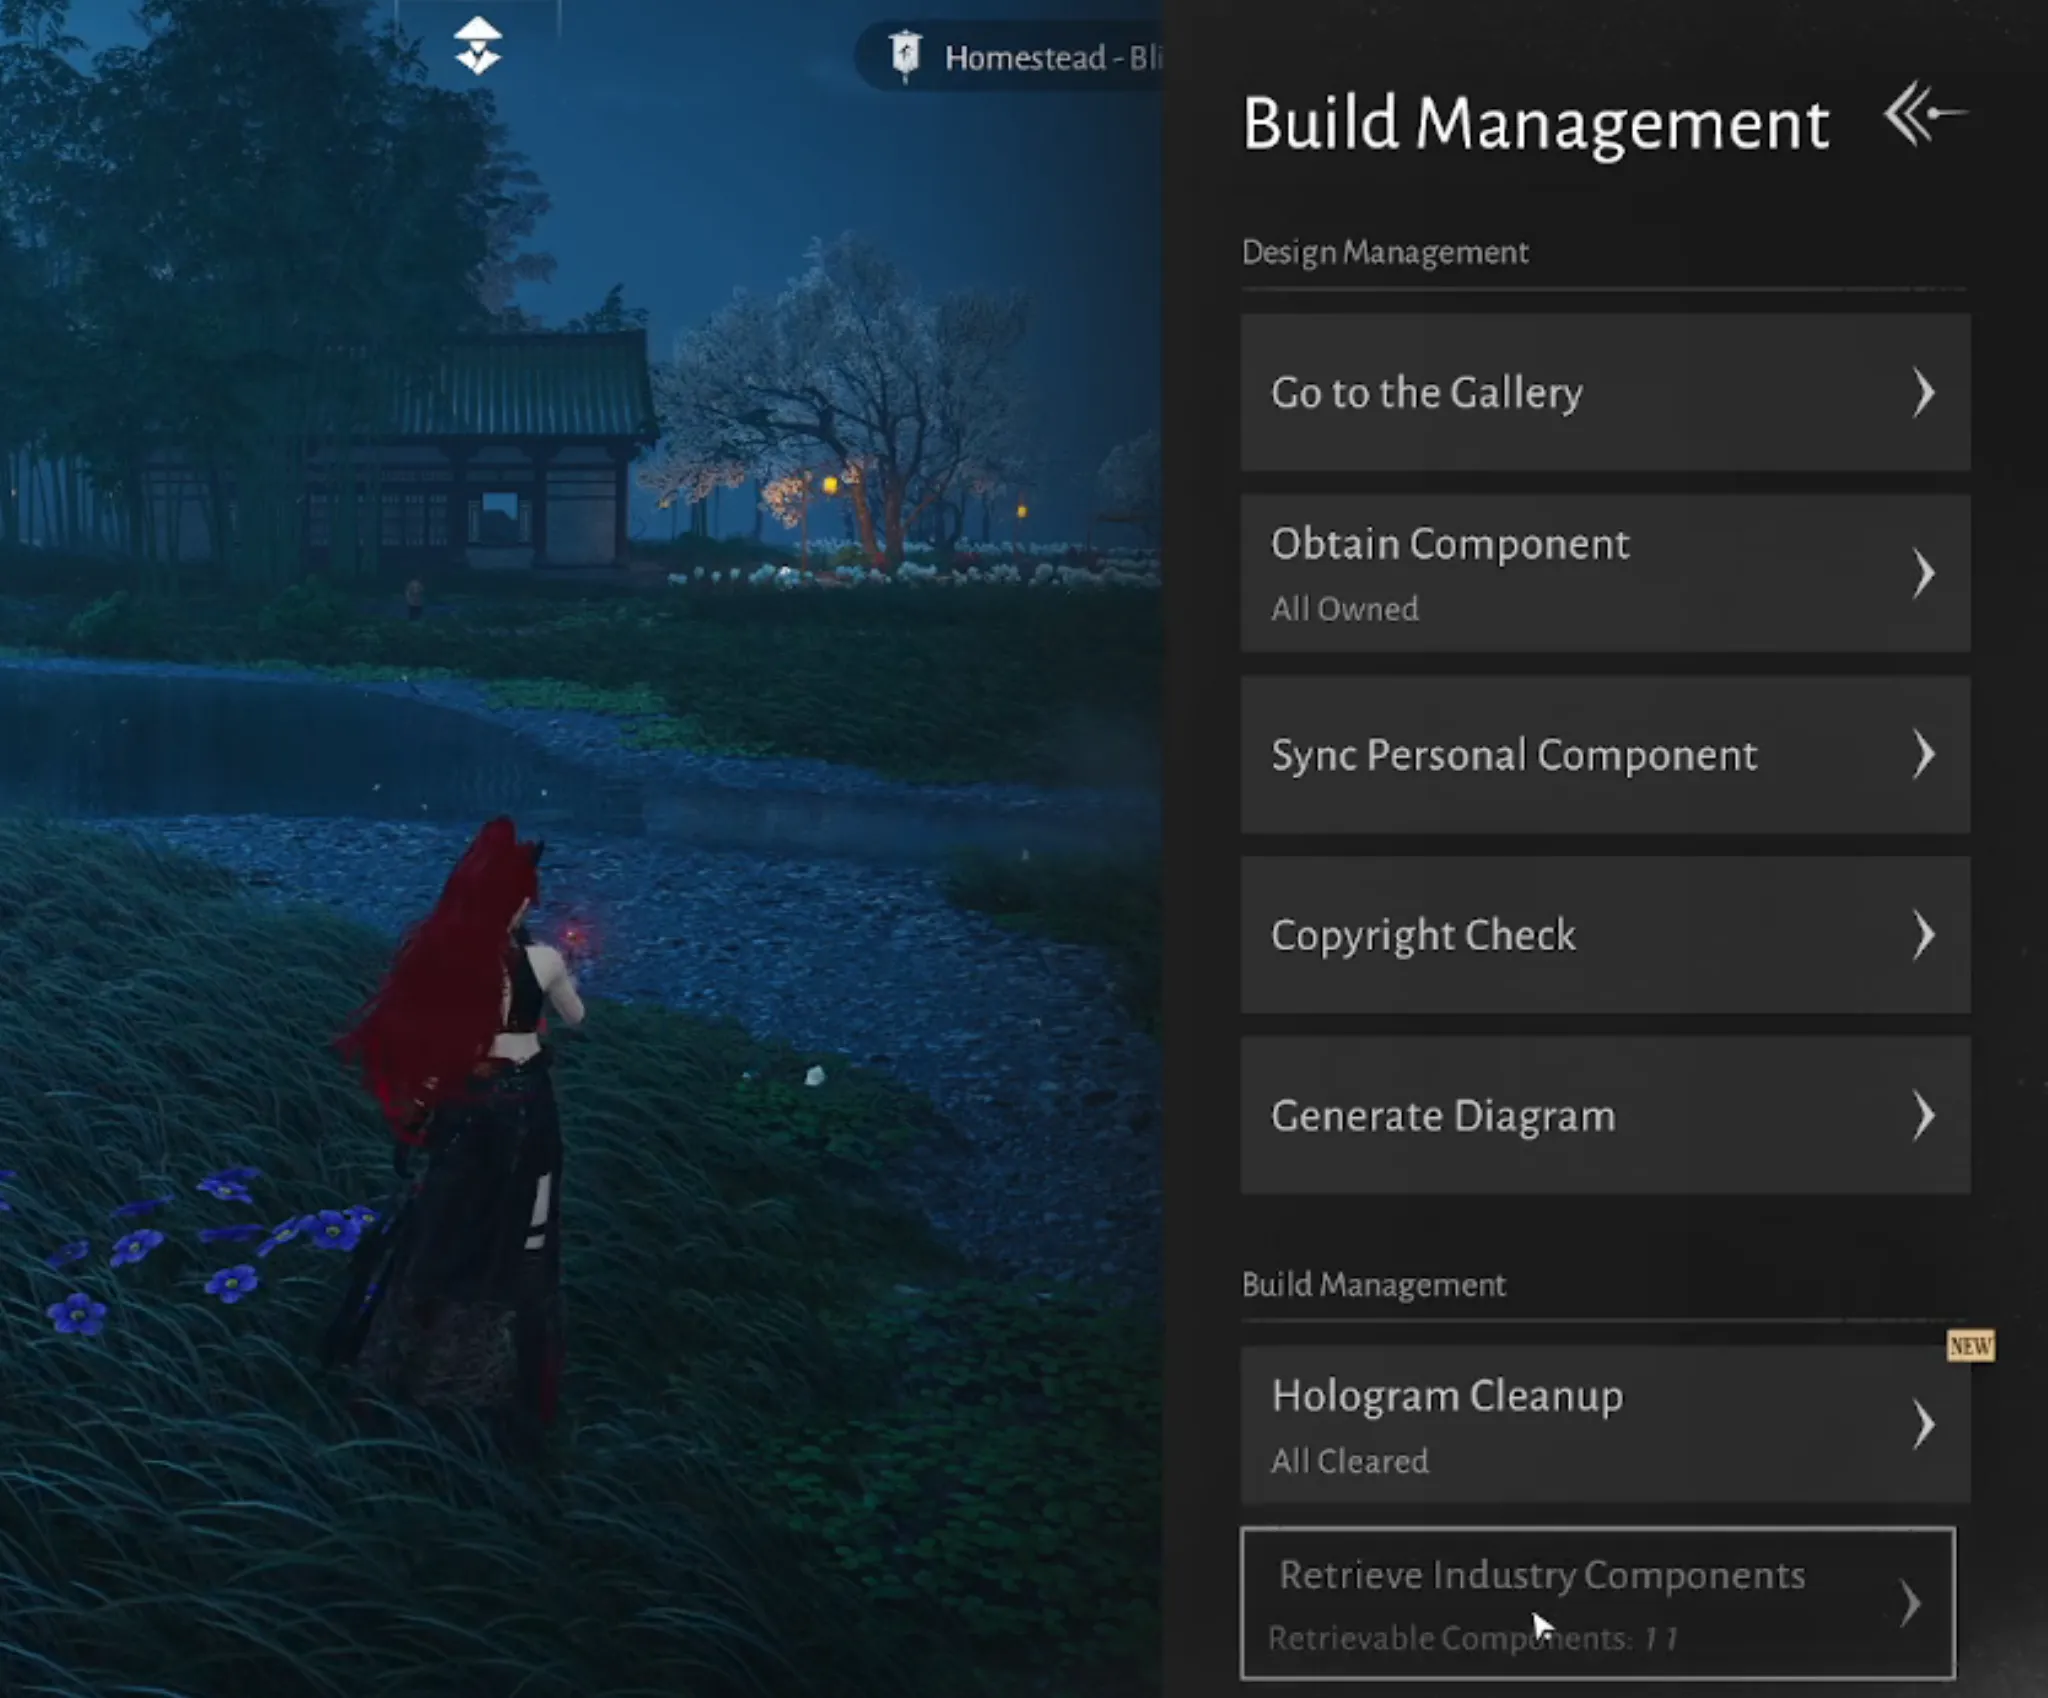
Or
Choose Homestead zone > More > Delete
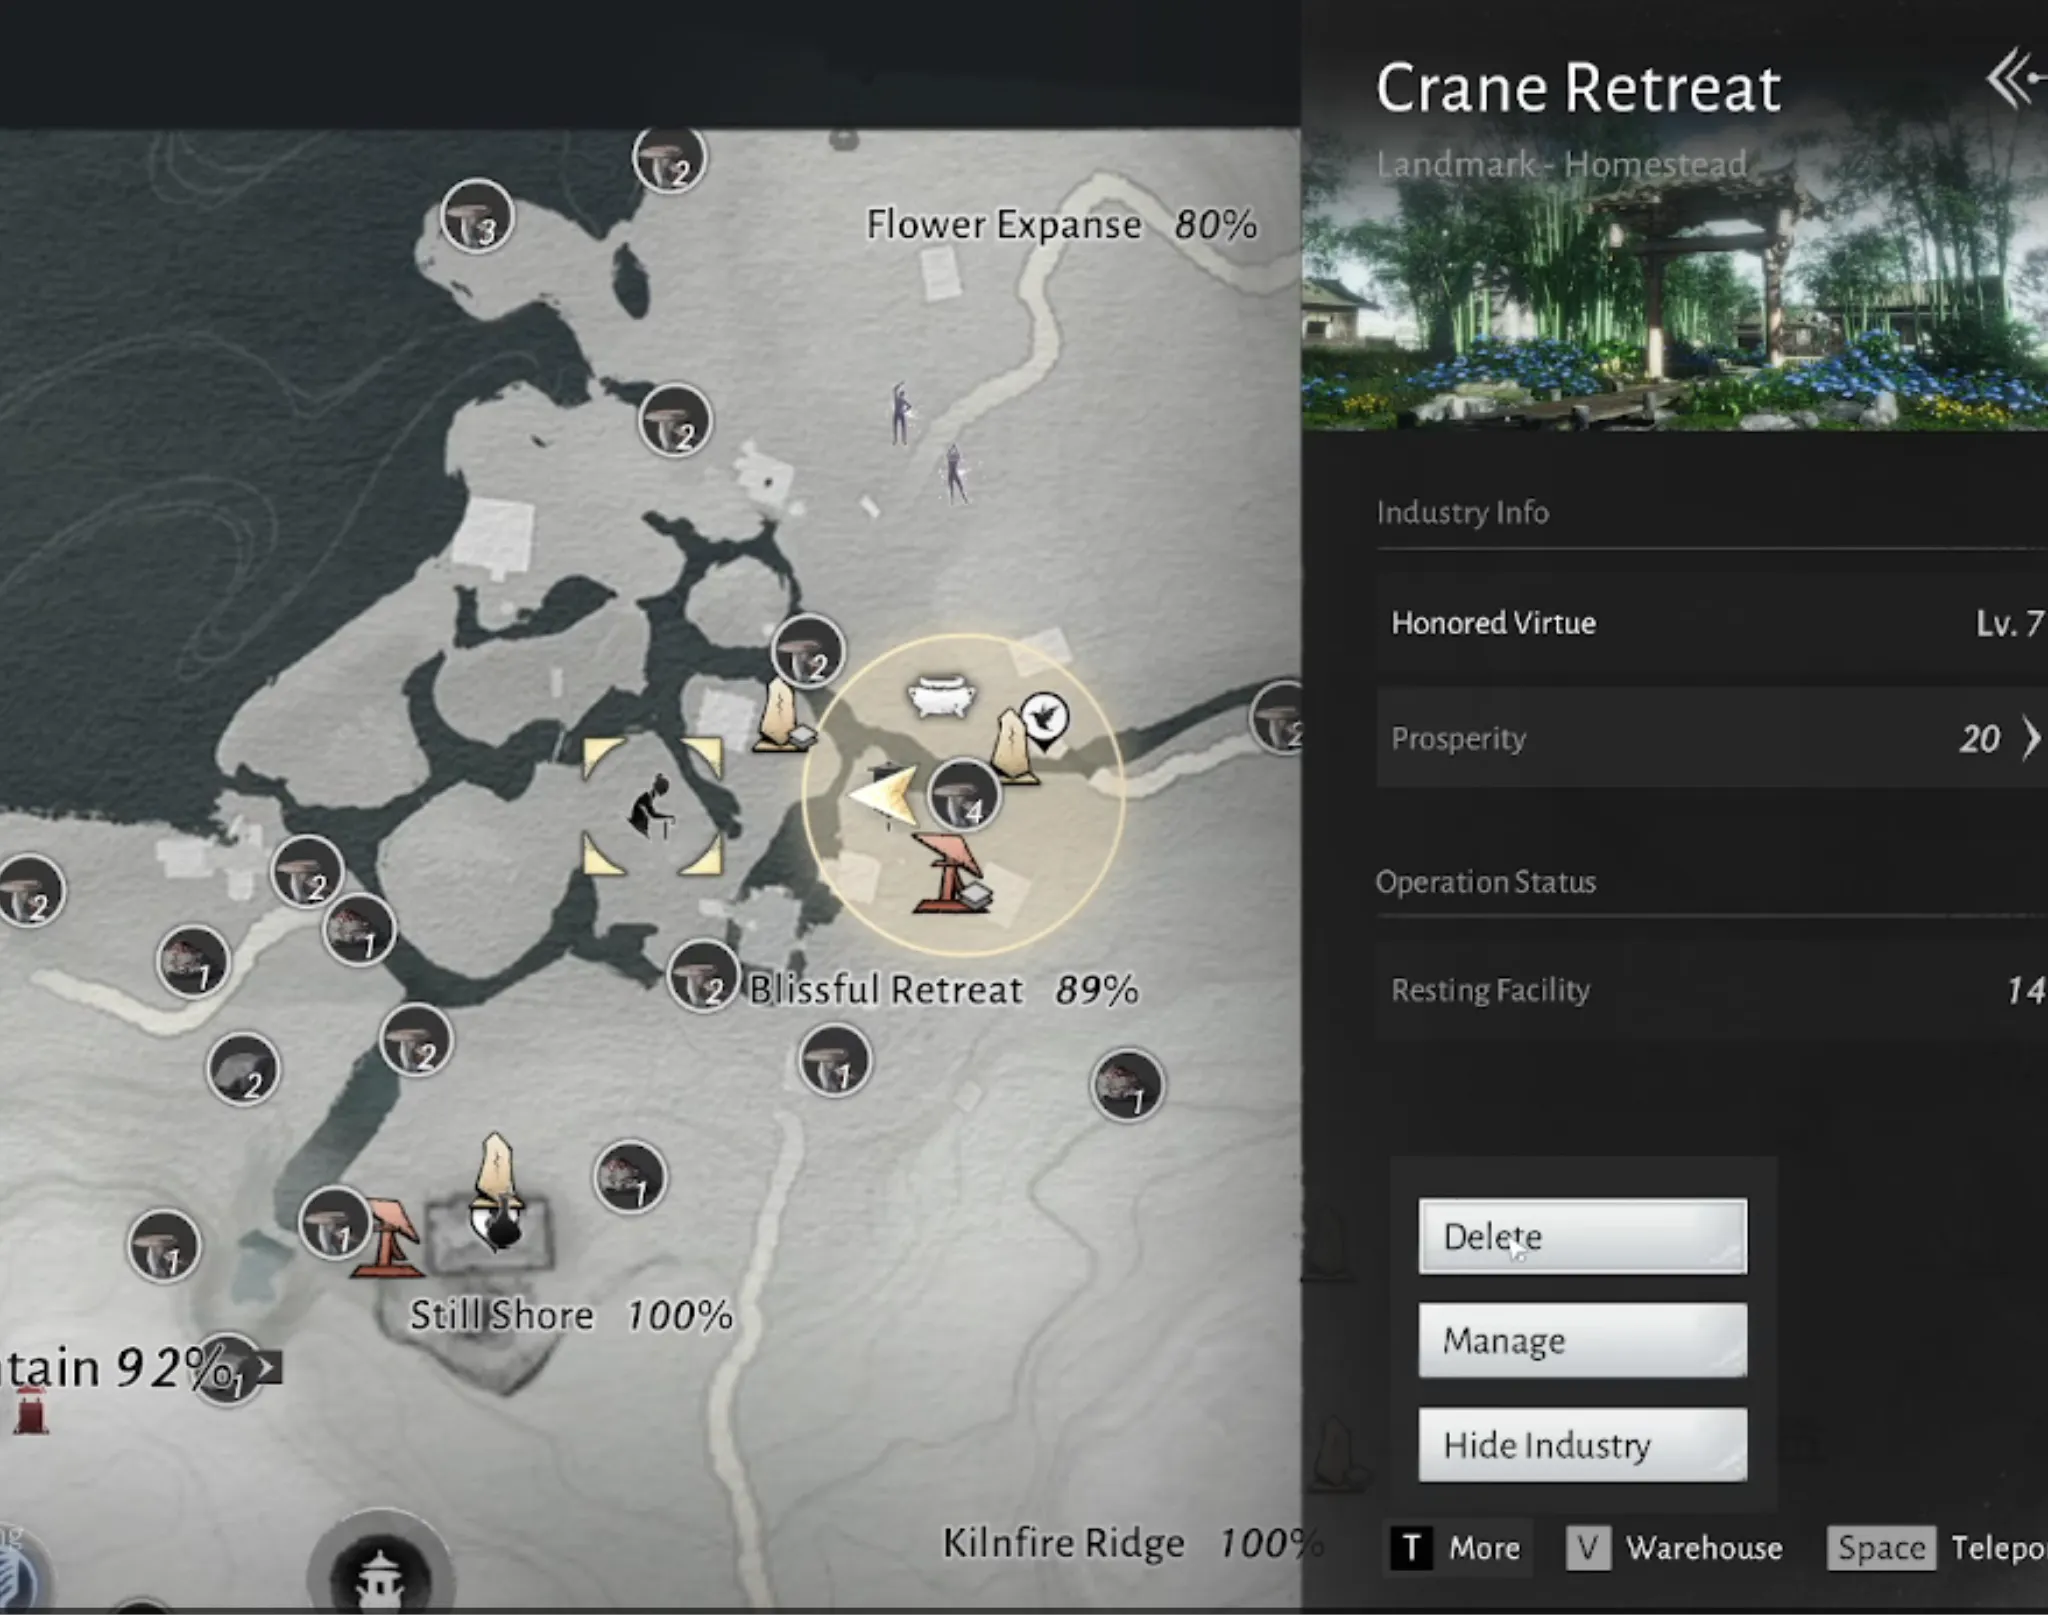
Using diagrams is buggy as hell
If you have troubles using diagrams then you experience what most players do. There are different kinds of problems so hop in the WBM discord for specific troubleshooting.
If you have the Homestead “Diagram data error Application failed” error you can try this:
Retrieve all of your stoves and tables first then place diagram and put the stoves and tables back.
Beware! When applying diagrams your catering can reset if you replace your tables.
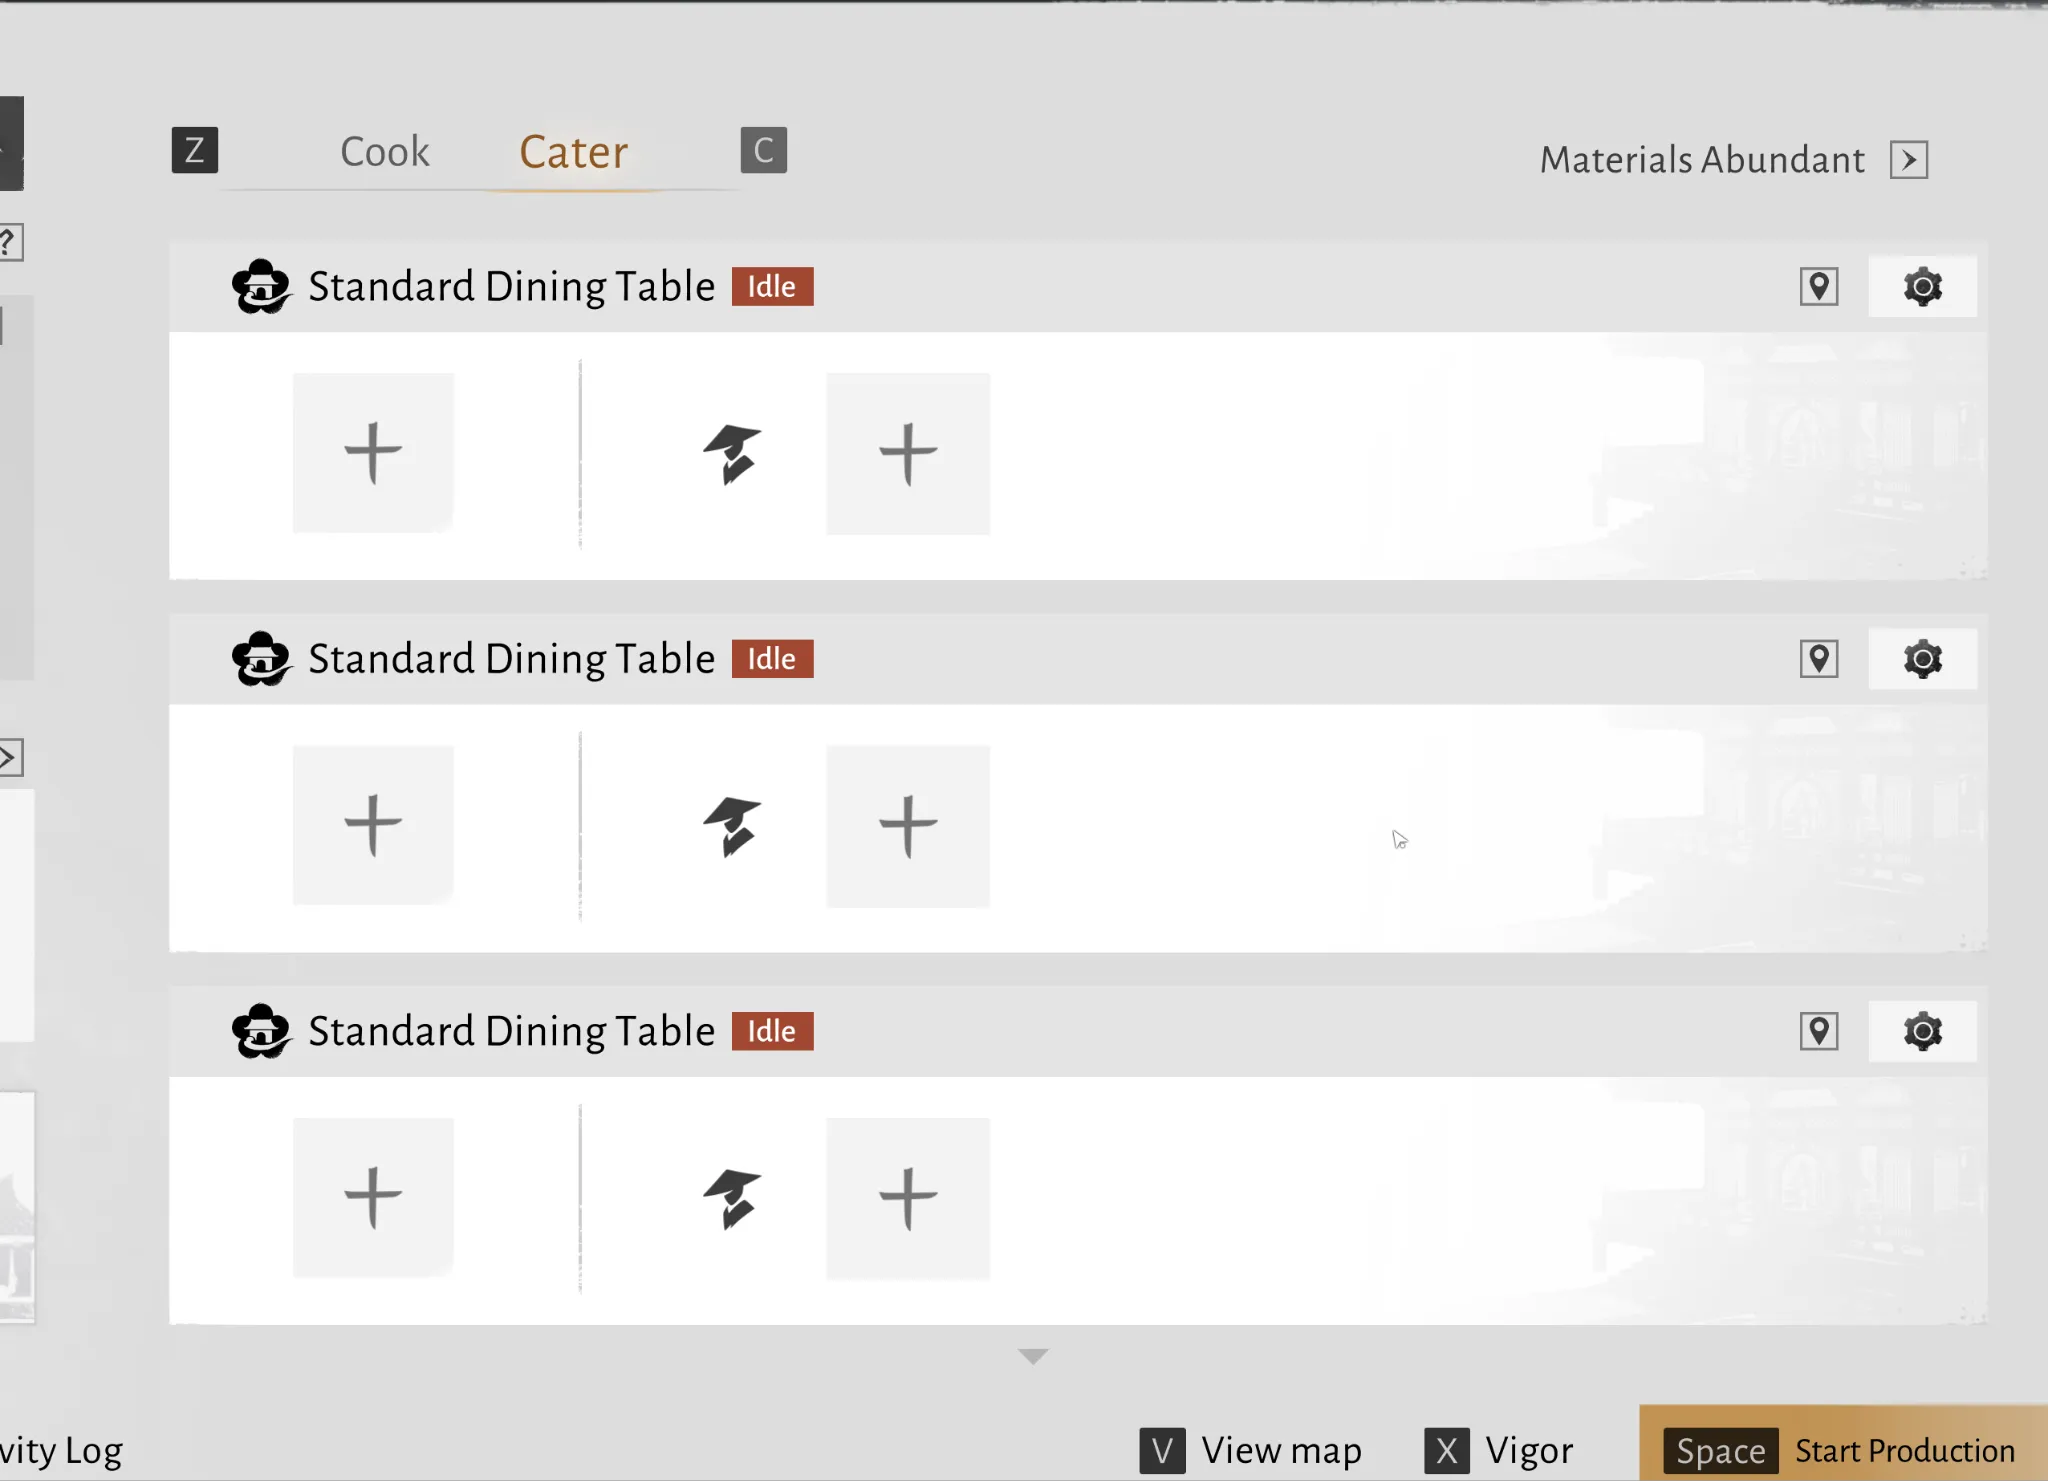
Diagram Sharing
- You can now share your diagrams (solo or guild) in the gallery by clicking in your diagram and choose “Upload to the gallery”
- Beware when sharing diagrams! Someone can easily pretend they are the creator and have better votes than the original (like any social network publication).
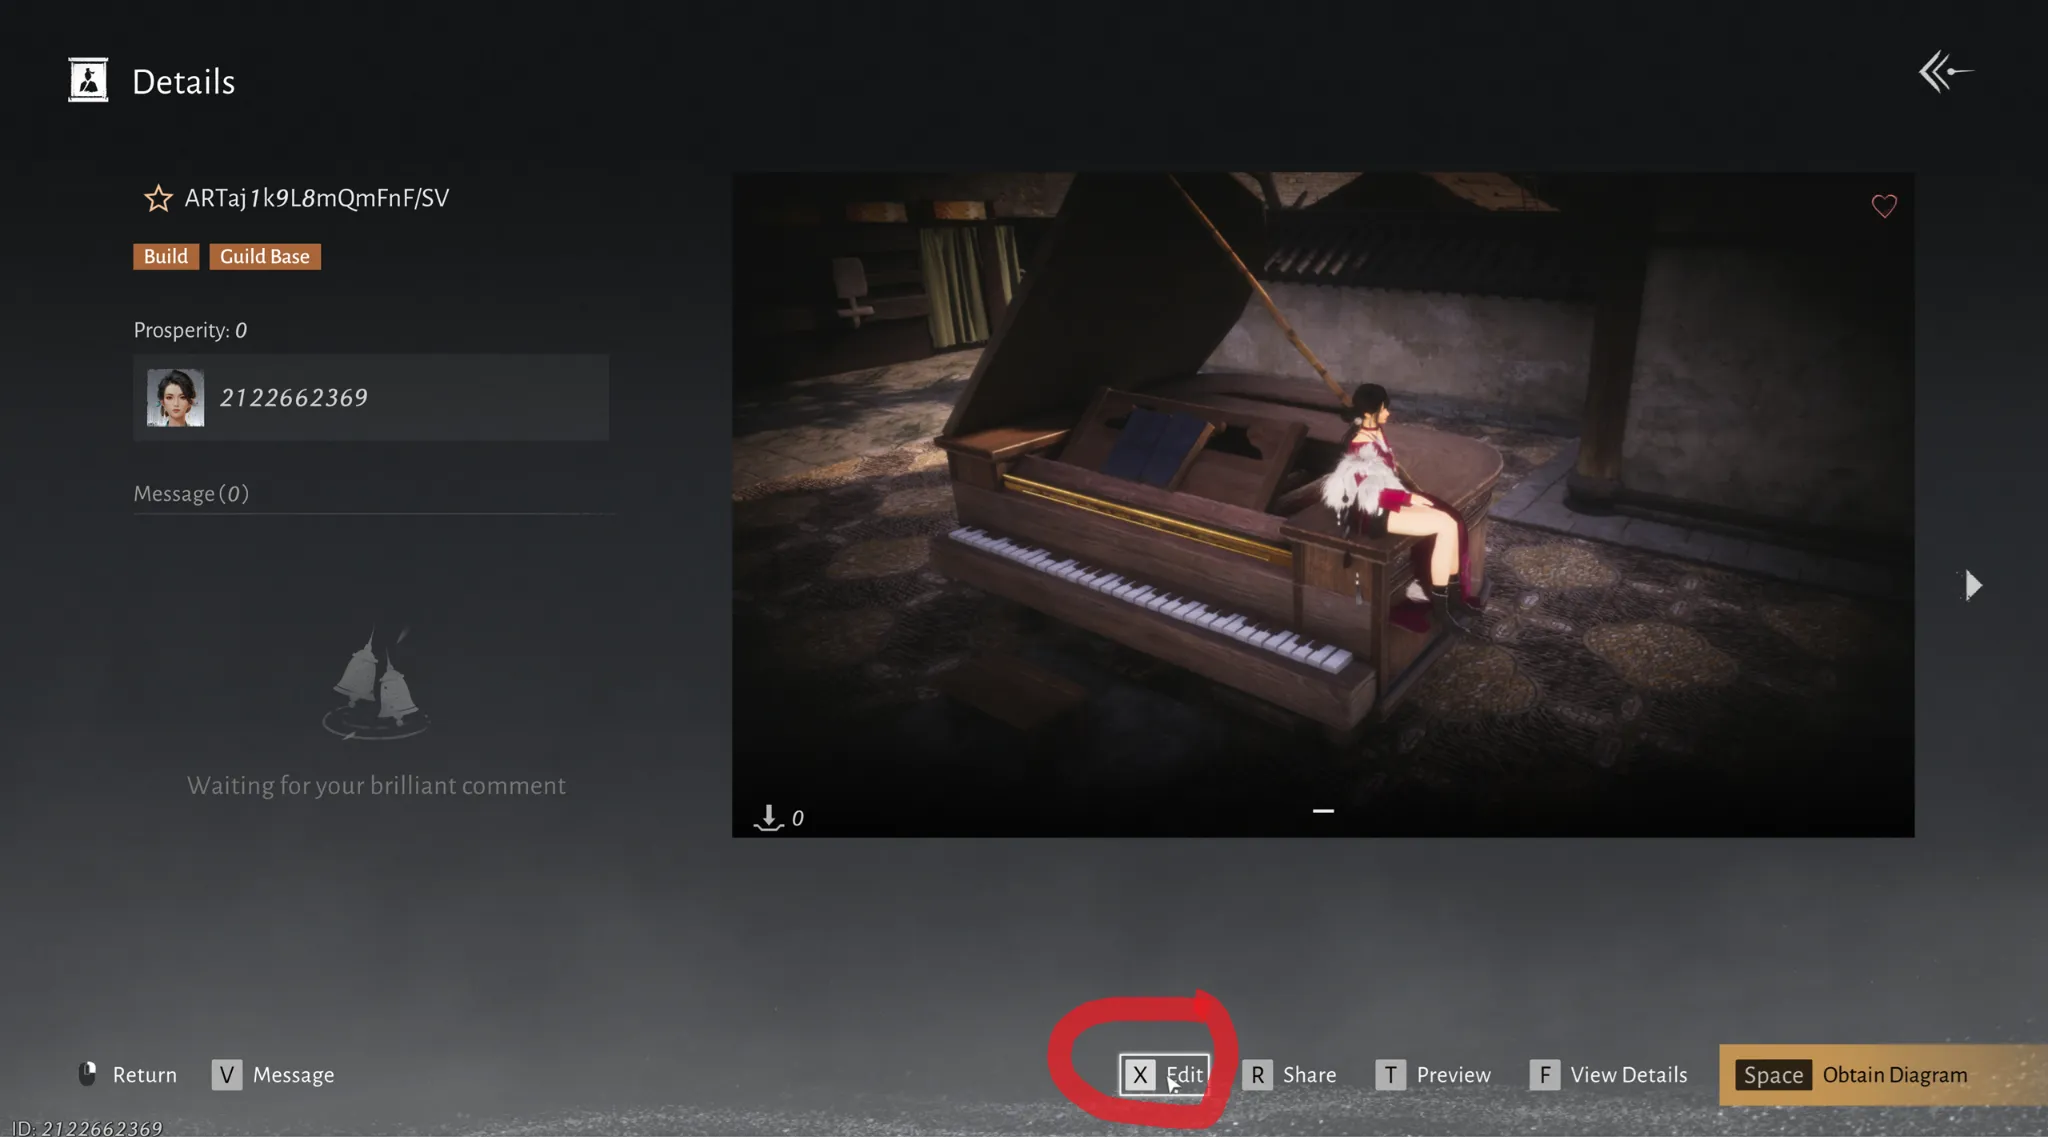
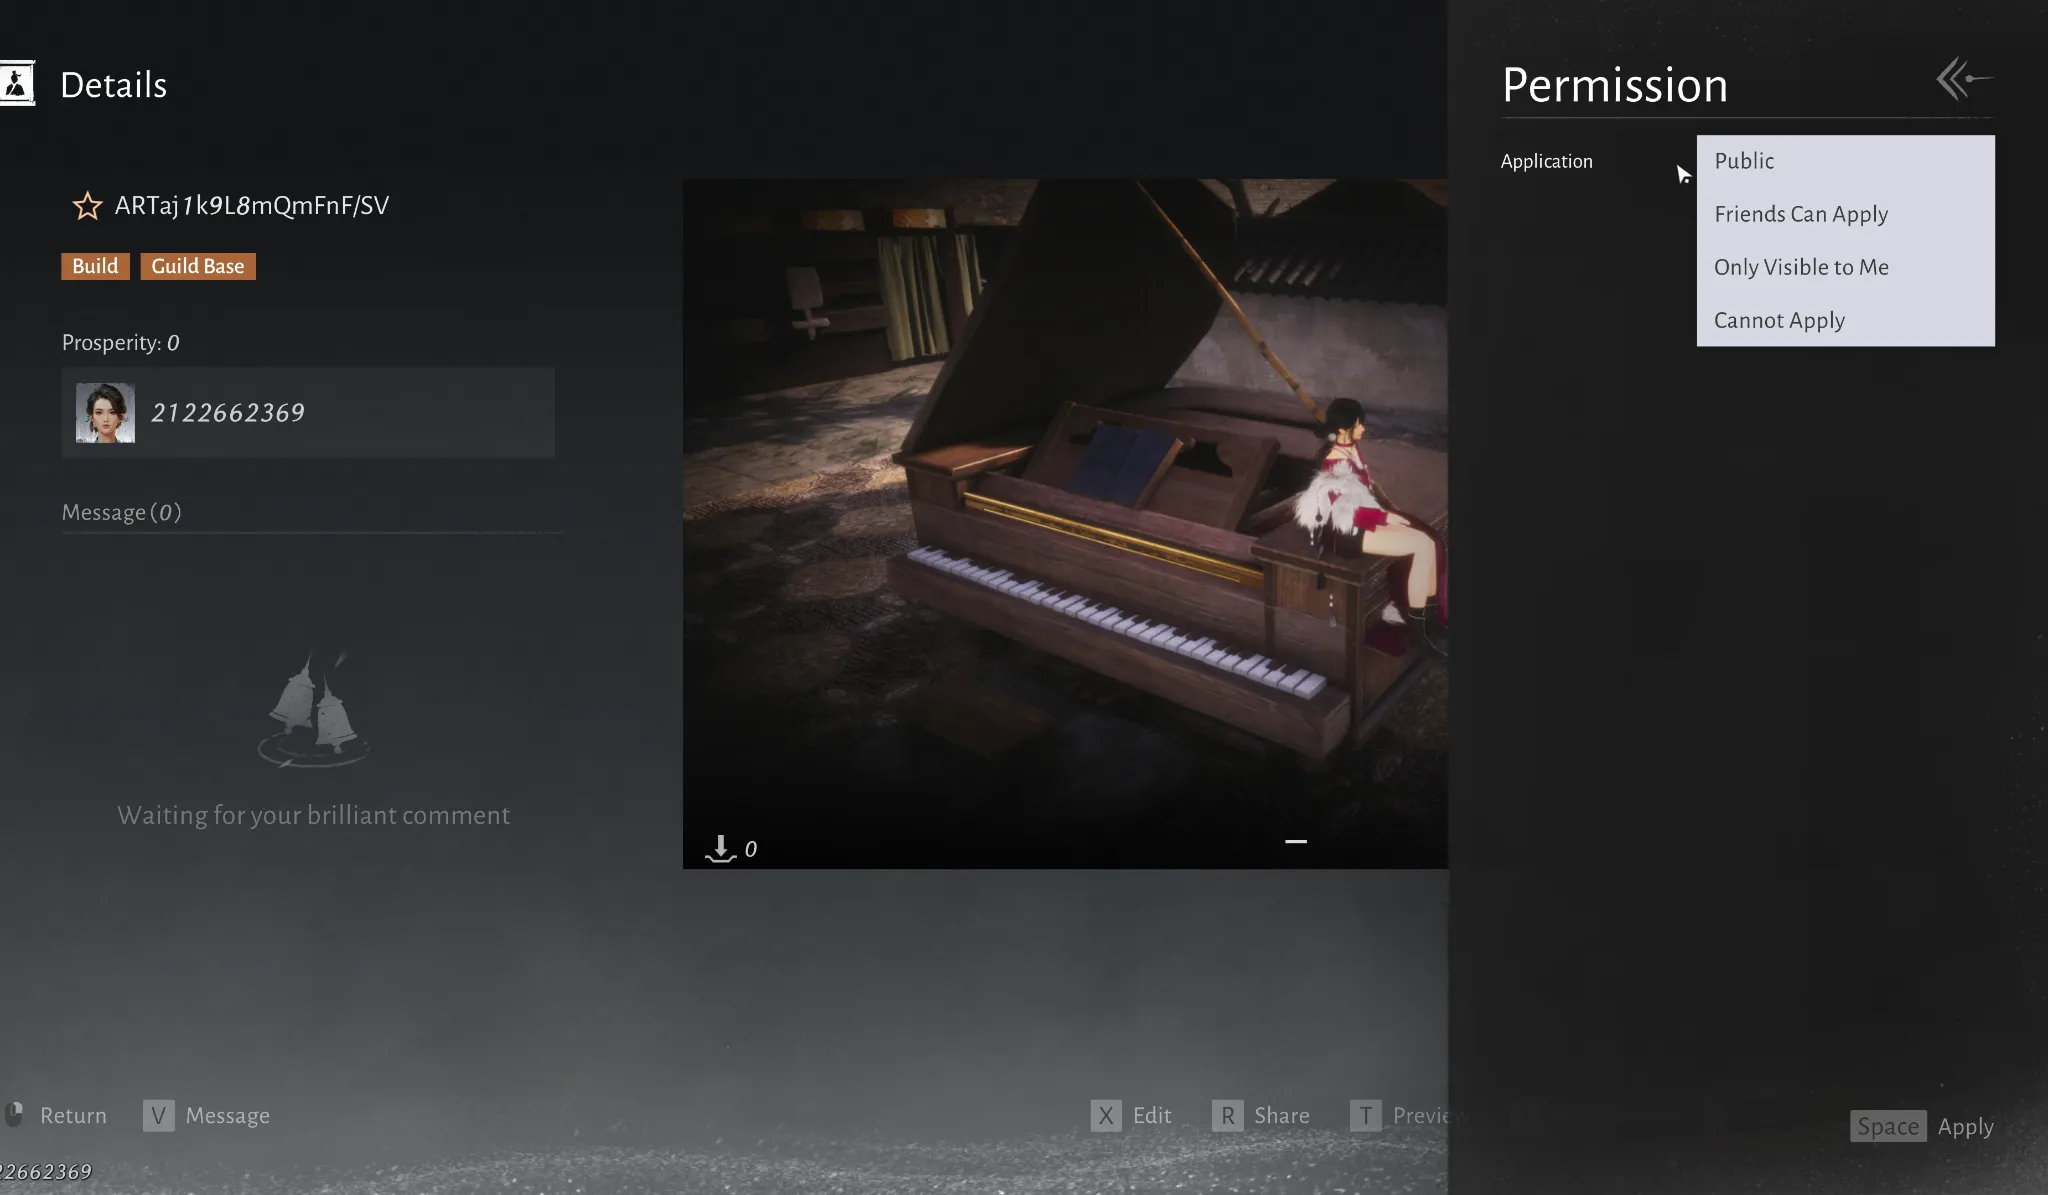
How to edit diagram permission
You can set a diagram to public (anyone can download), friends only, or private. Avoid the “Choose specific friends” option: it is currently buggy.
How to use diagram code
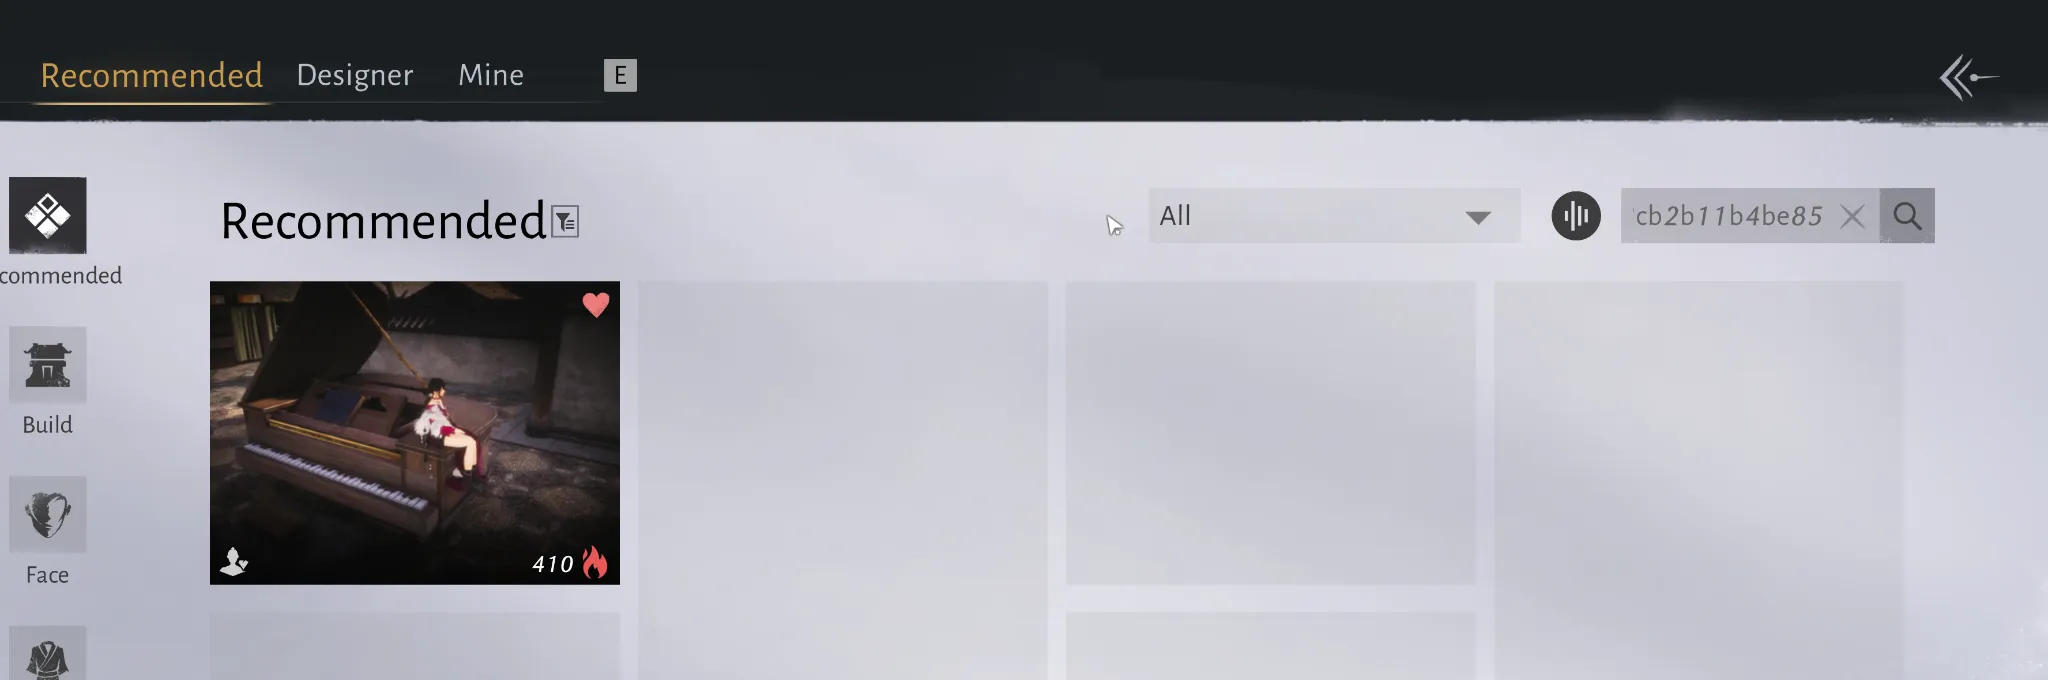
A diagram can be shared via a code, for example: SHARE89e3cb2b11b4be85. Go to the Gallery and paste the code into the search field.
Share codes are global and are not accessible on the CN server (and vice-versa)
Multiple Screenshots
You can attach multiple screenshots when publishing Blissful Retreat/Beyond Mundane diagrams. (This does not work for diagrams tagged with other location types.)